Embroidered Watercolor
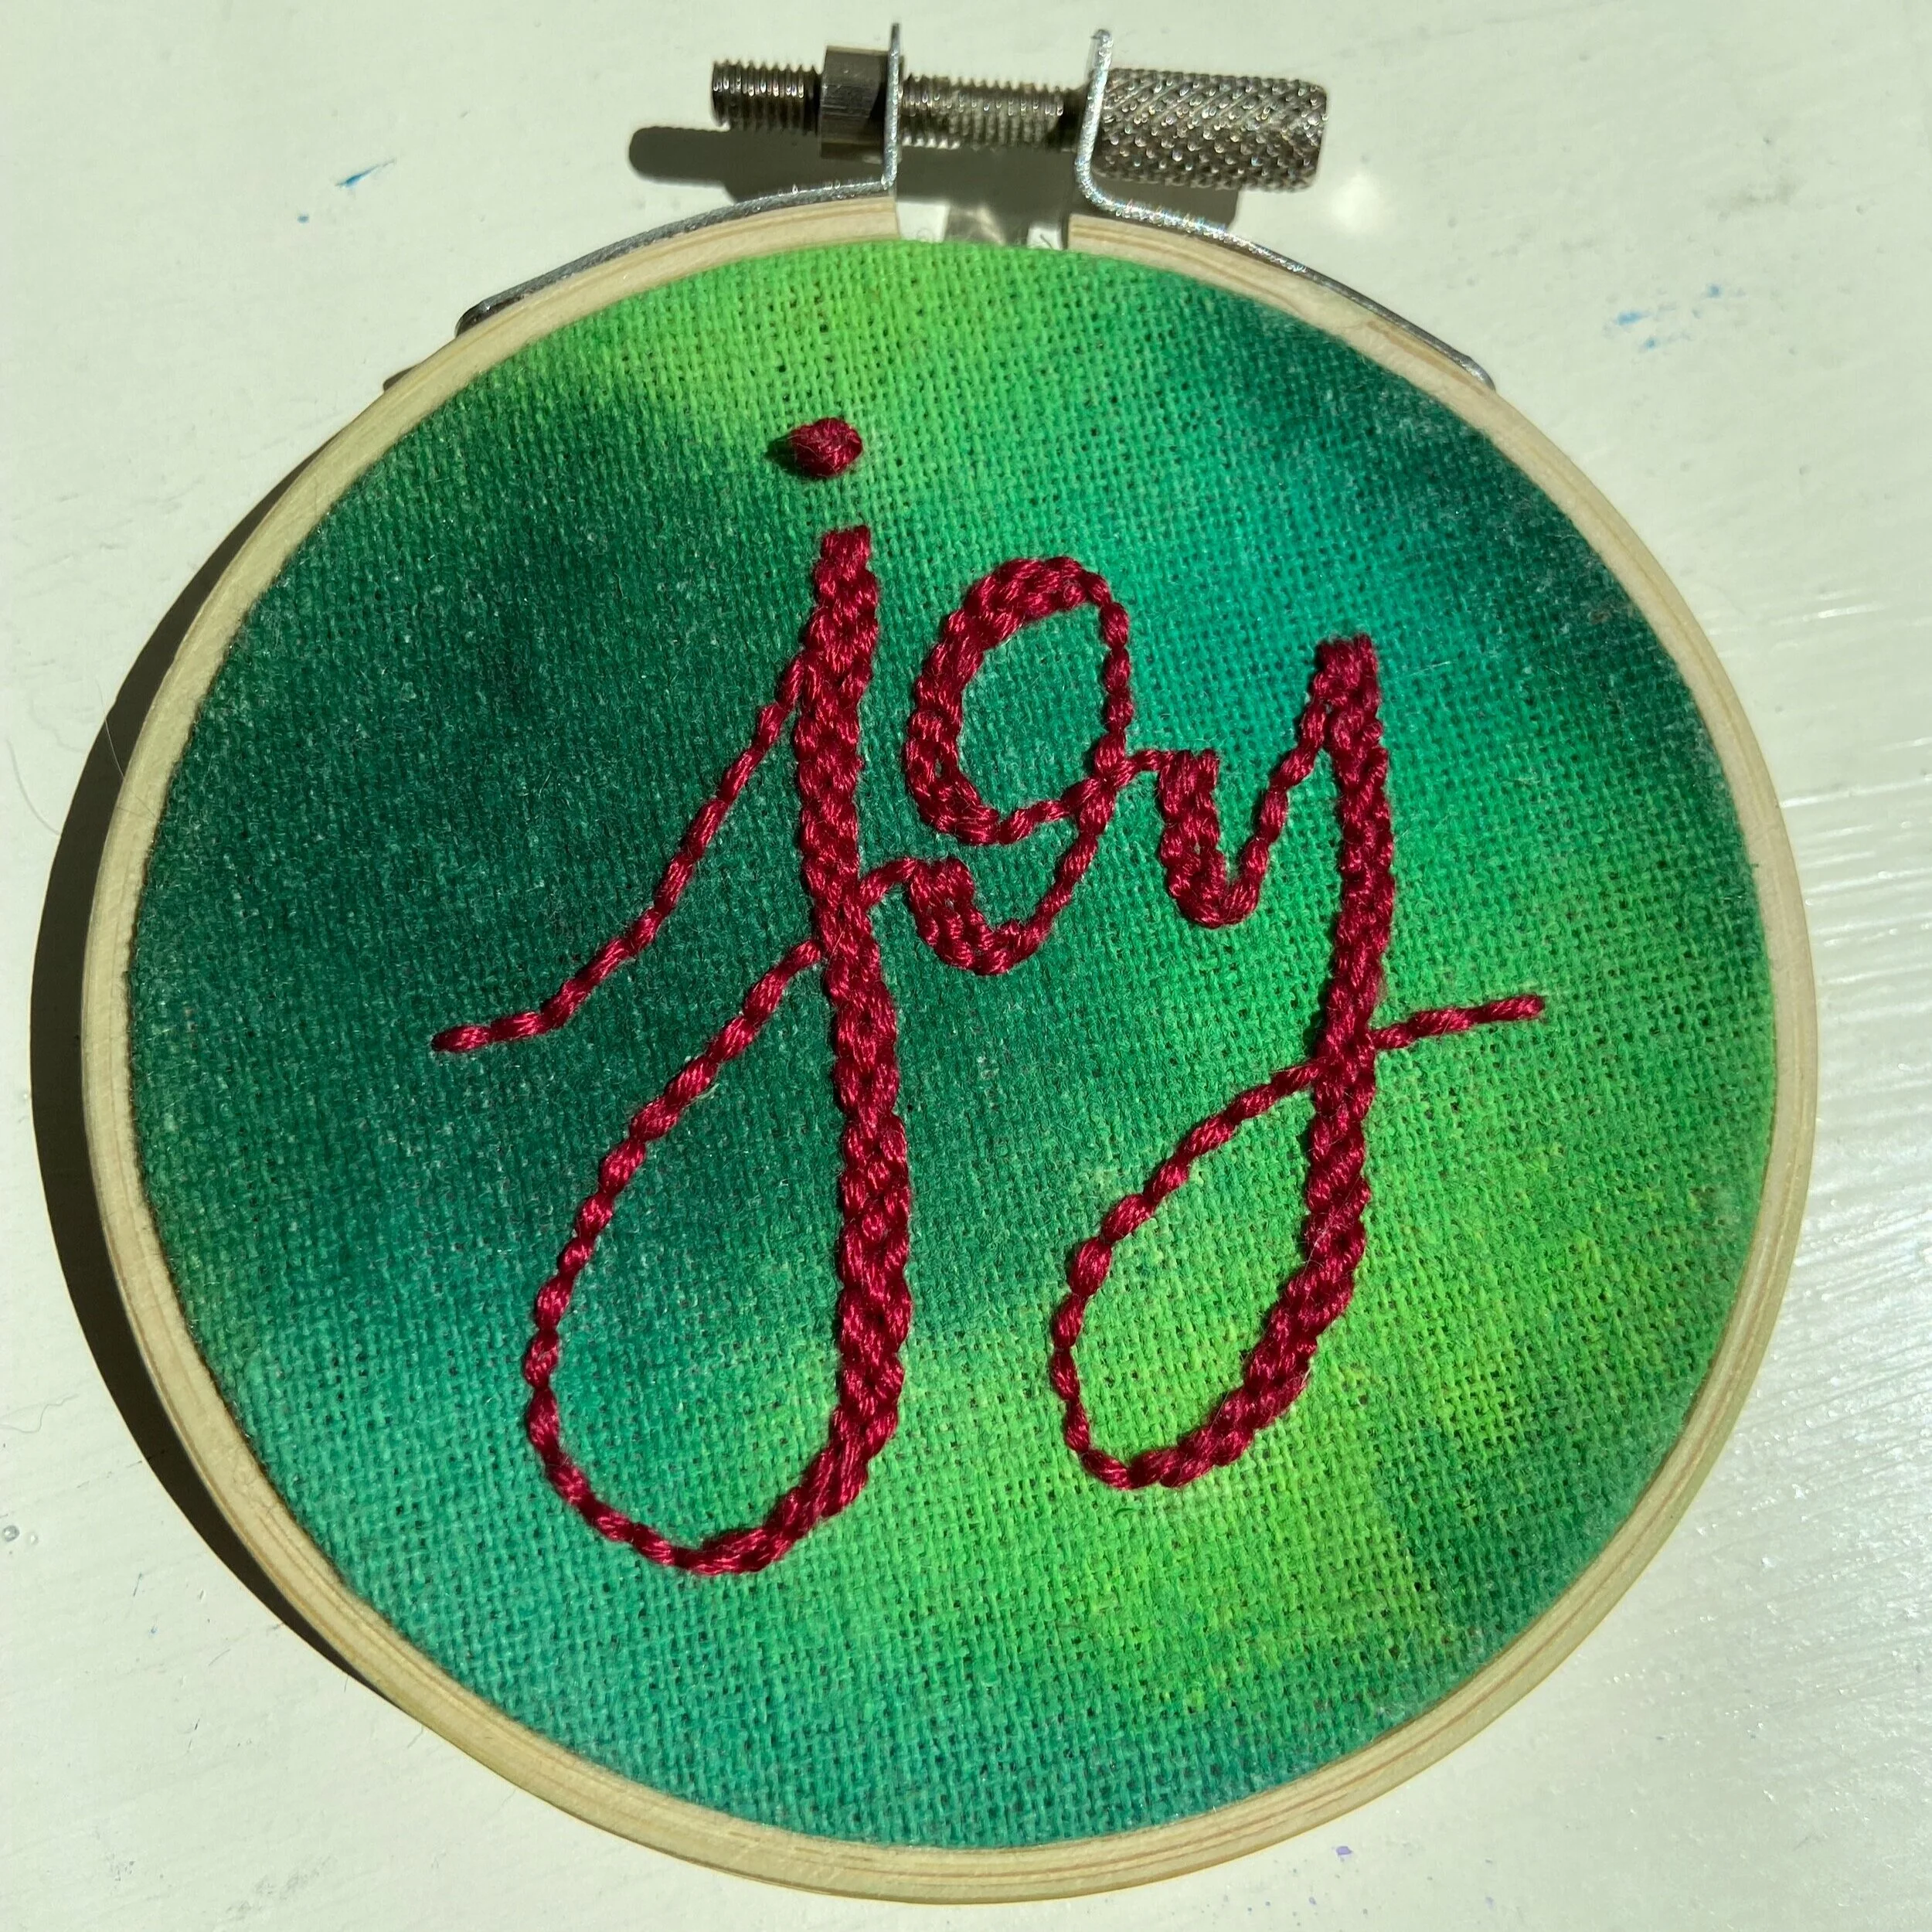
I made this embroidered watercolor ornament a few weeks back. I liked how my lettering translated onto the fabric, and I was thinking of how I could translate my ink and watercolor pieces onto fabric.
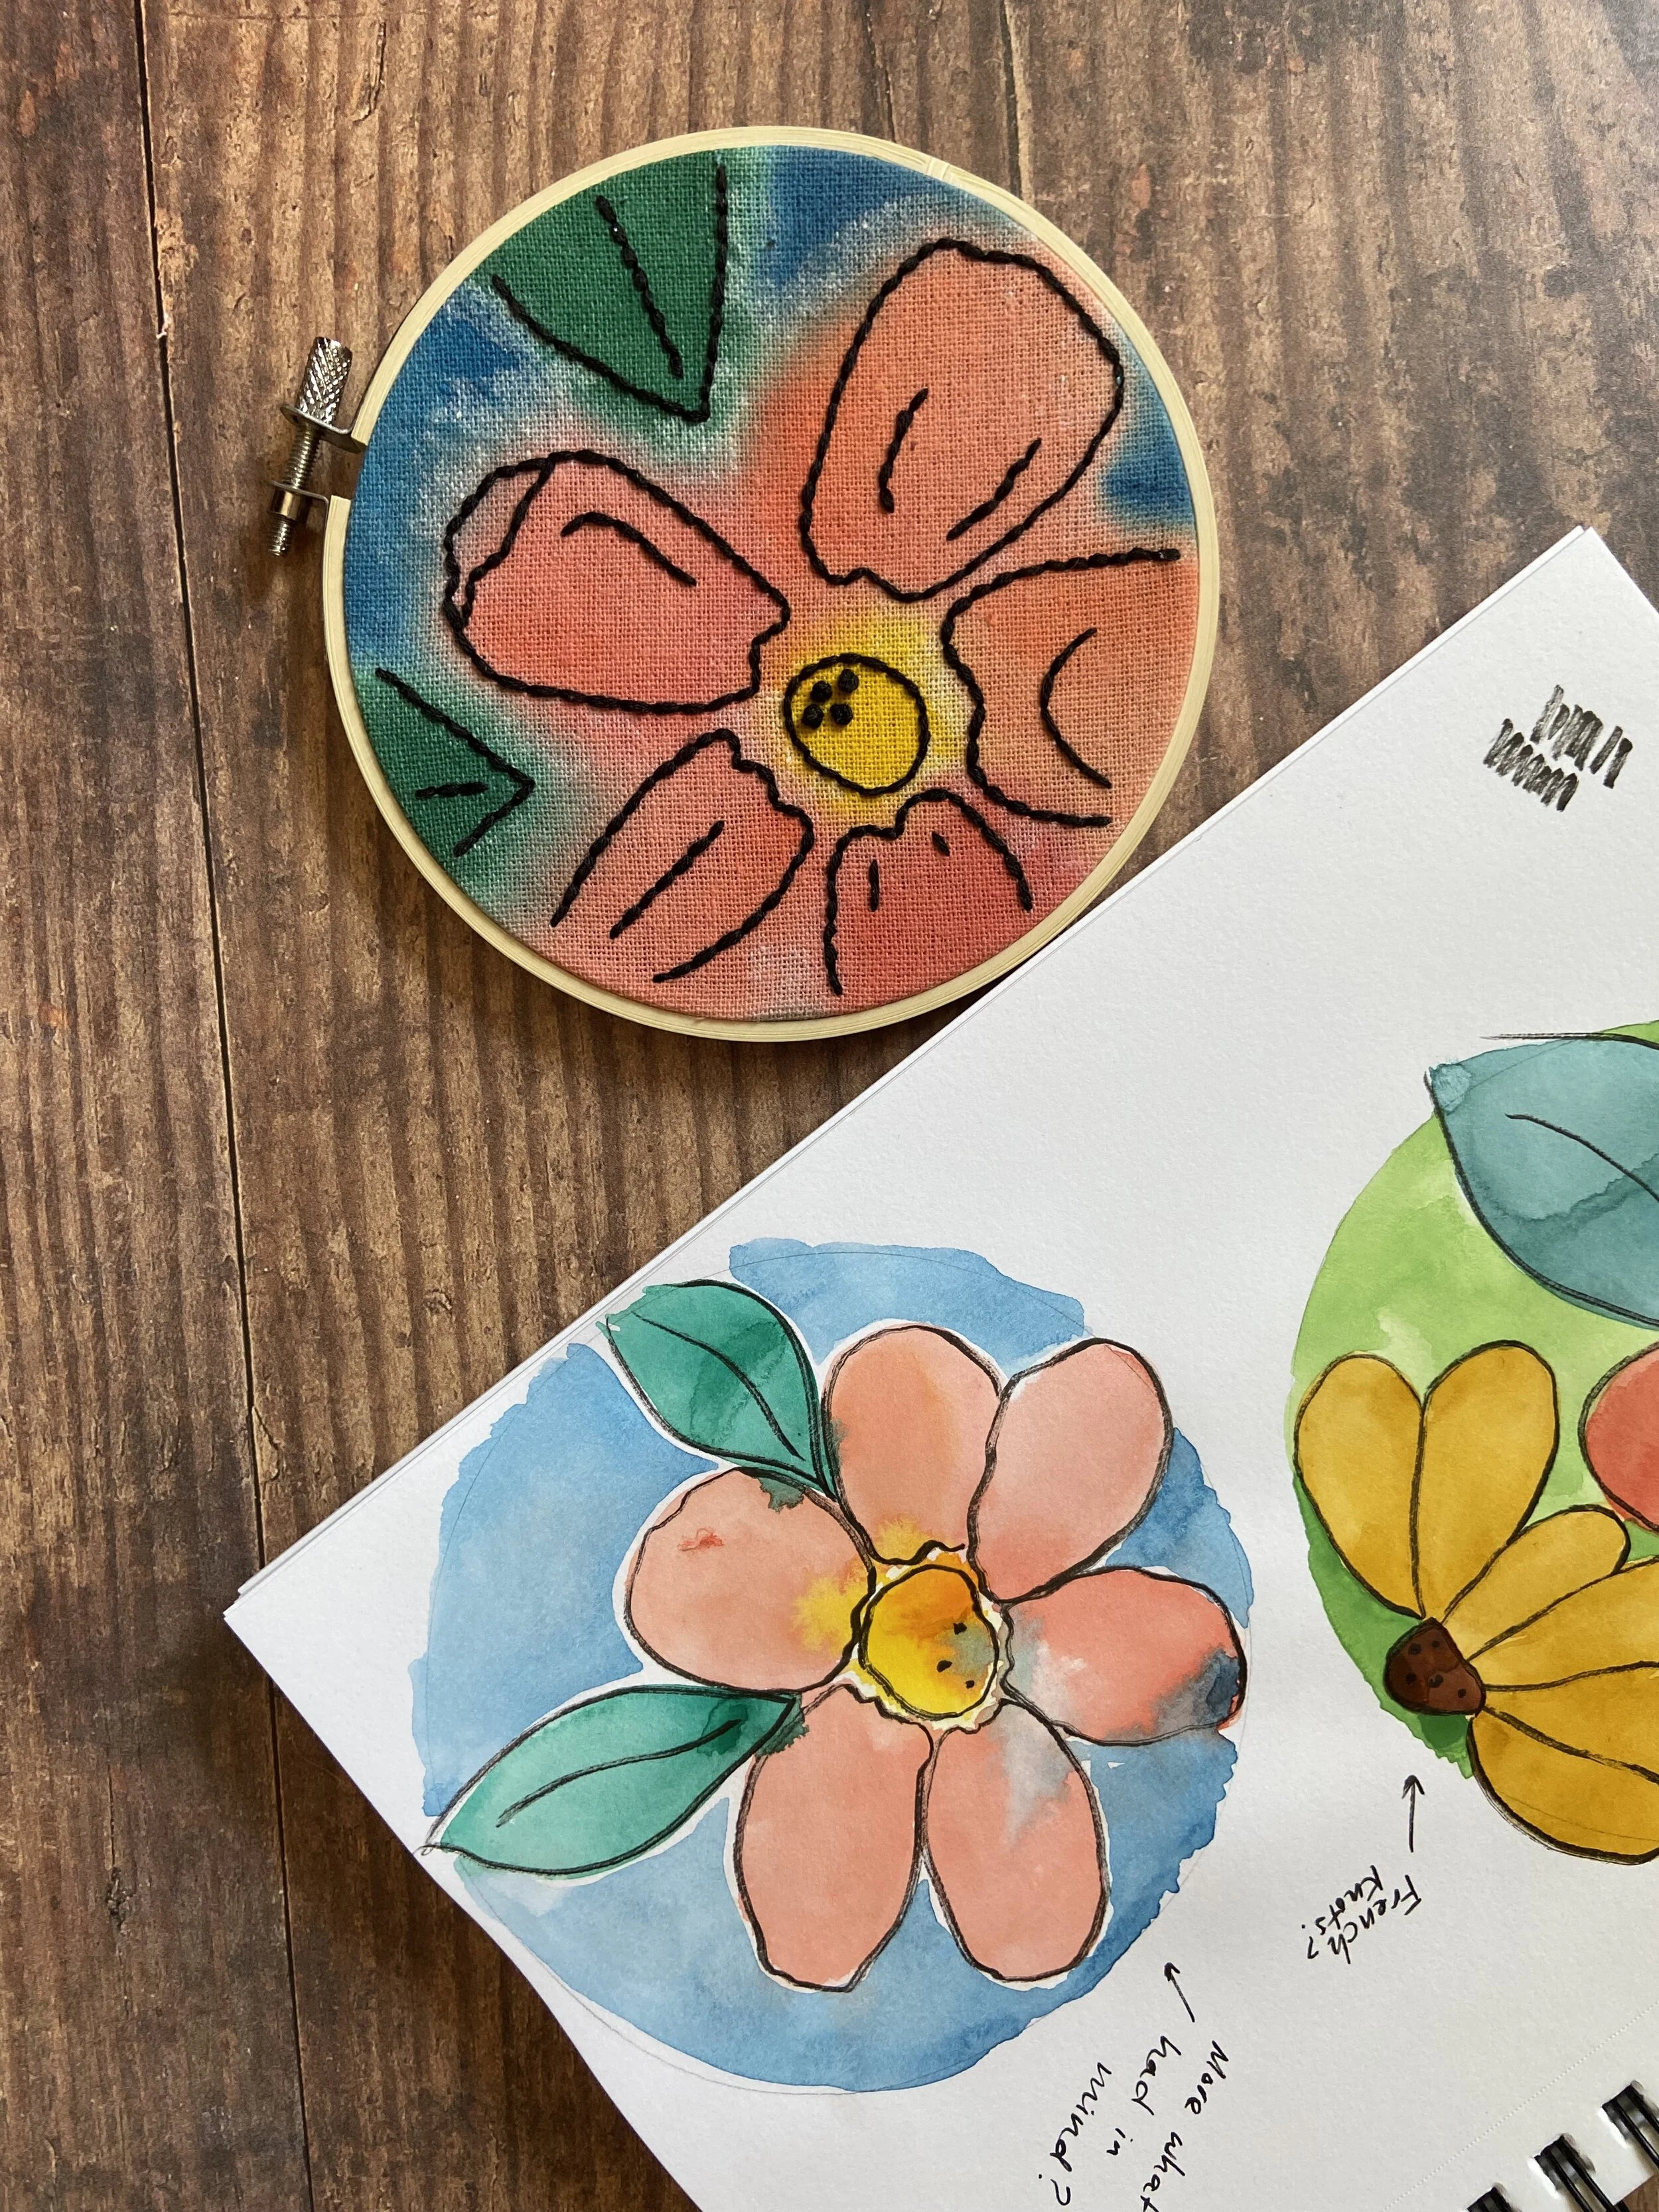
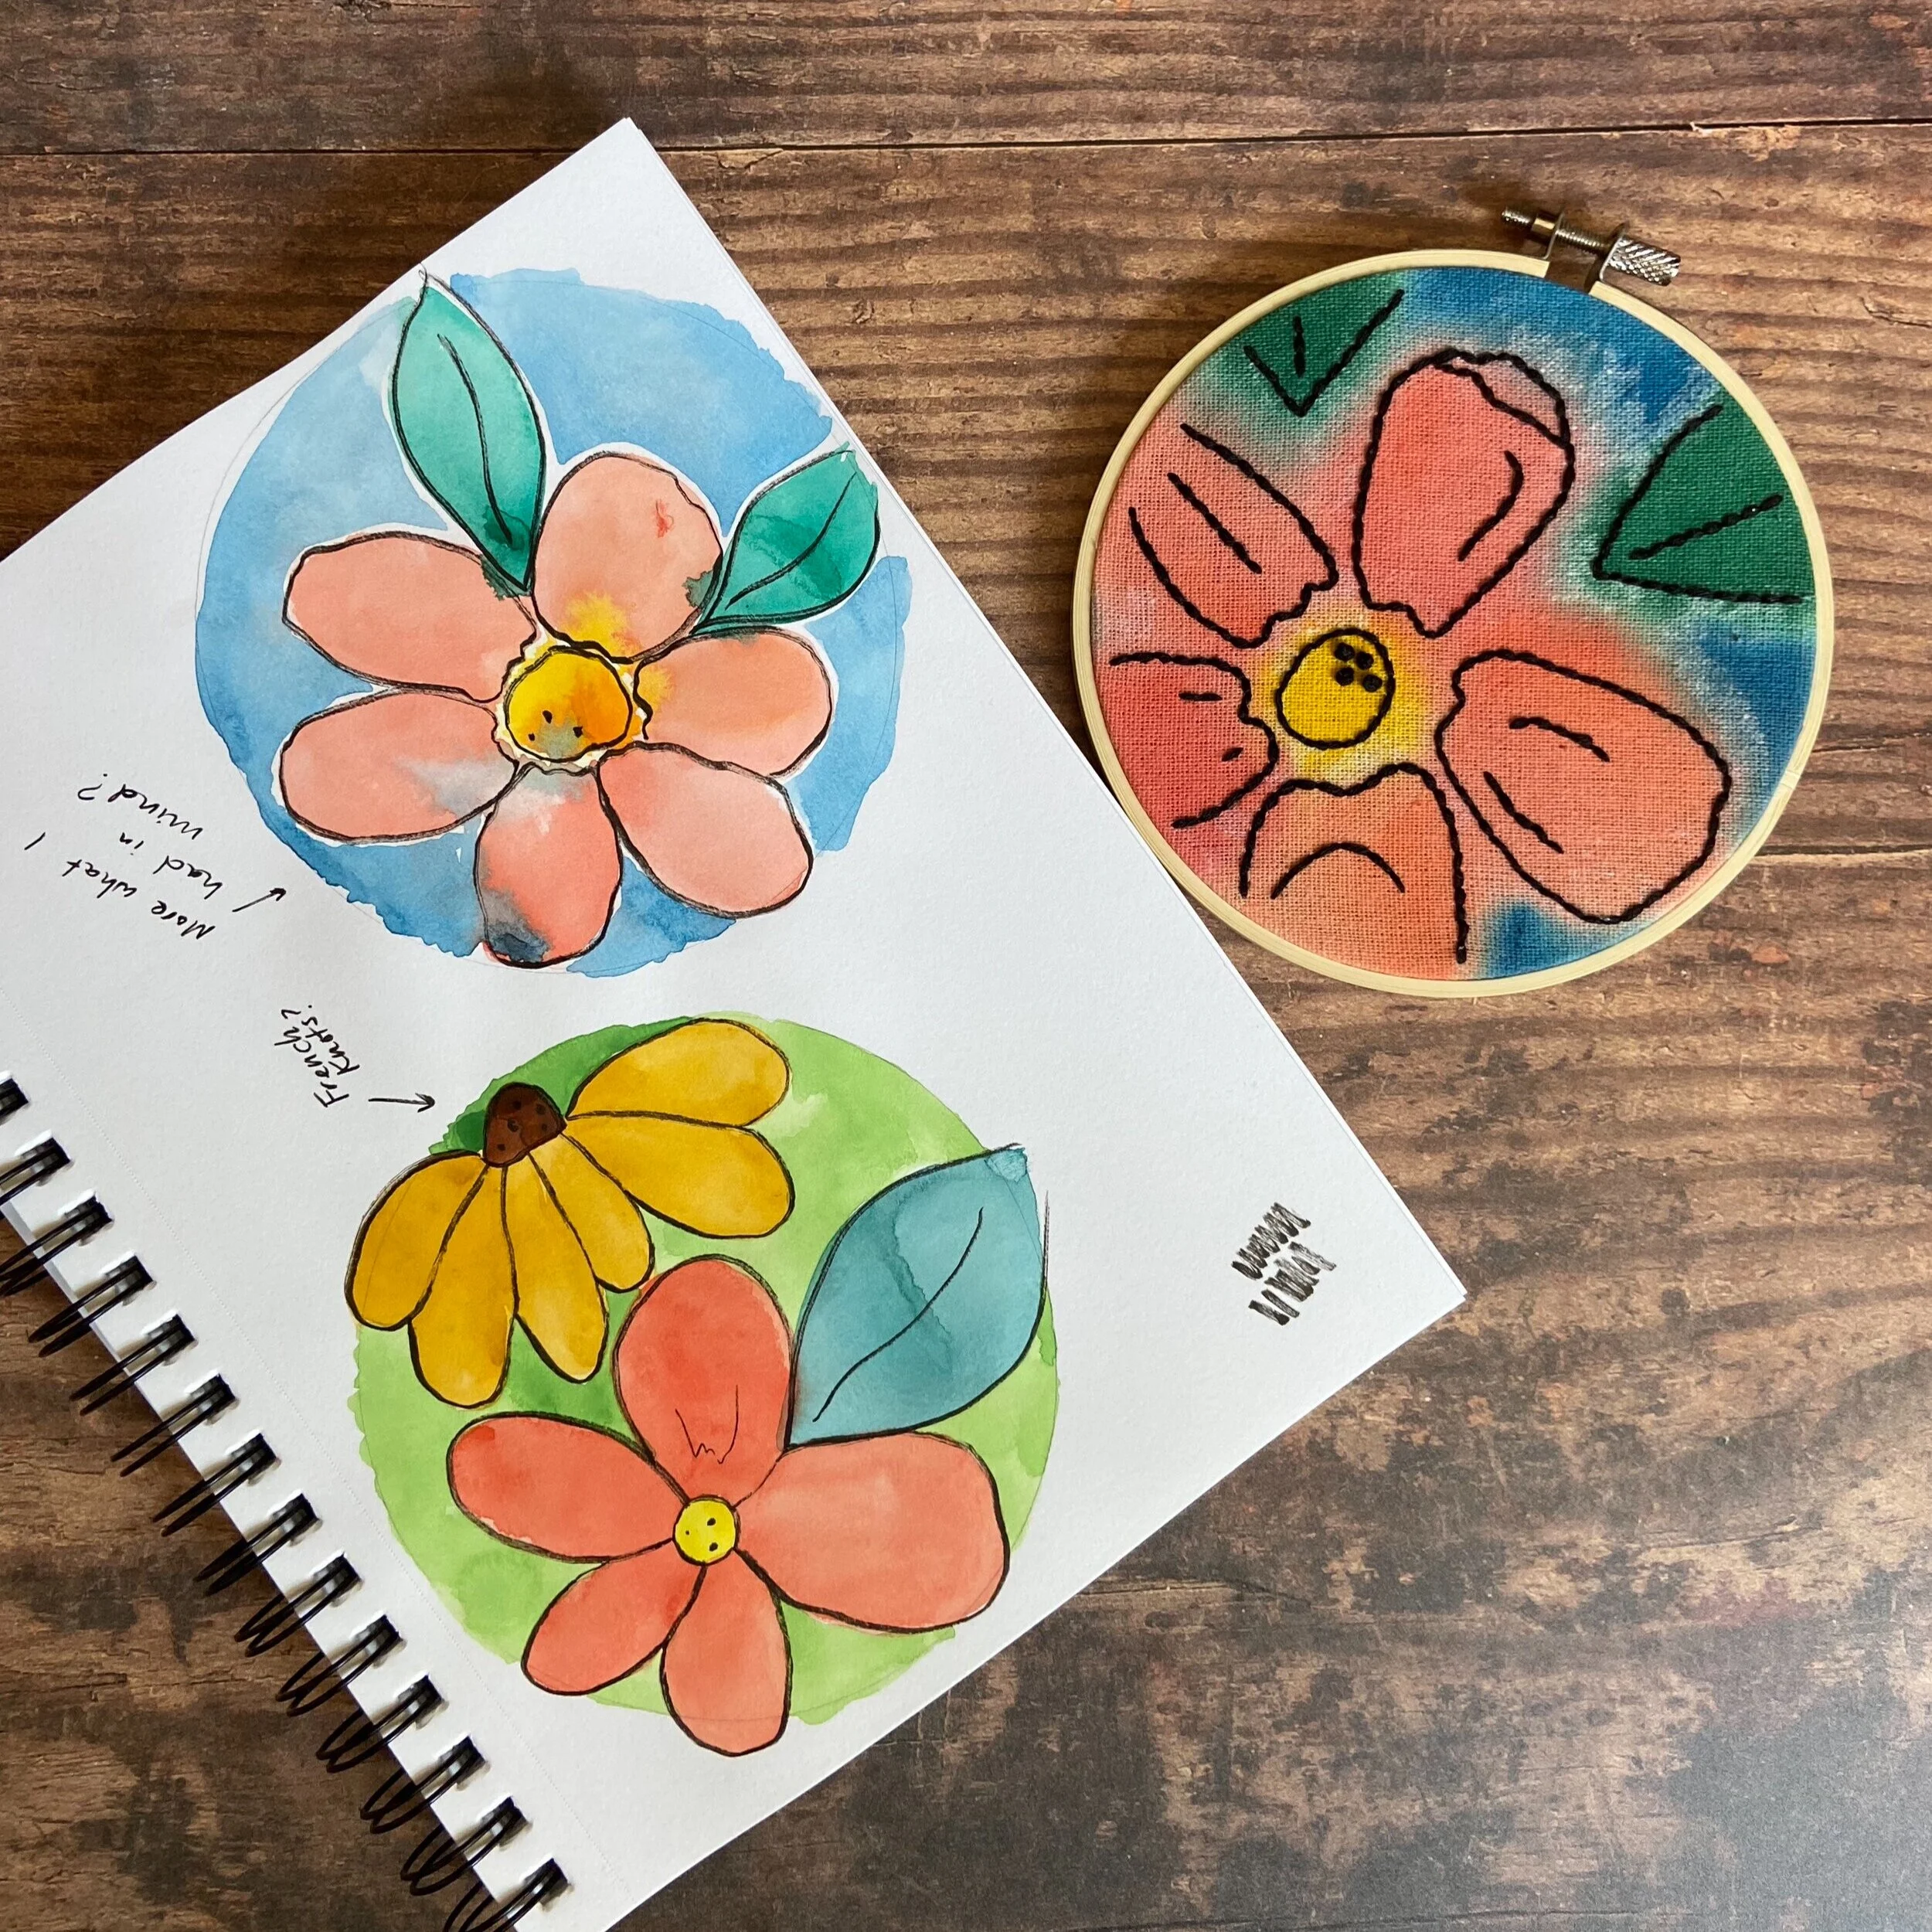
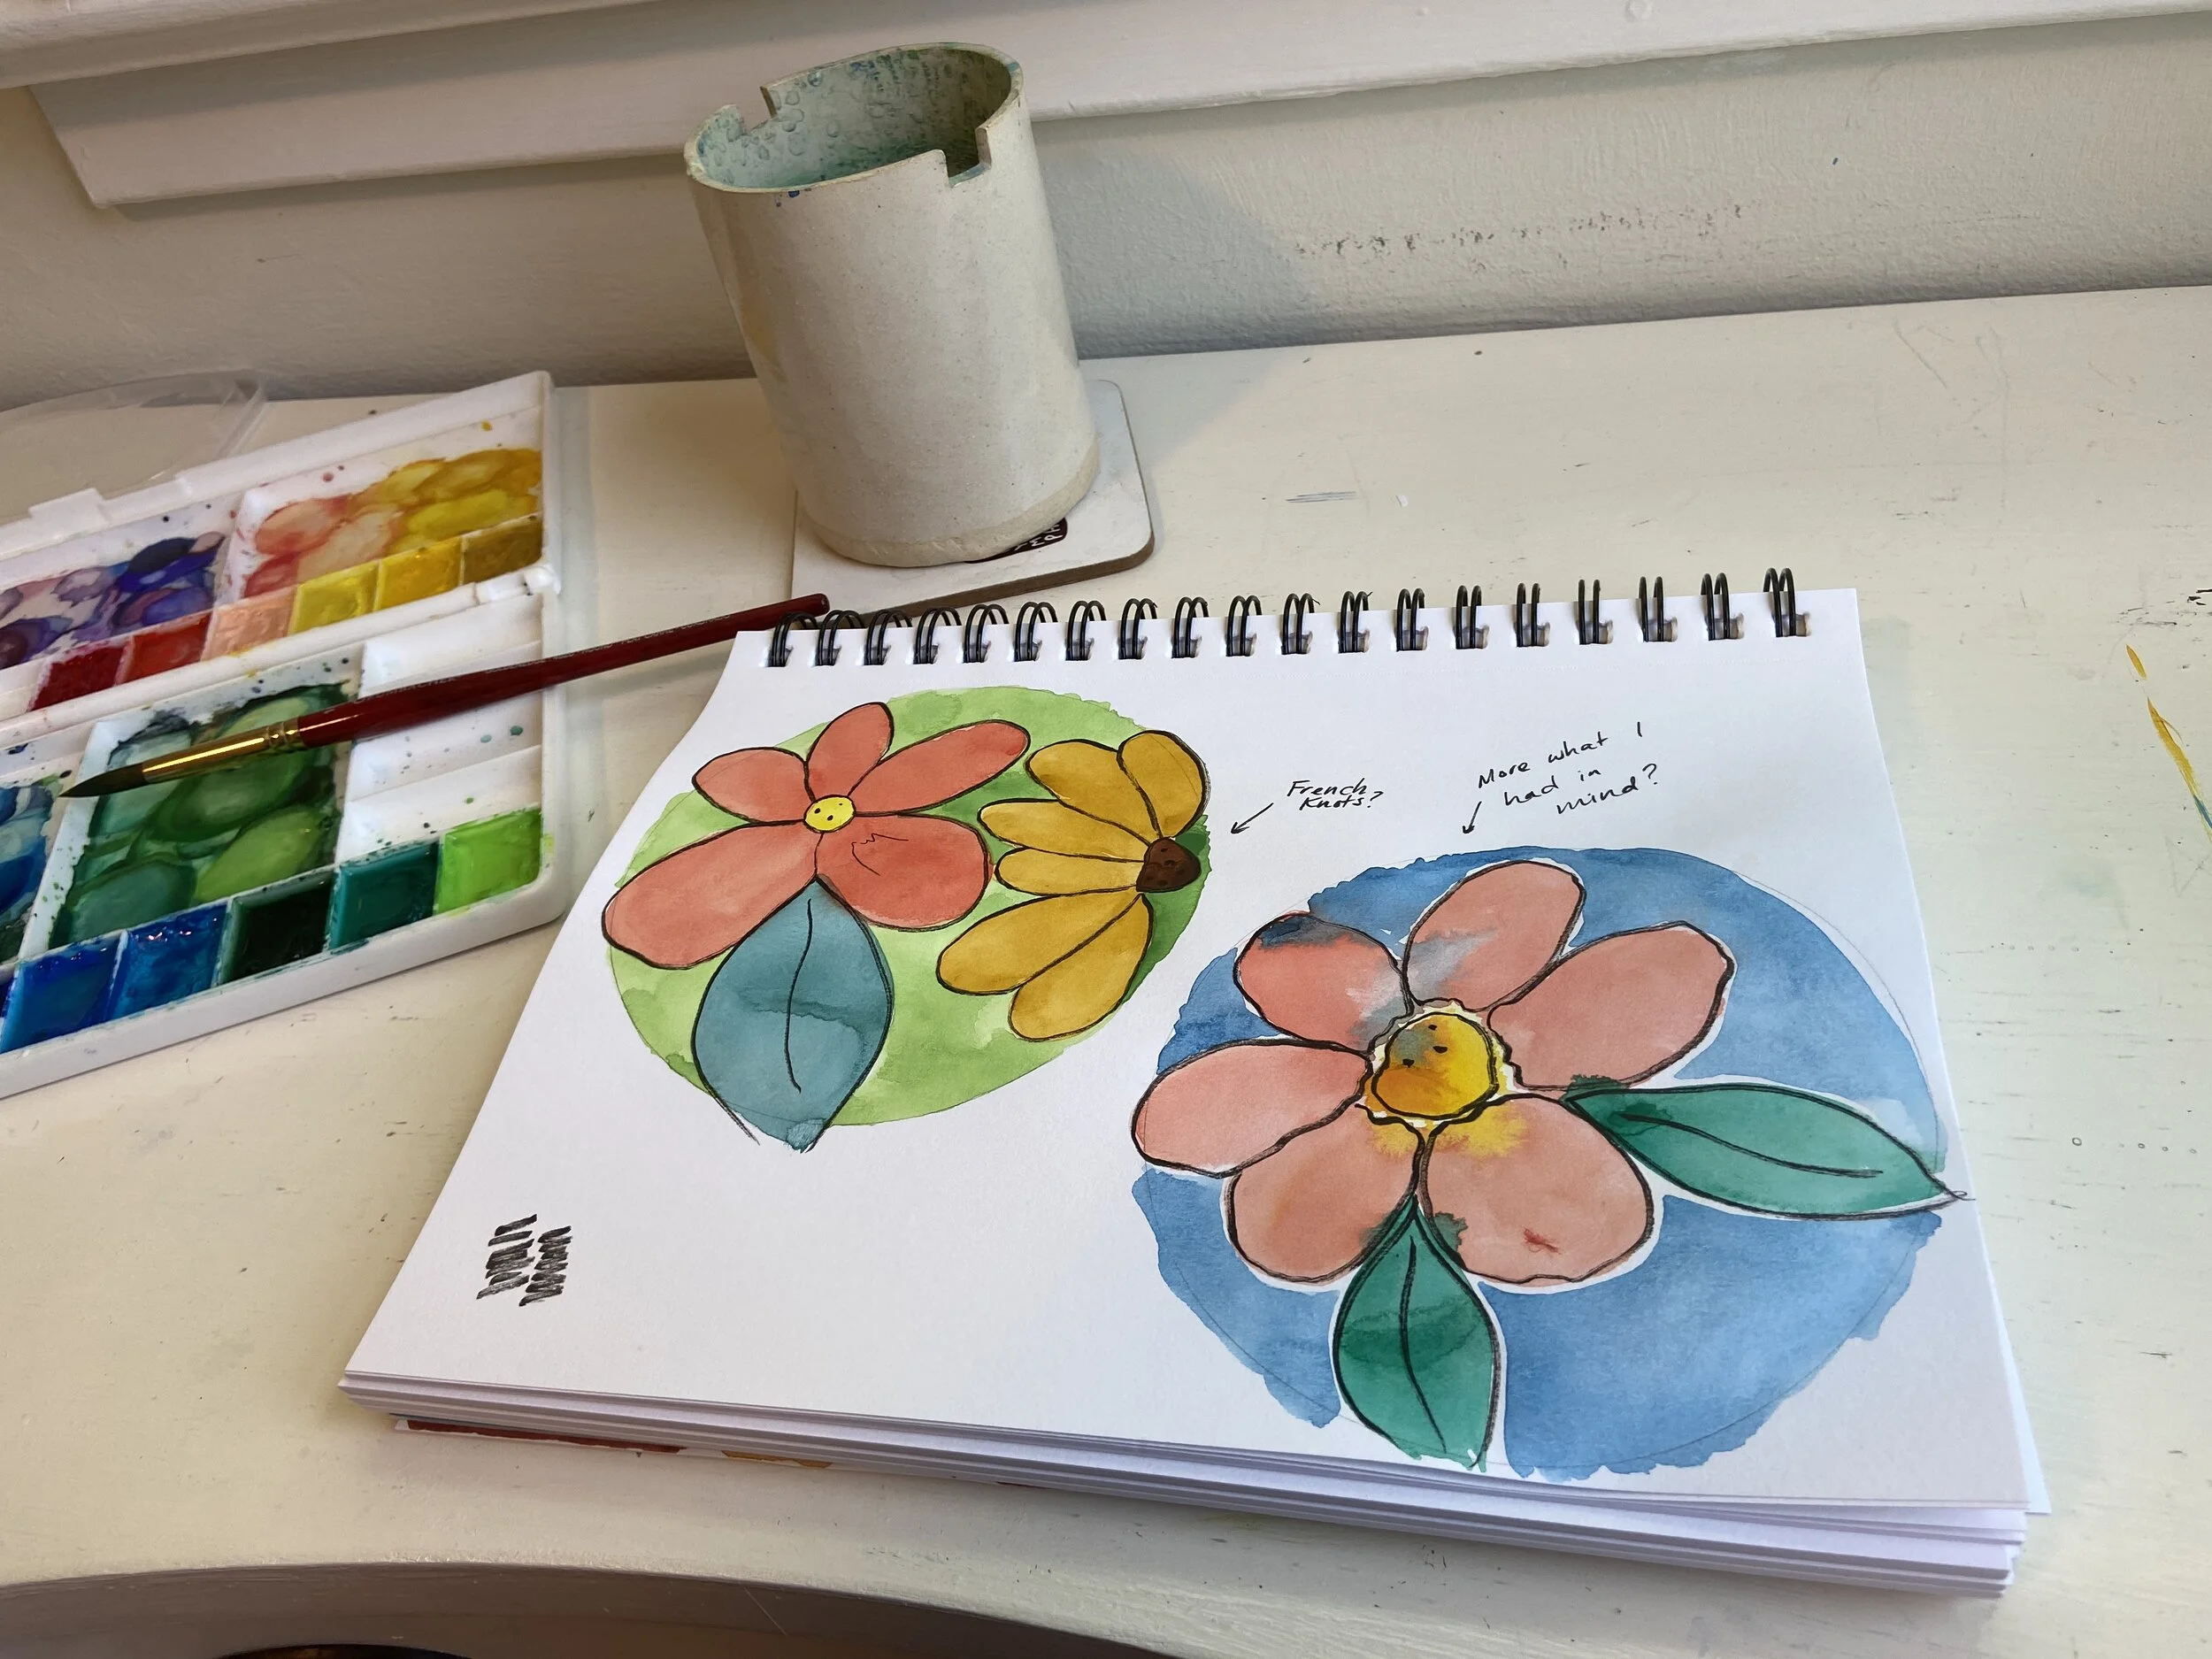
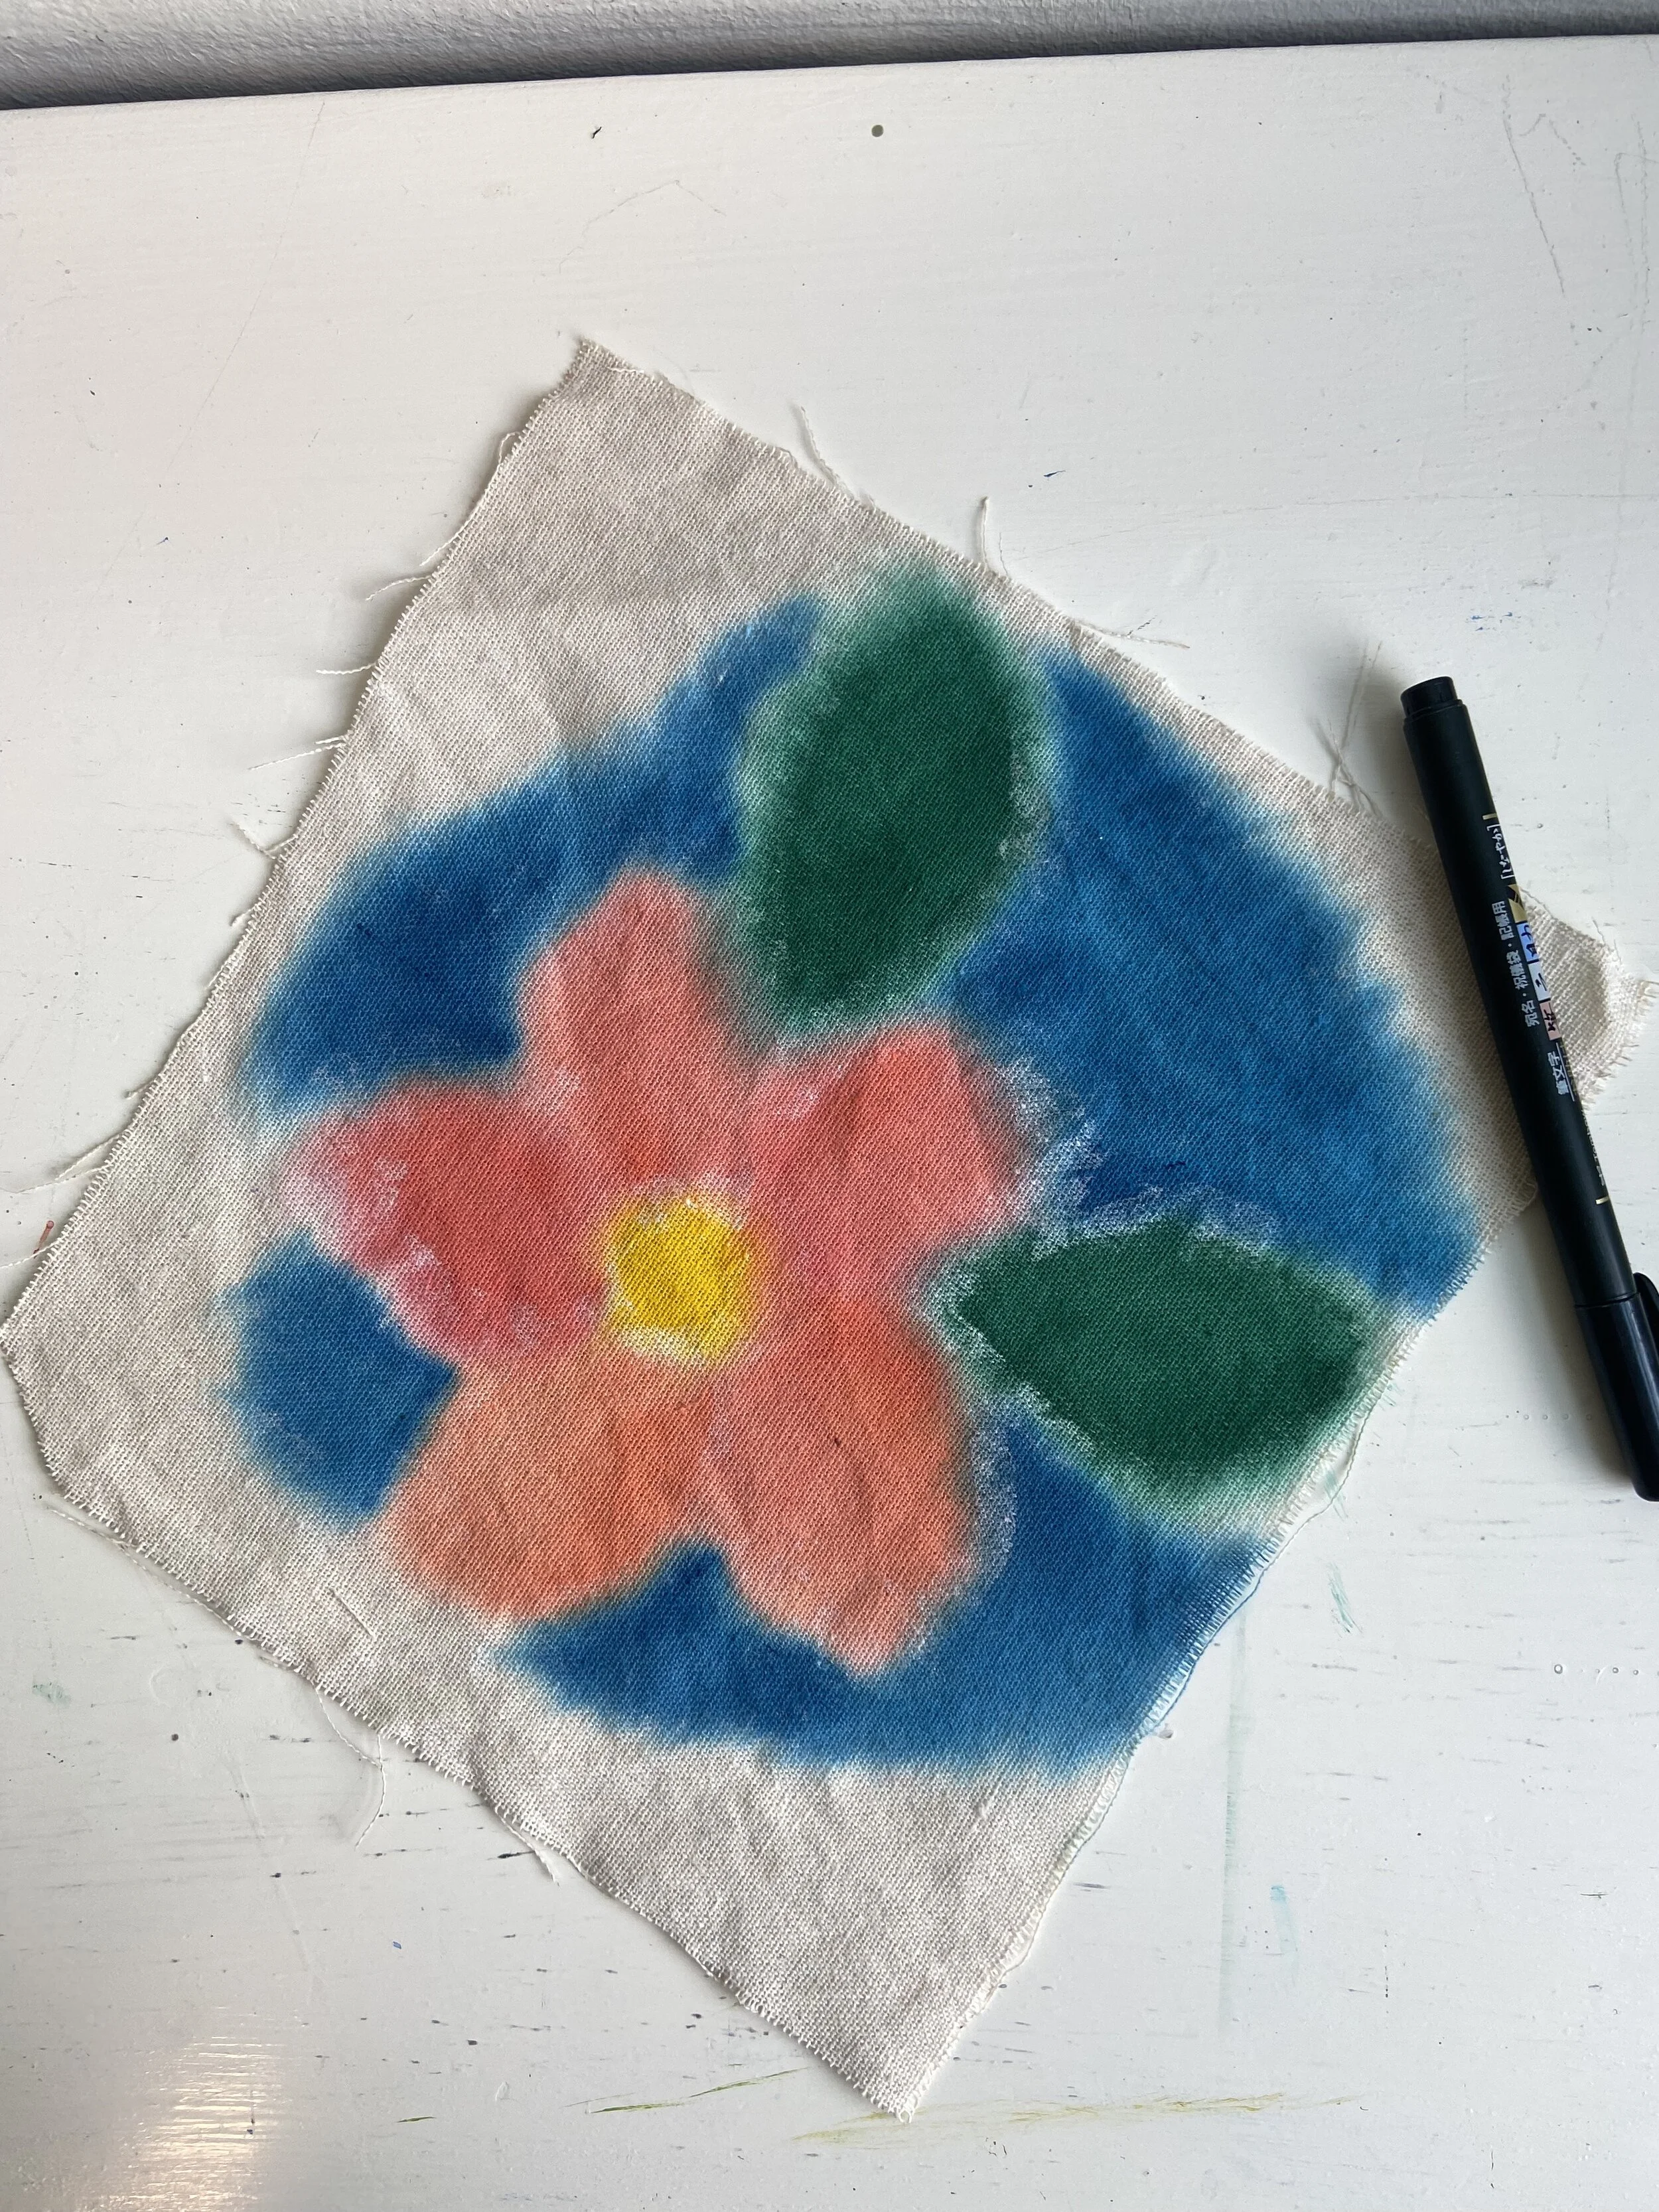
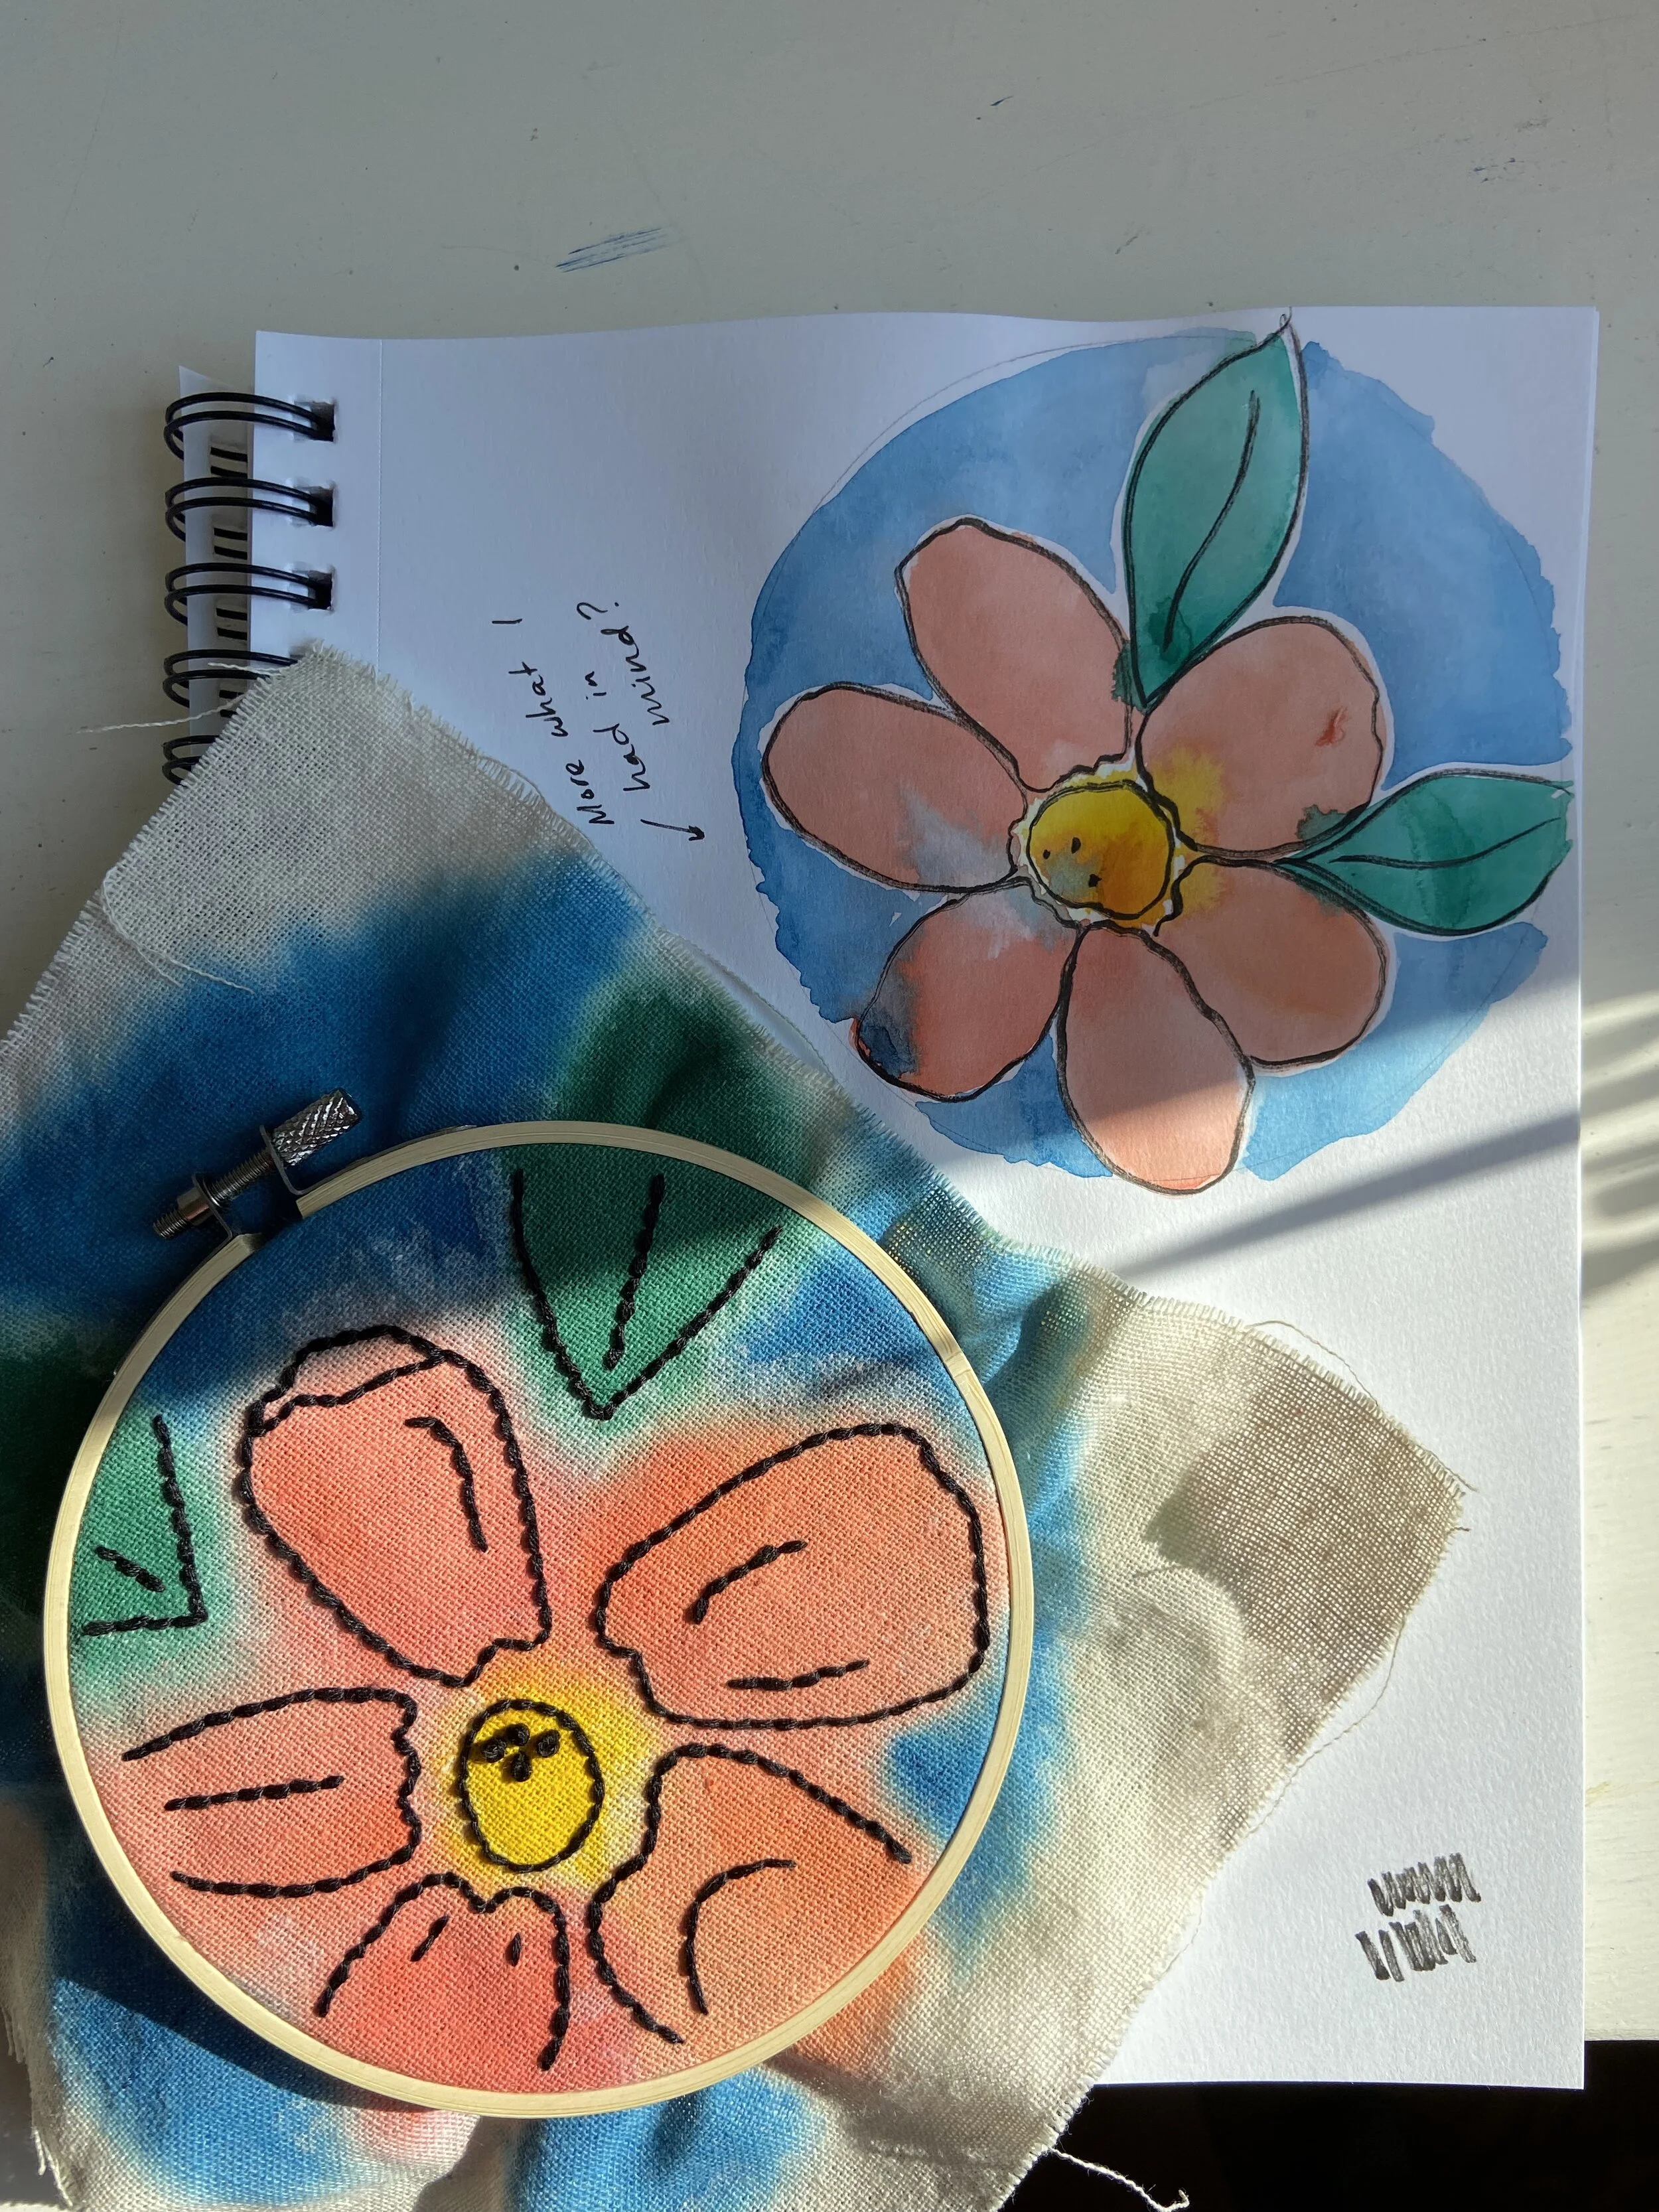
I started by making a sketch of what I thought I wanted the final piece to look like. I traced the inside of my hoop to make sure I kept the scale of my drawings accurate to fit on the final piece. The first sketch (with the green background) was fine, and I had an idea of how to add texture with french knots. However, I know that the watercolor will bloom and spread on the fabric, and I liked the colors on the second sketch, so I decided to try the single flower on the blue background.
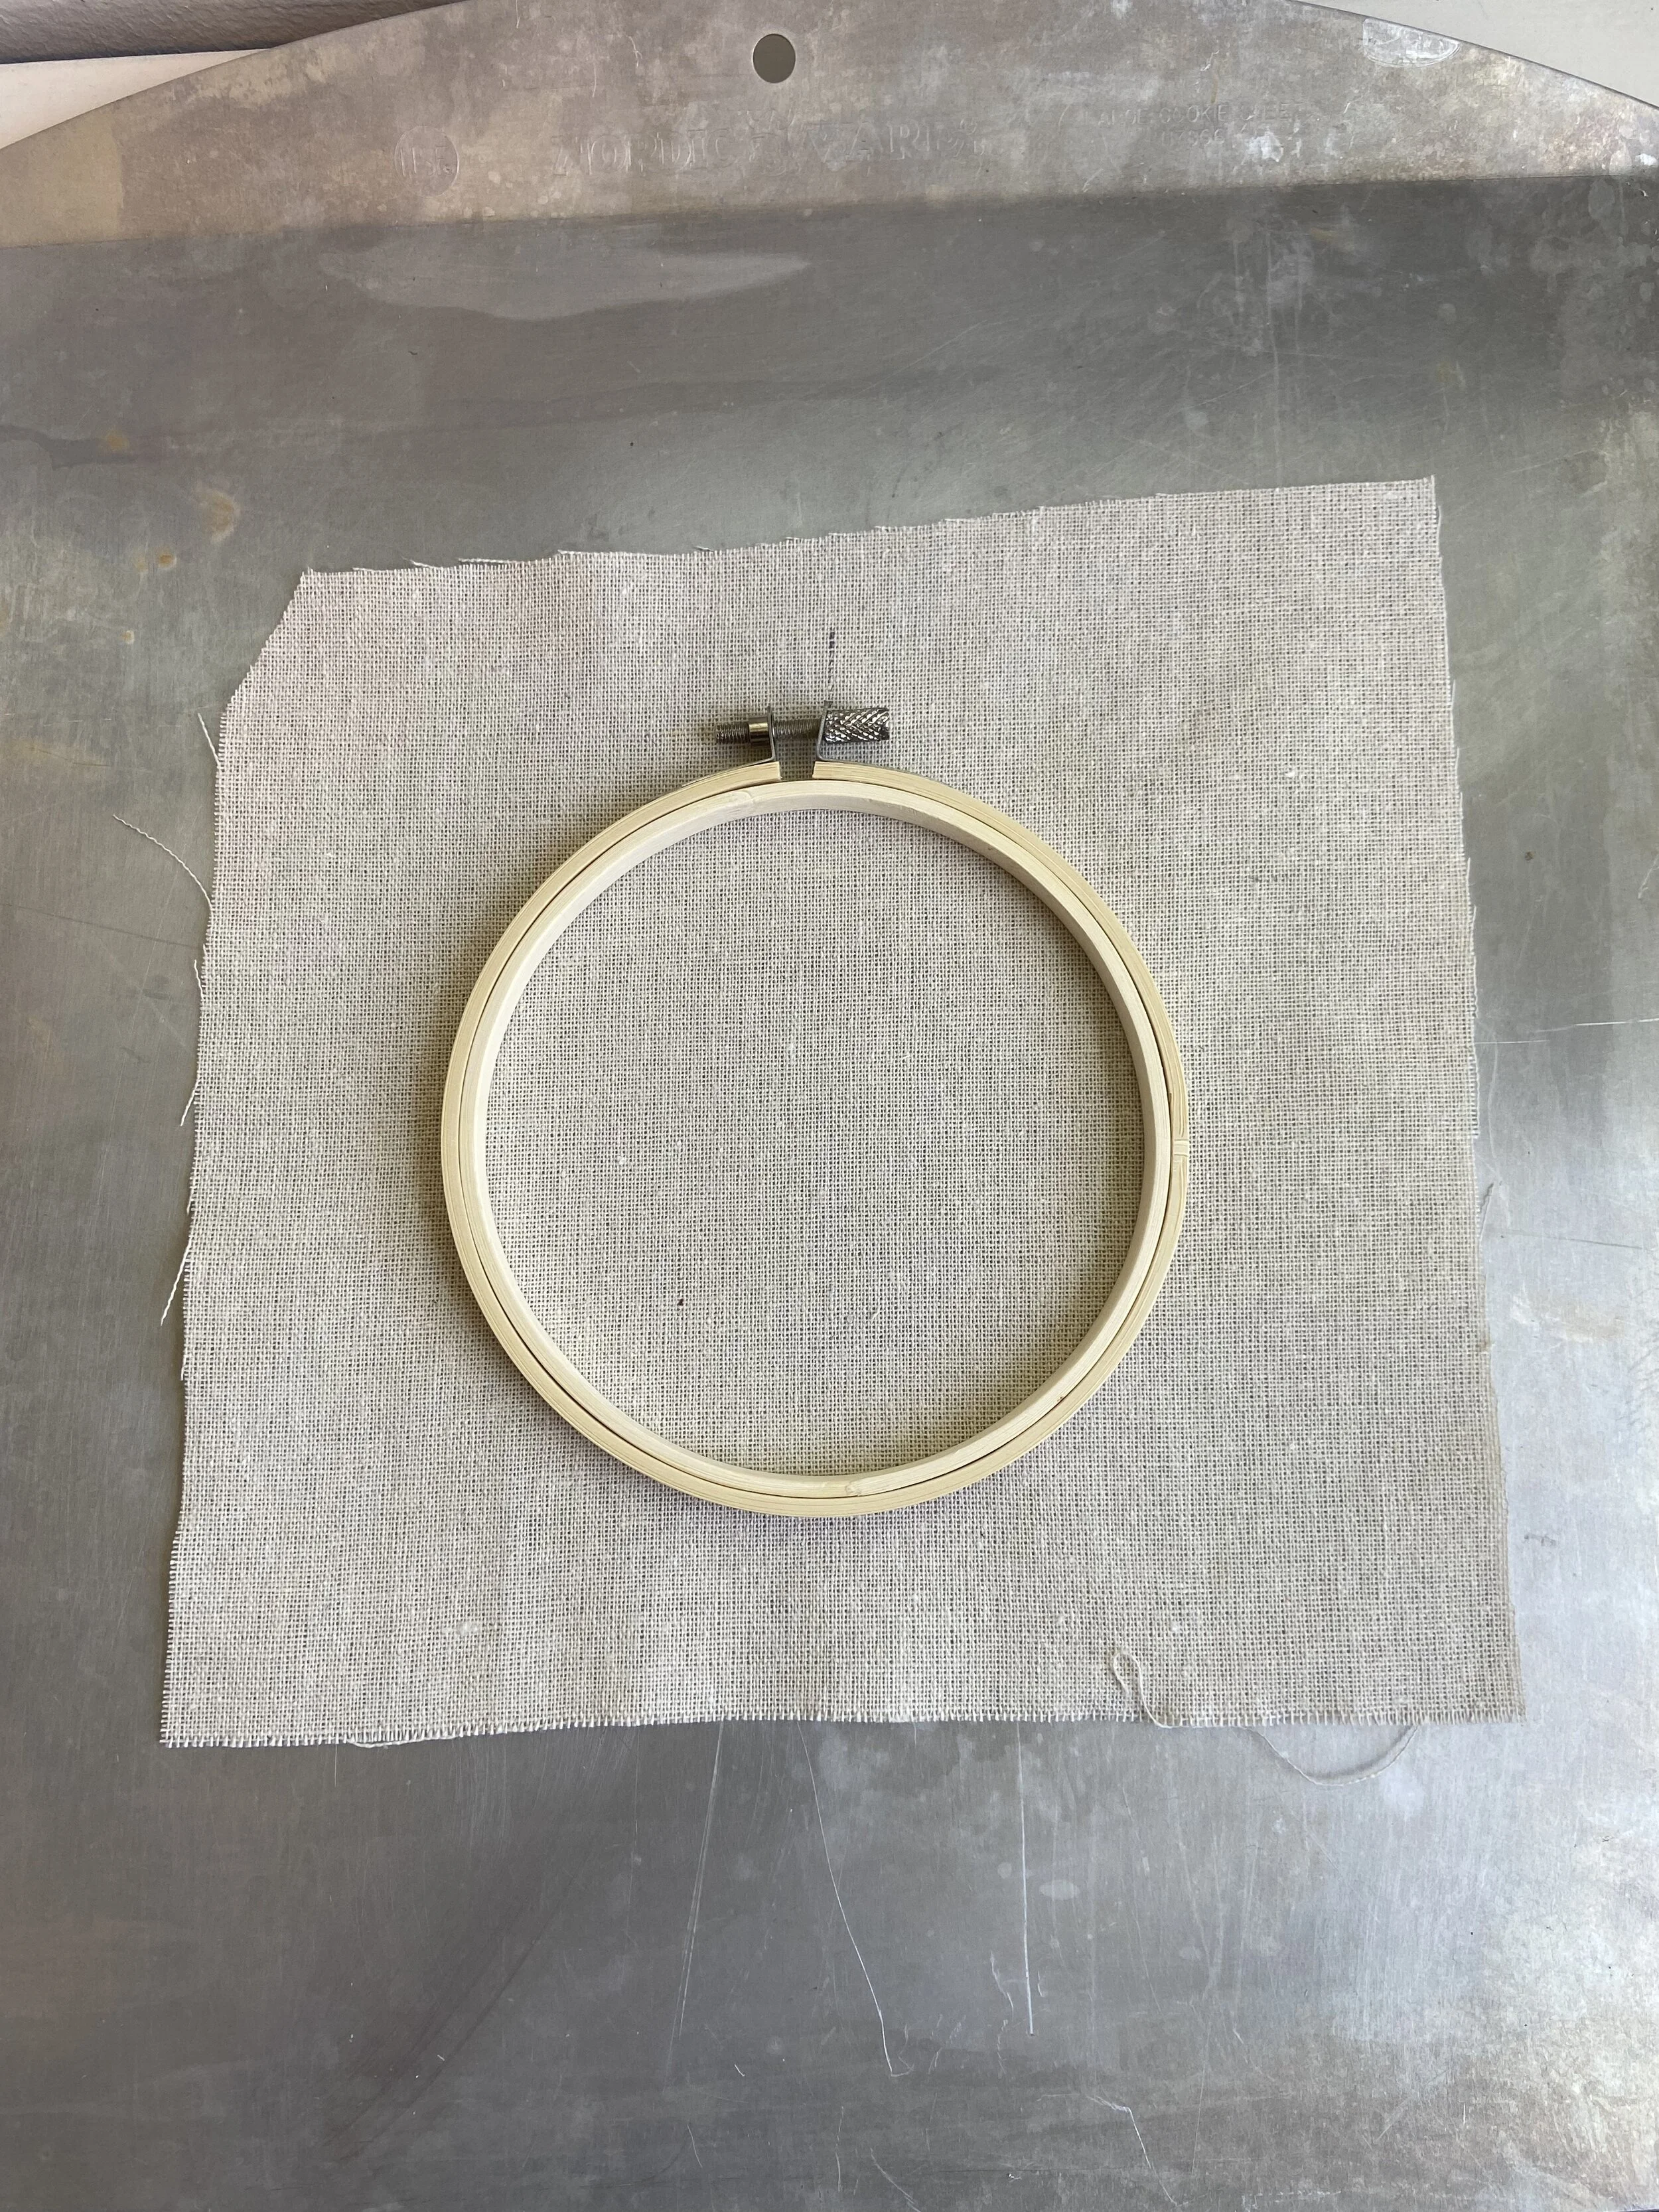
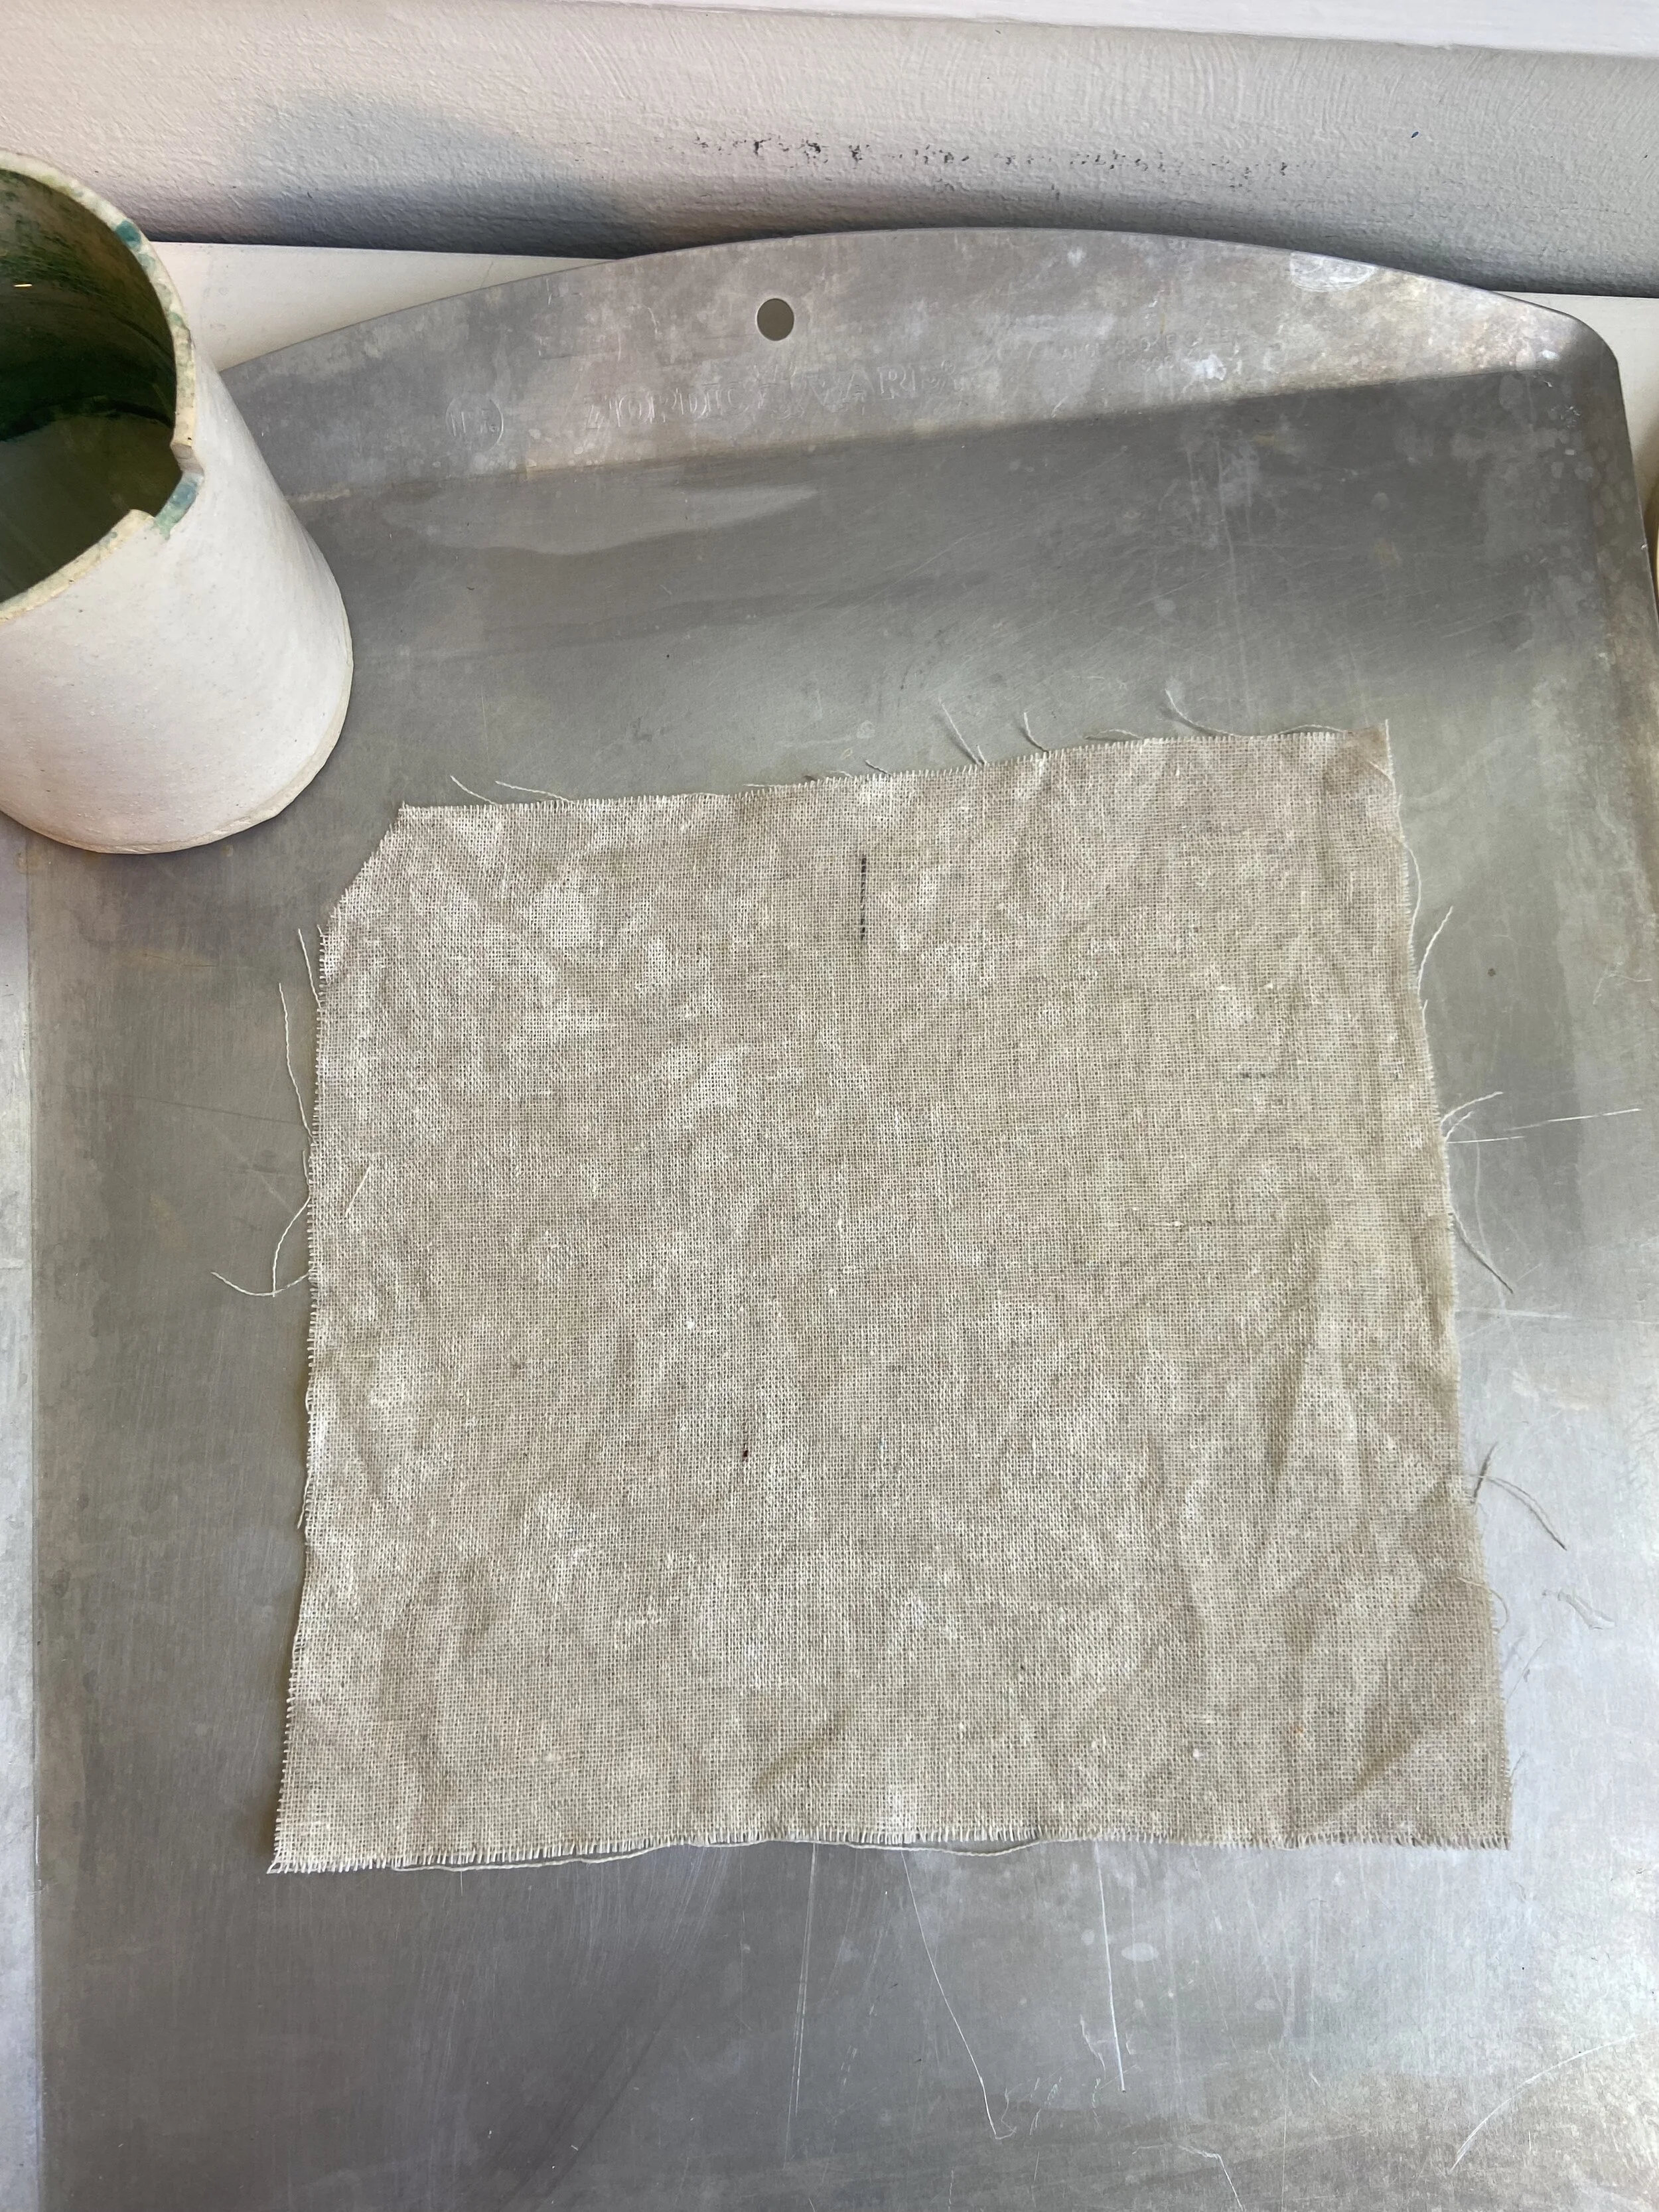
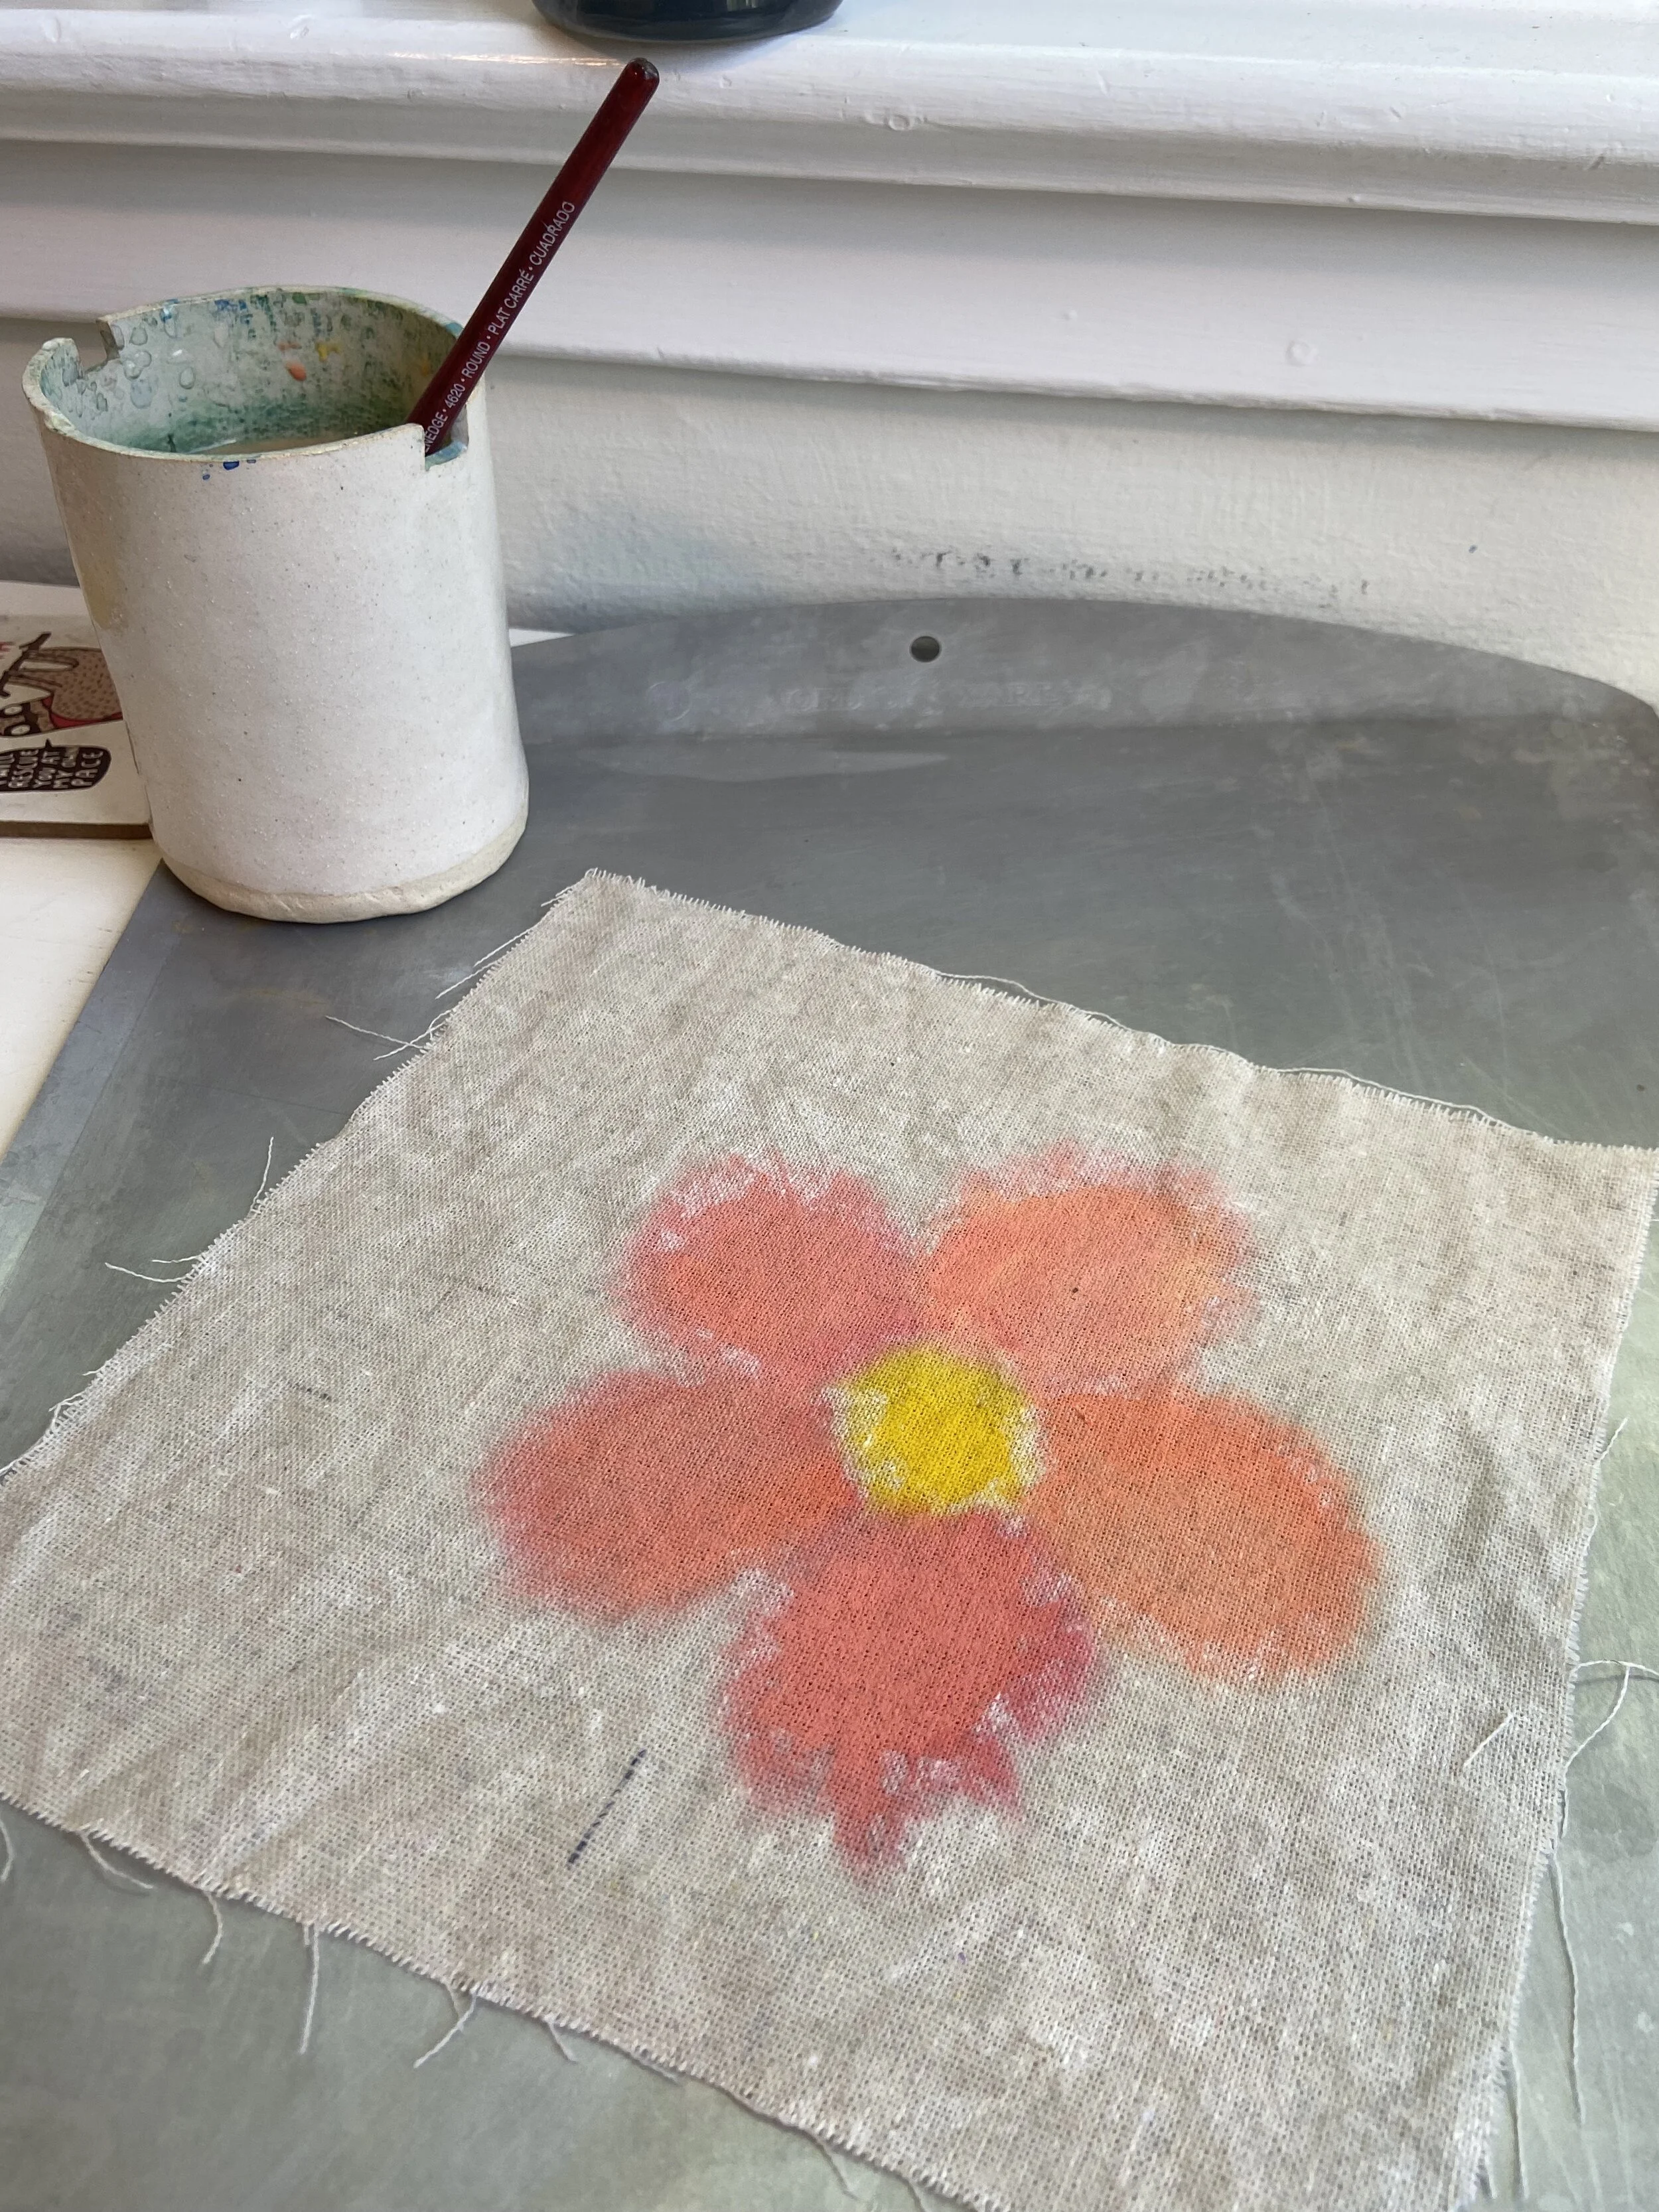
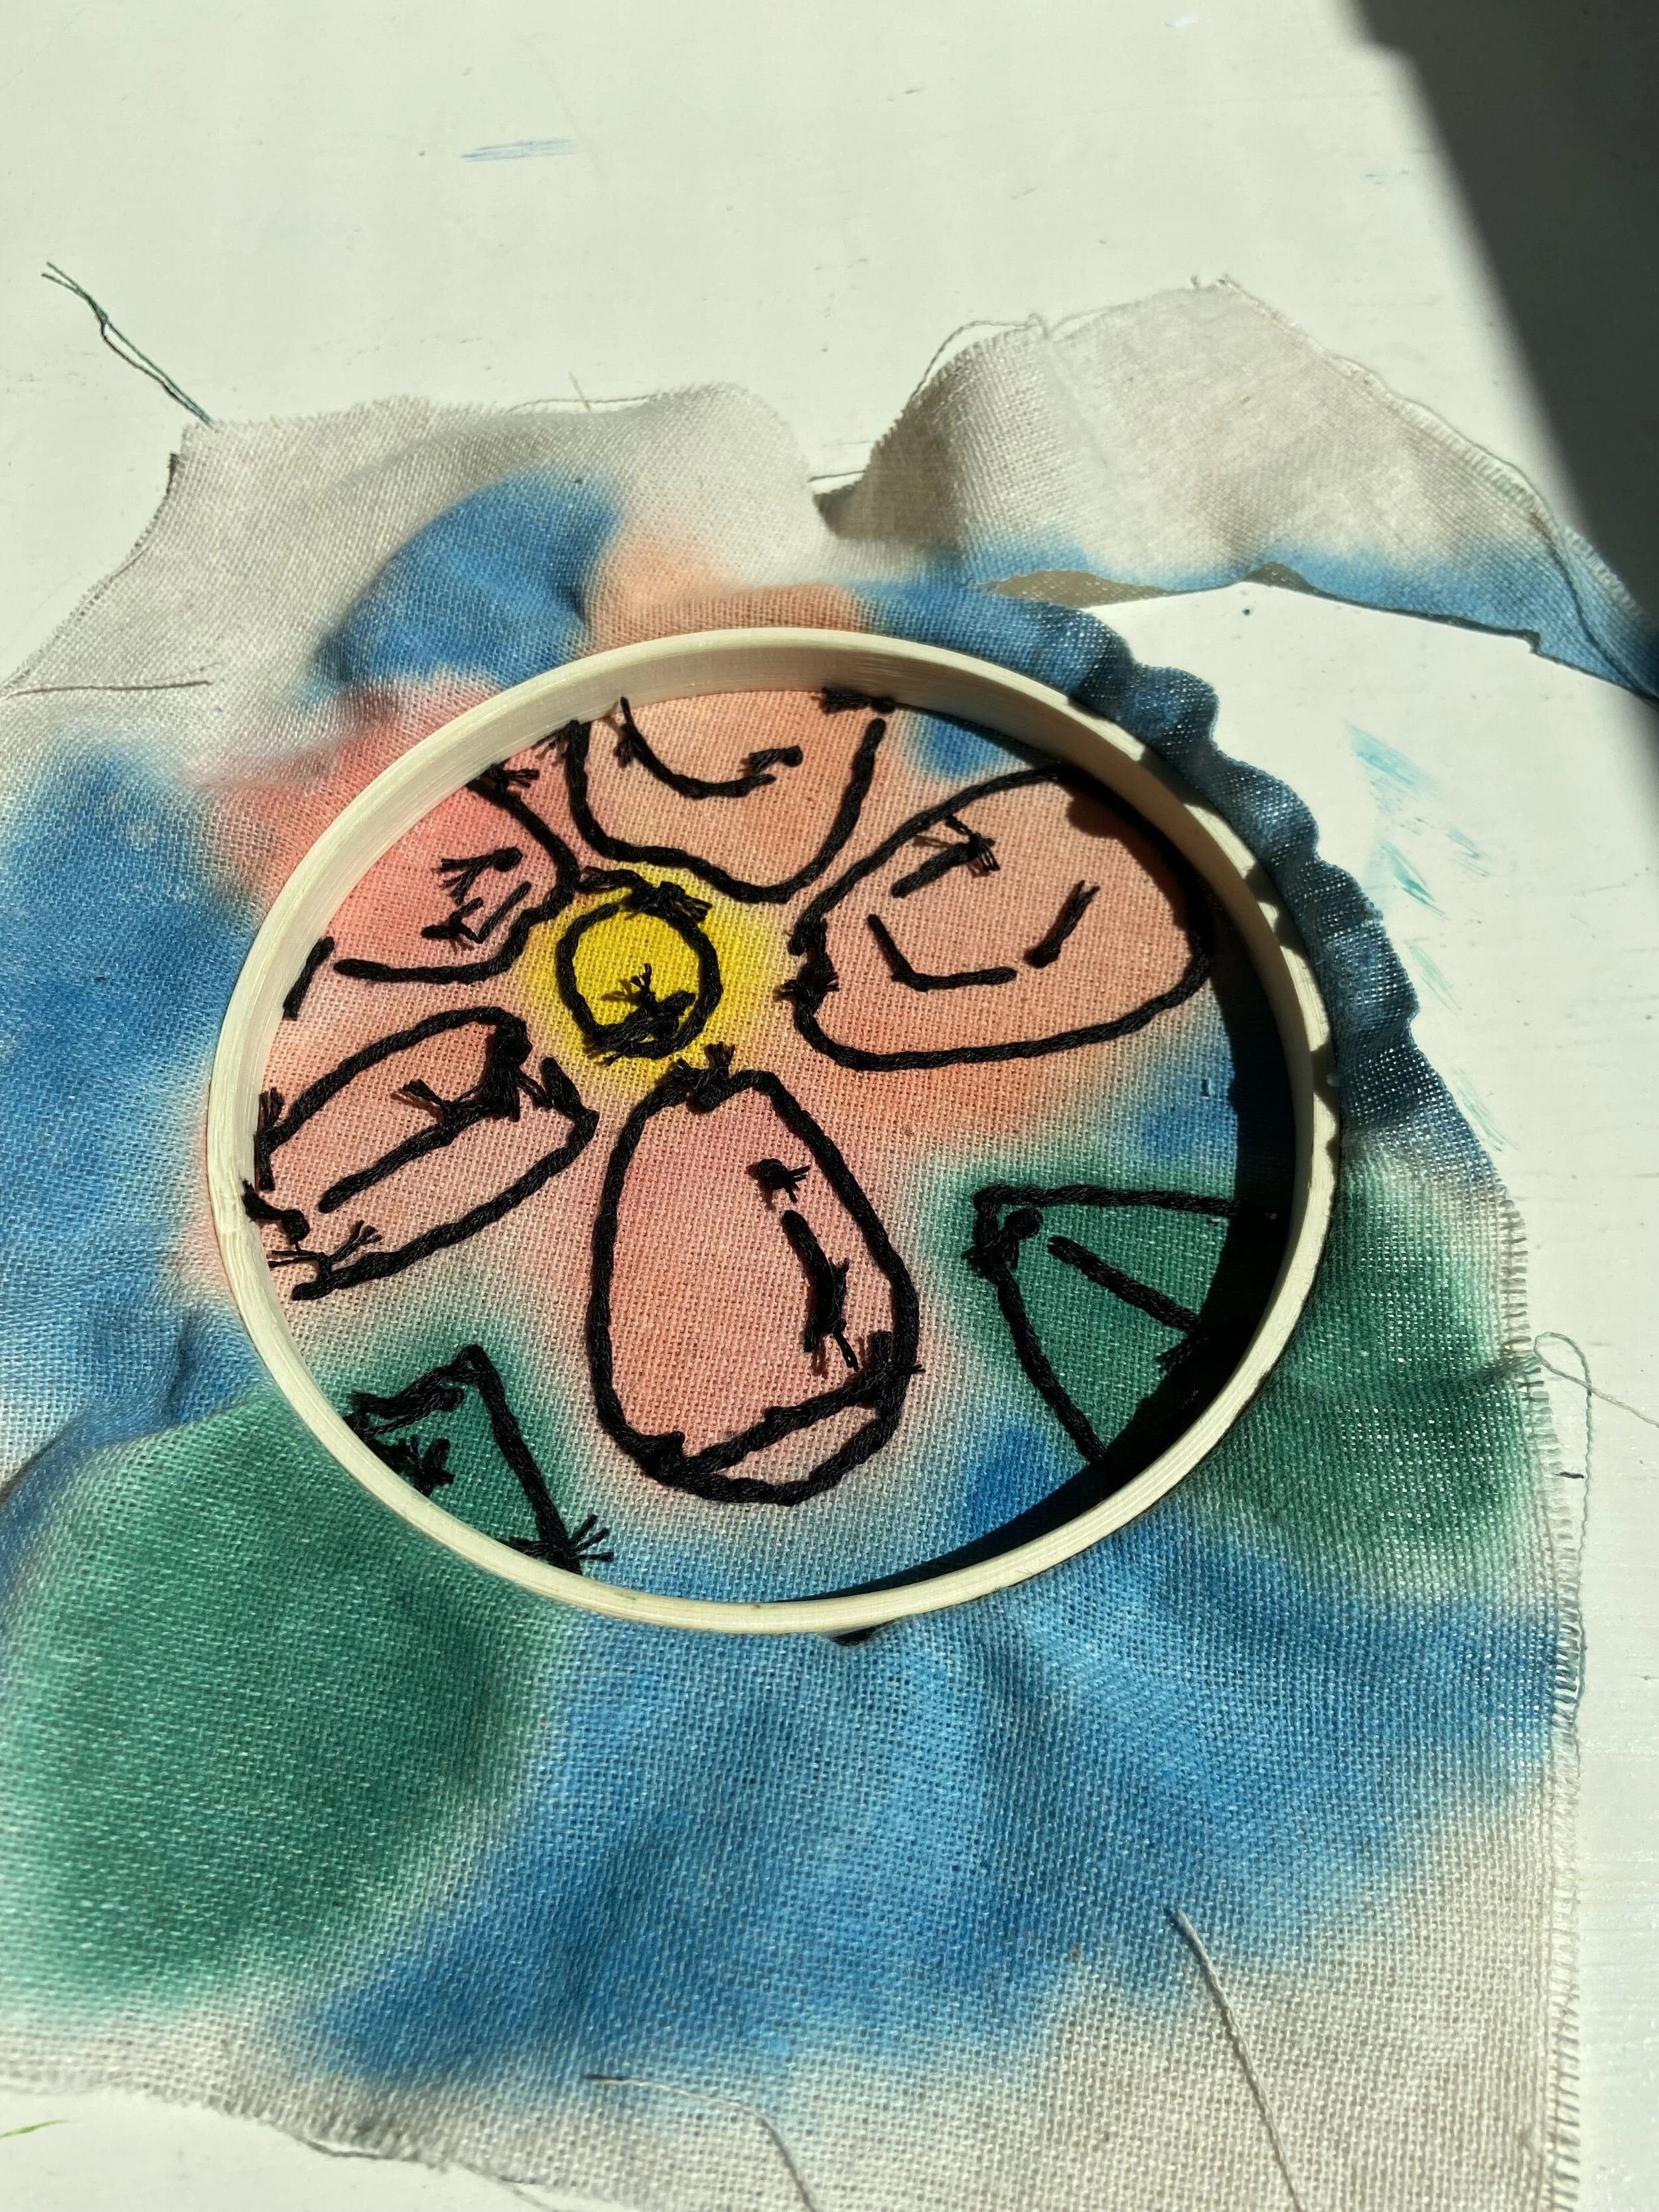
I started with a five-inch embroidery hoop. I cut a piece of fabric to fit the hoop, leaving space on the sides for the fabric to go through the hoop and to fasten on the back when I’m finished with the piece. I then ran the fabric under running water. When making the green ornament, I found that the watercolor took to the fabric best when the fabric was already slightly wet. Instead of wetting each section with my paintbrush I decided to wet the fabric all at once. I think the fabric has some sort of coating on it that repels water. It would probably wash away in the washing machine, but I know the fabric I used would definitely fray badly in the washing machine. The fabric came out a little wrinkled (from where I scrunched it to wring out the water), but I was fine with the texture. I did pull on the fabric slightly to try to get the wrinkles out a little bit.
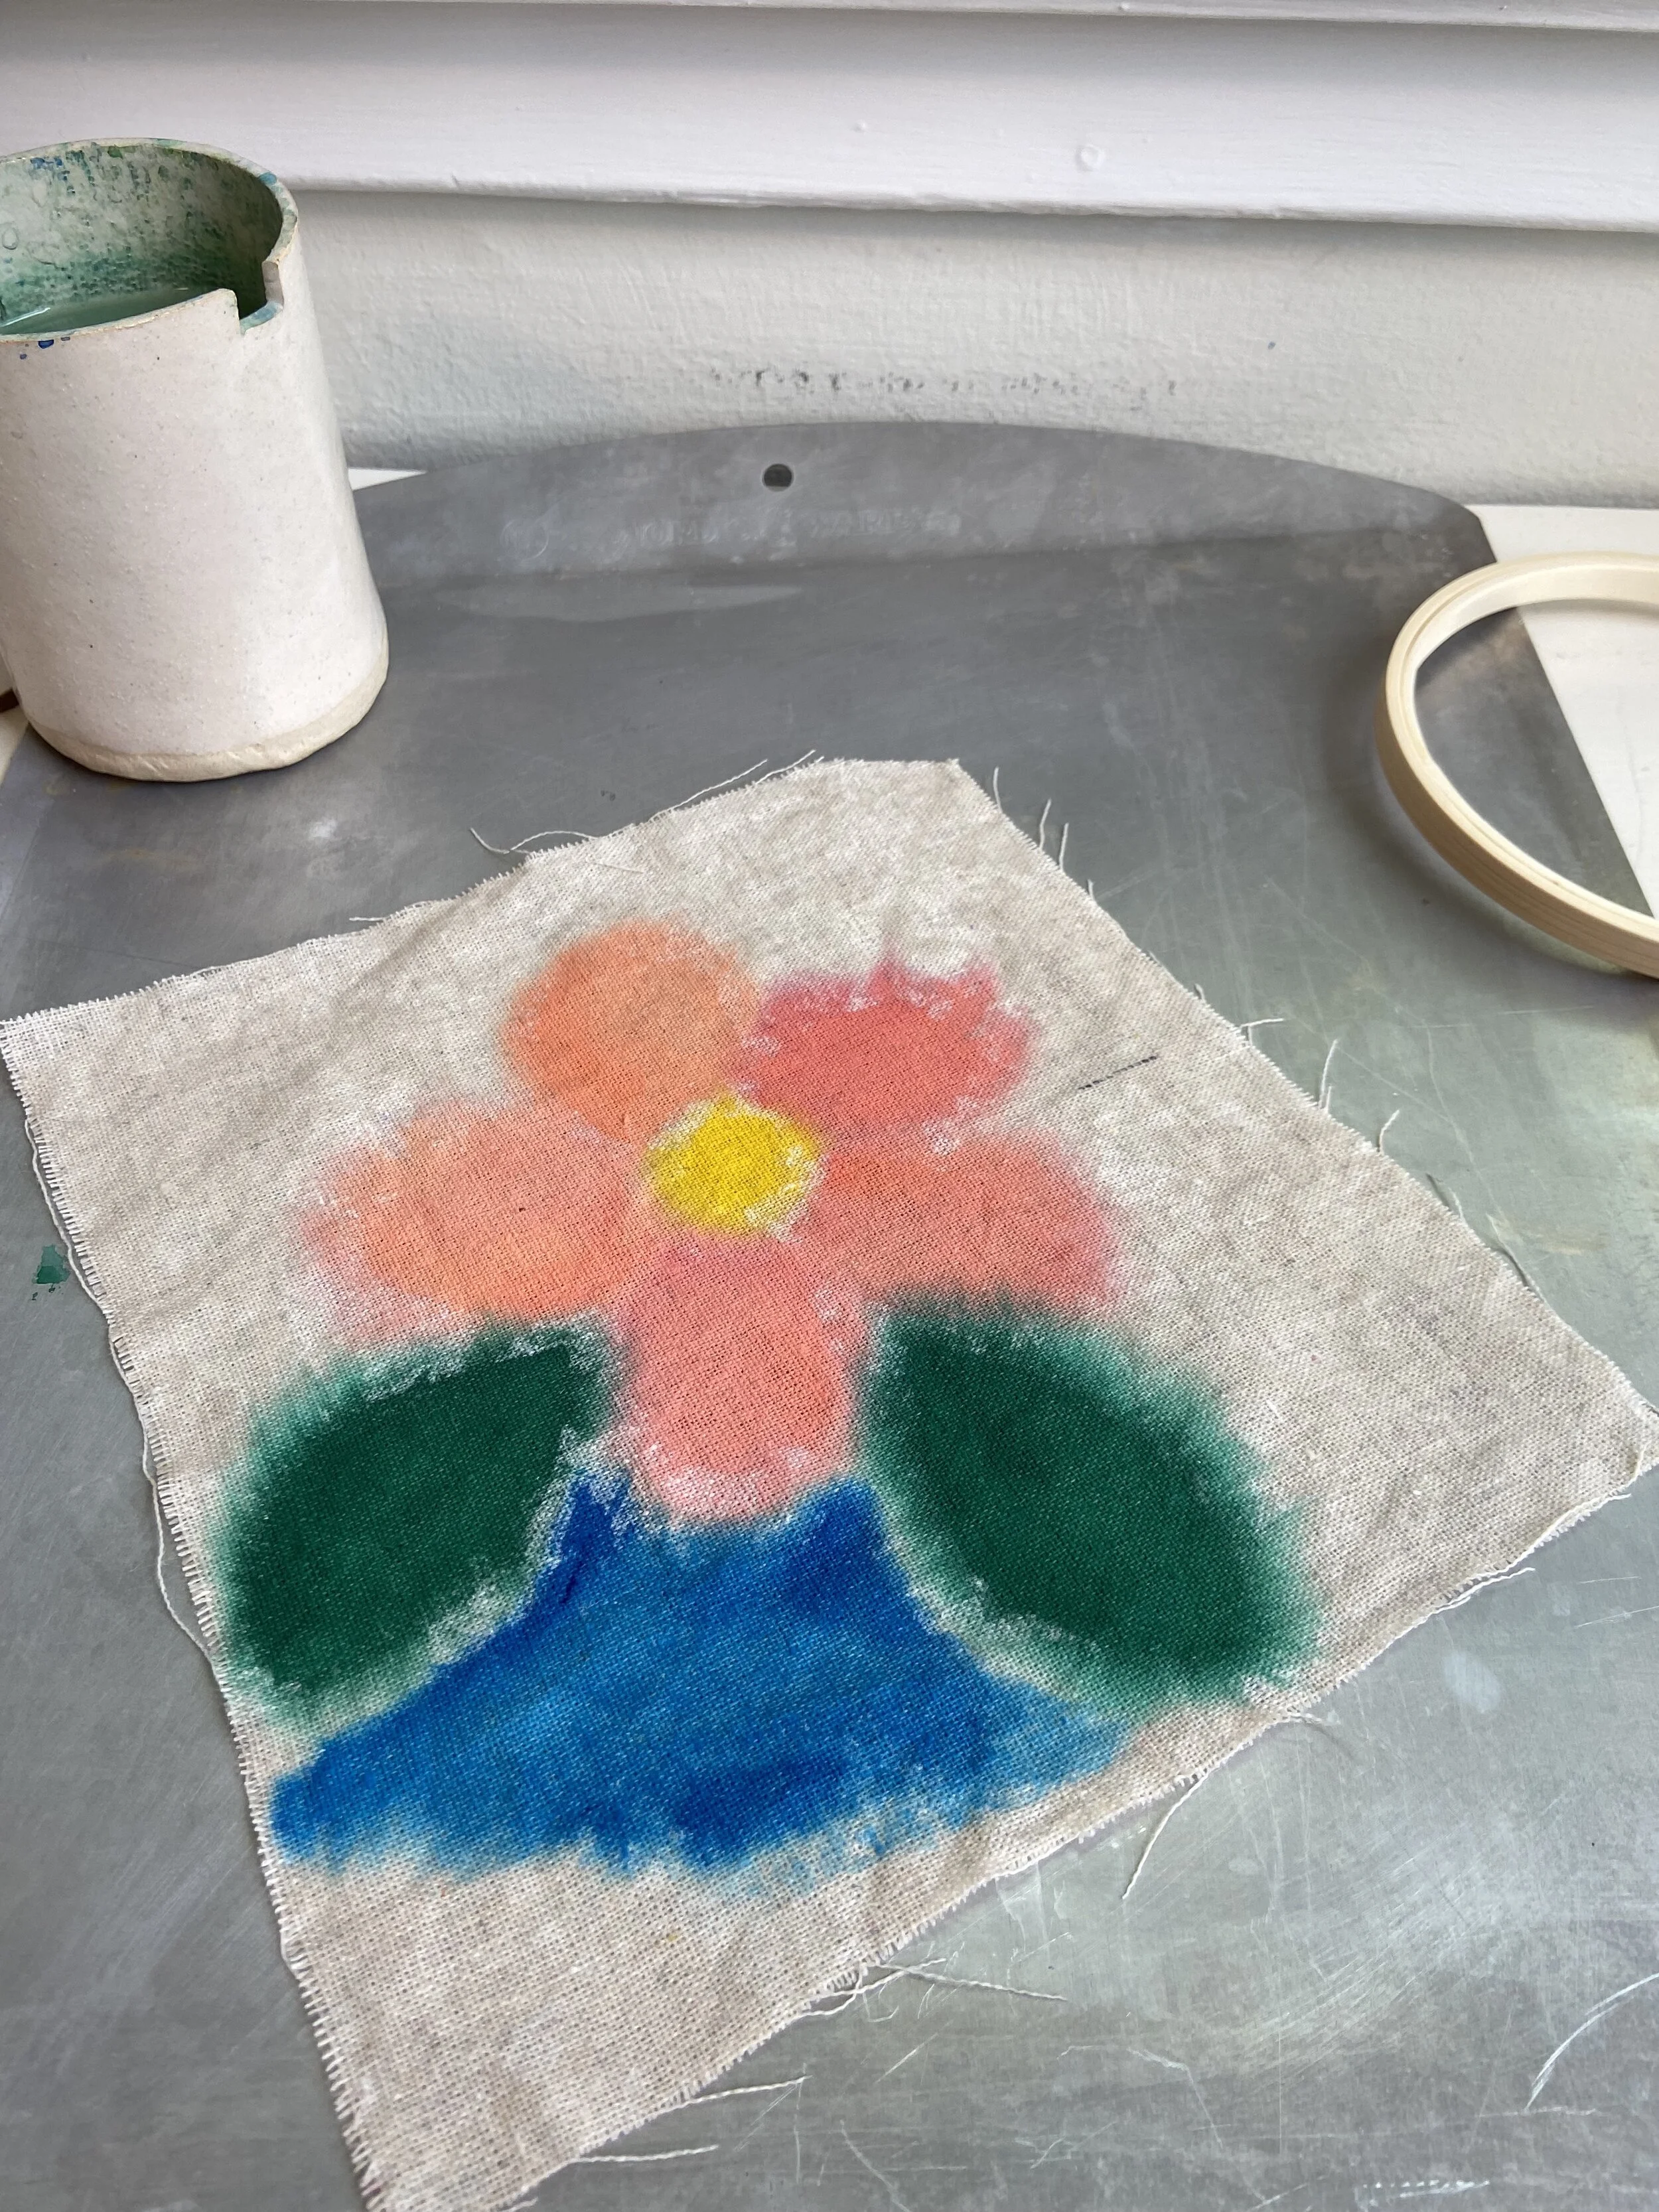
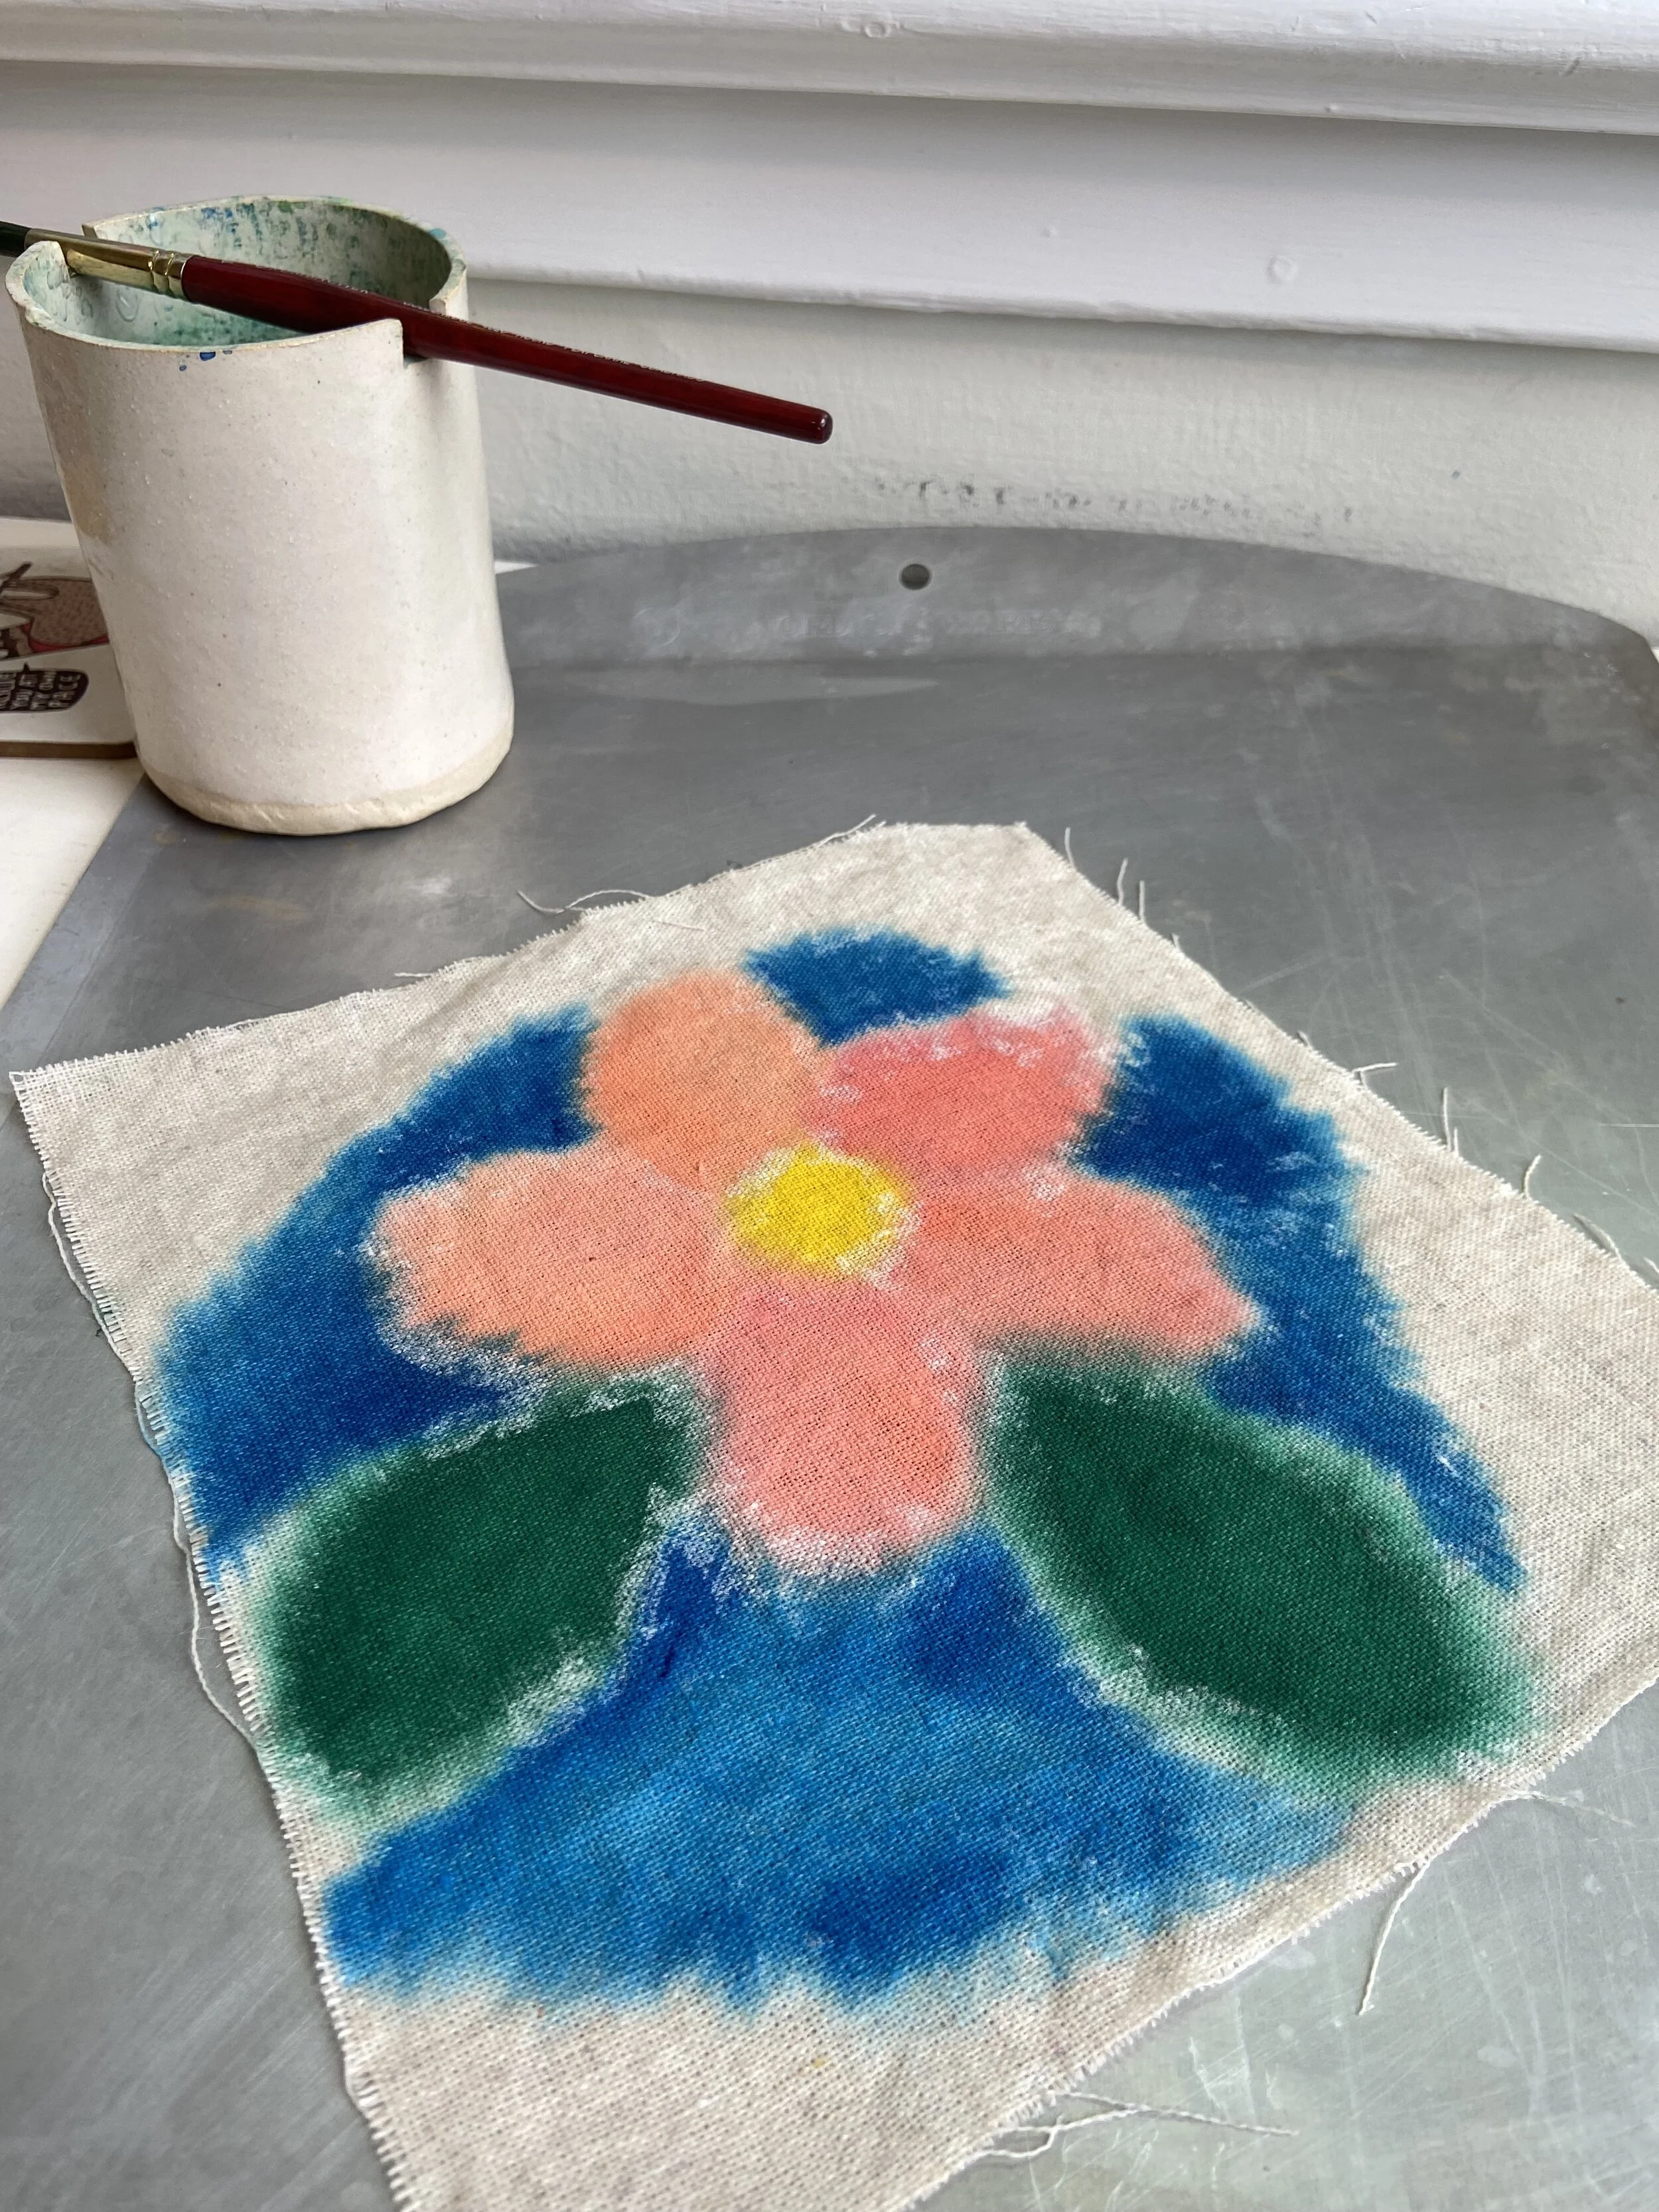
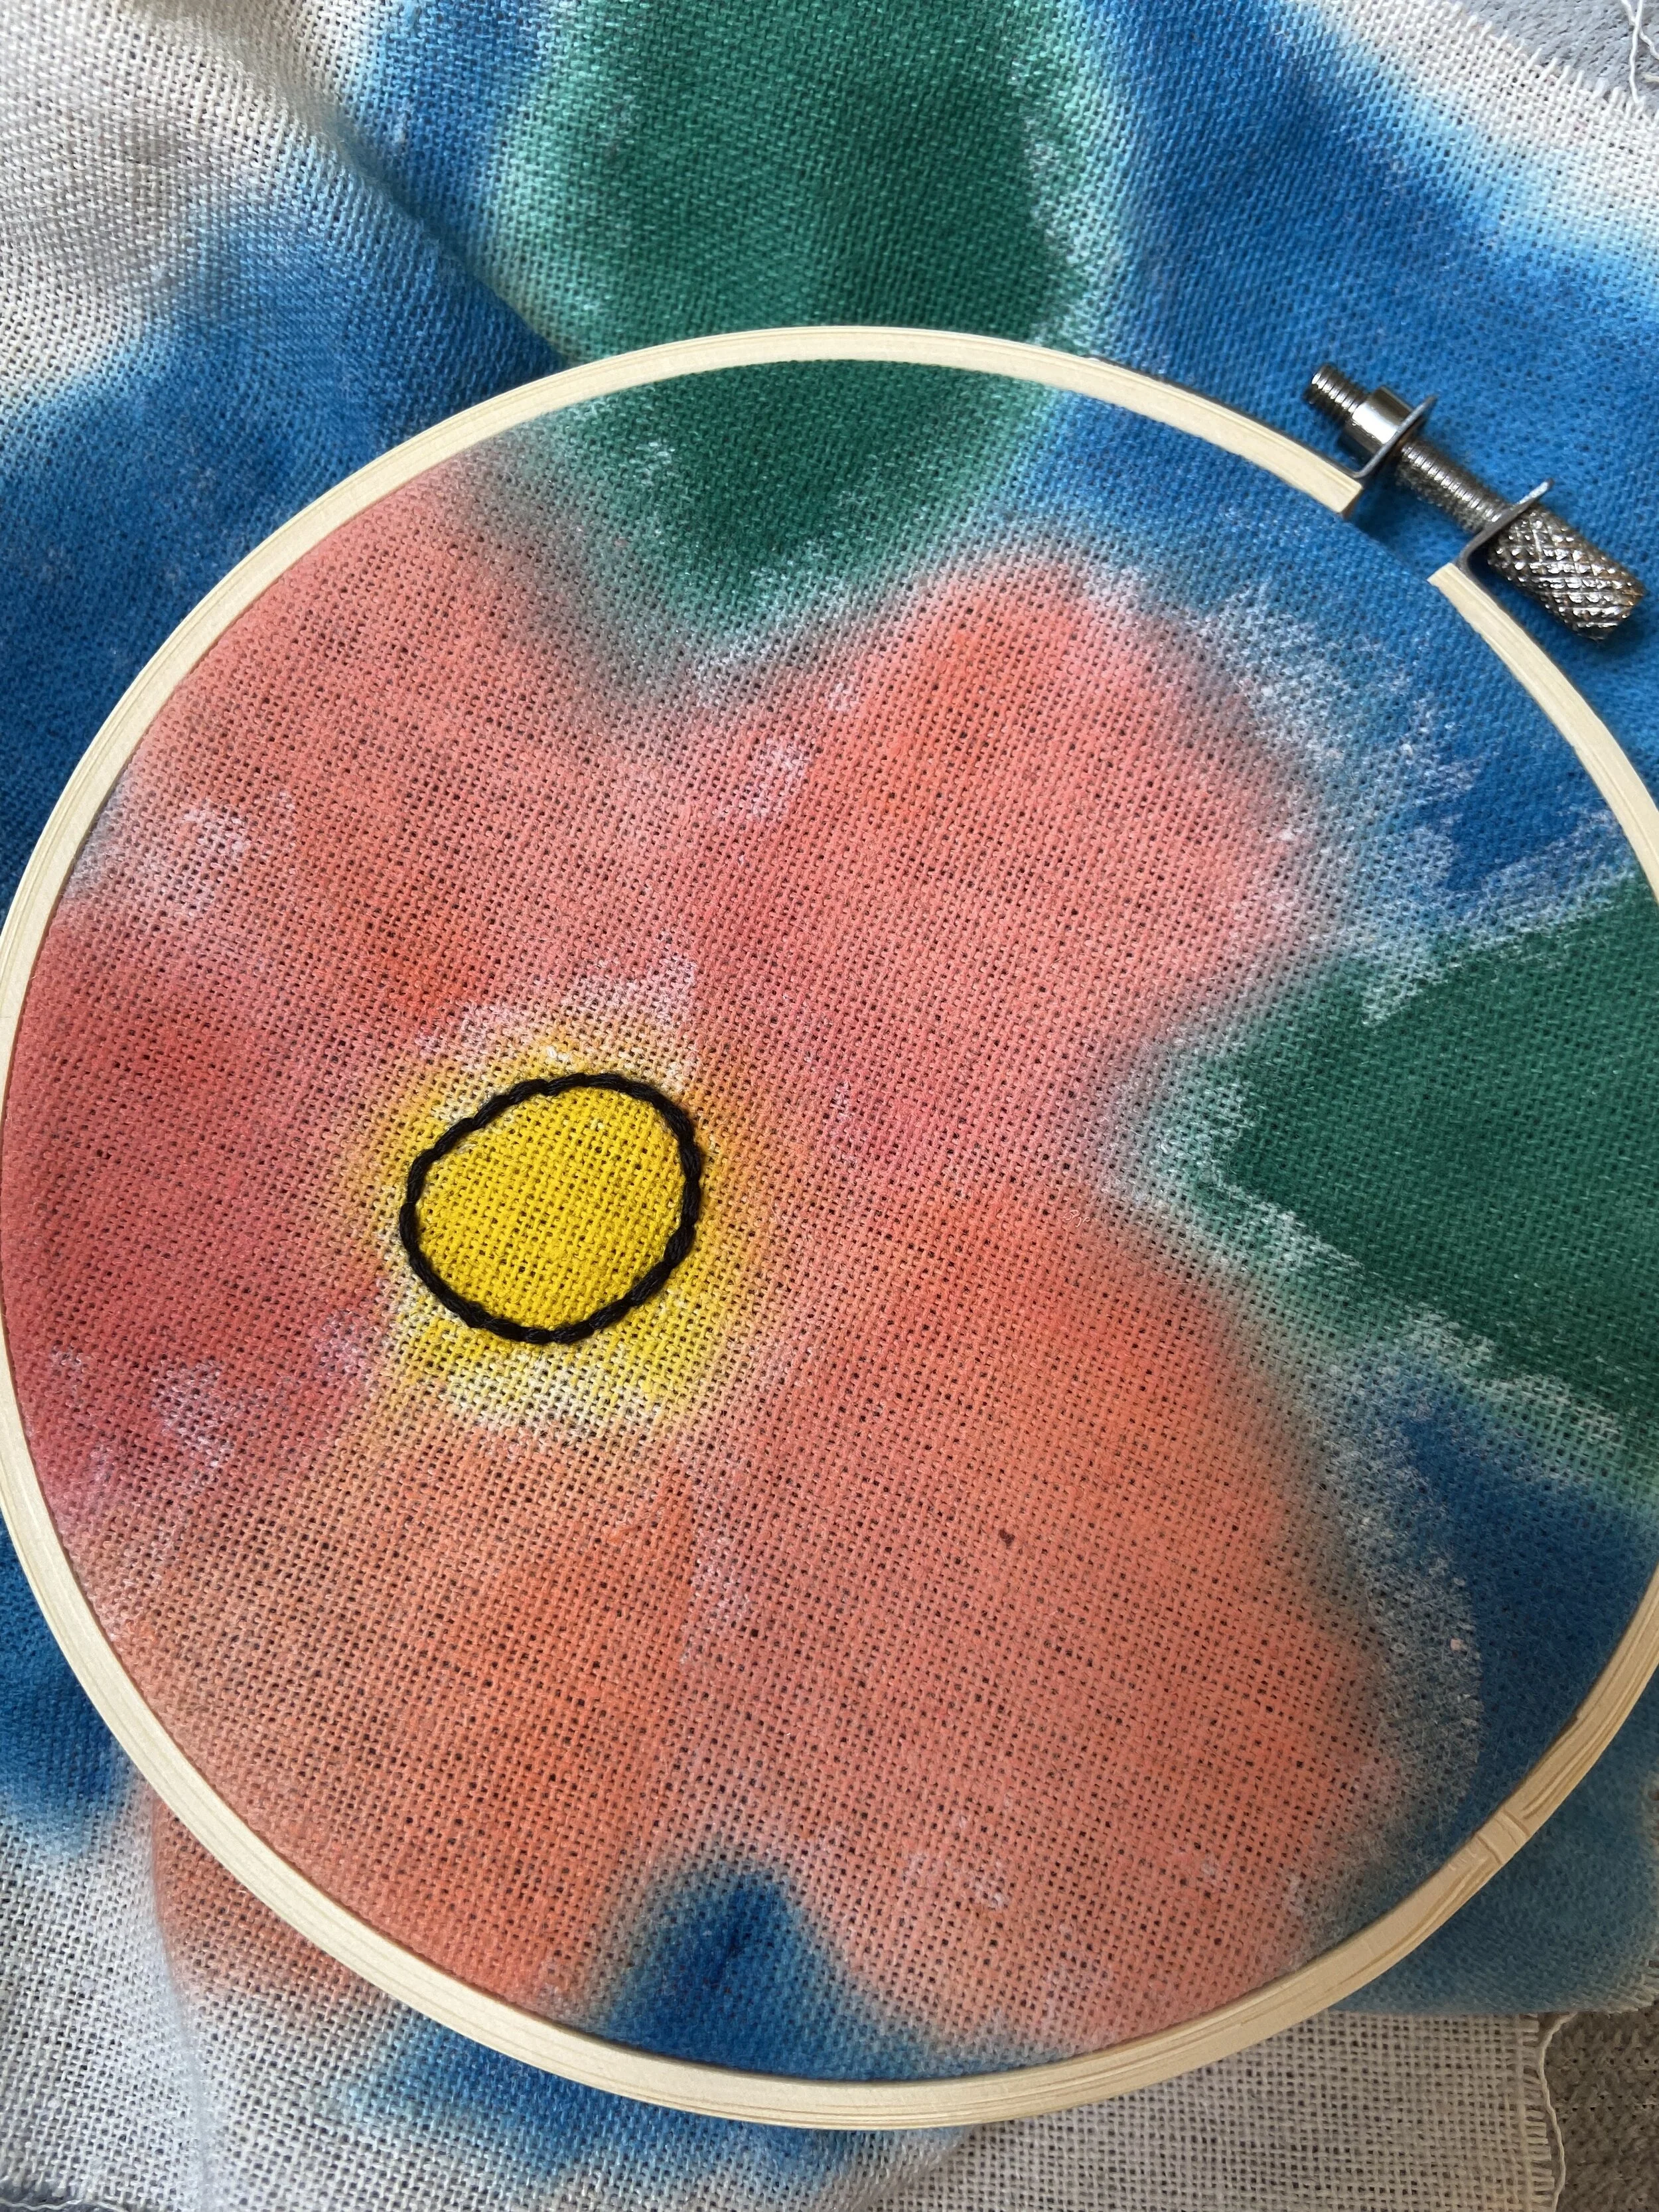
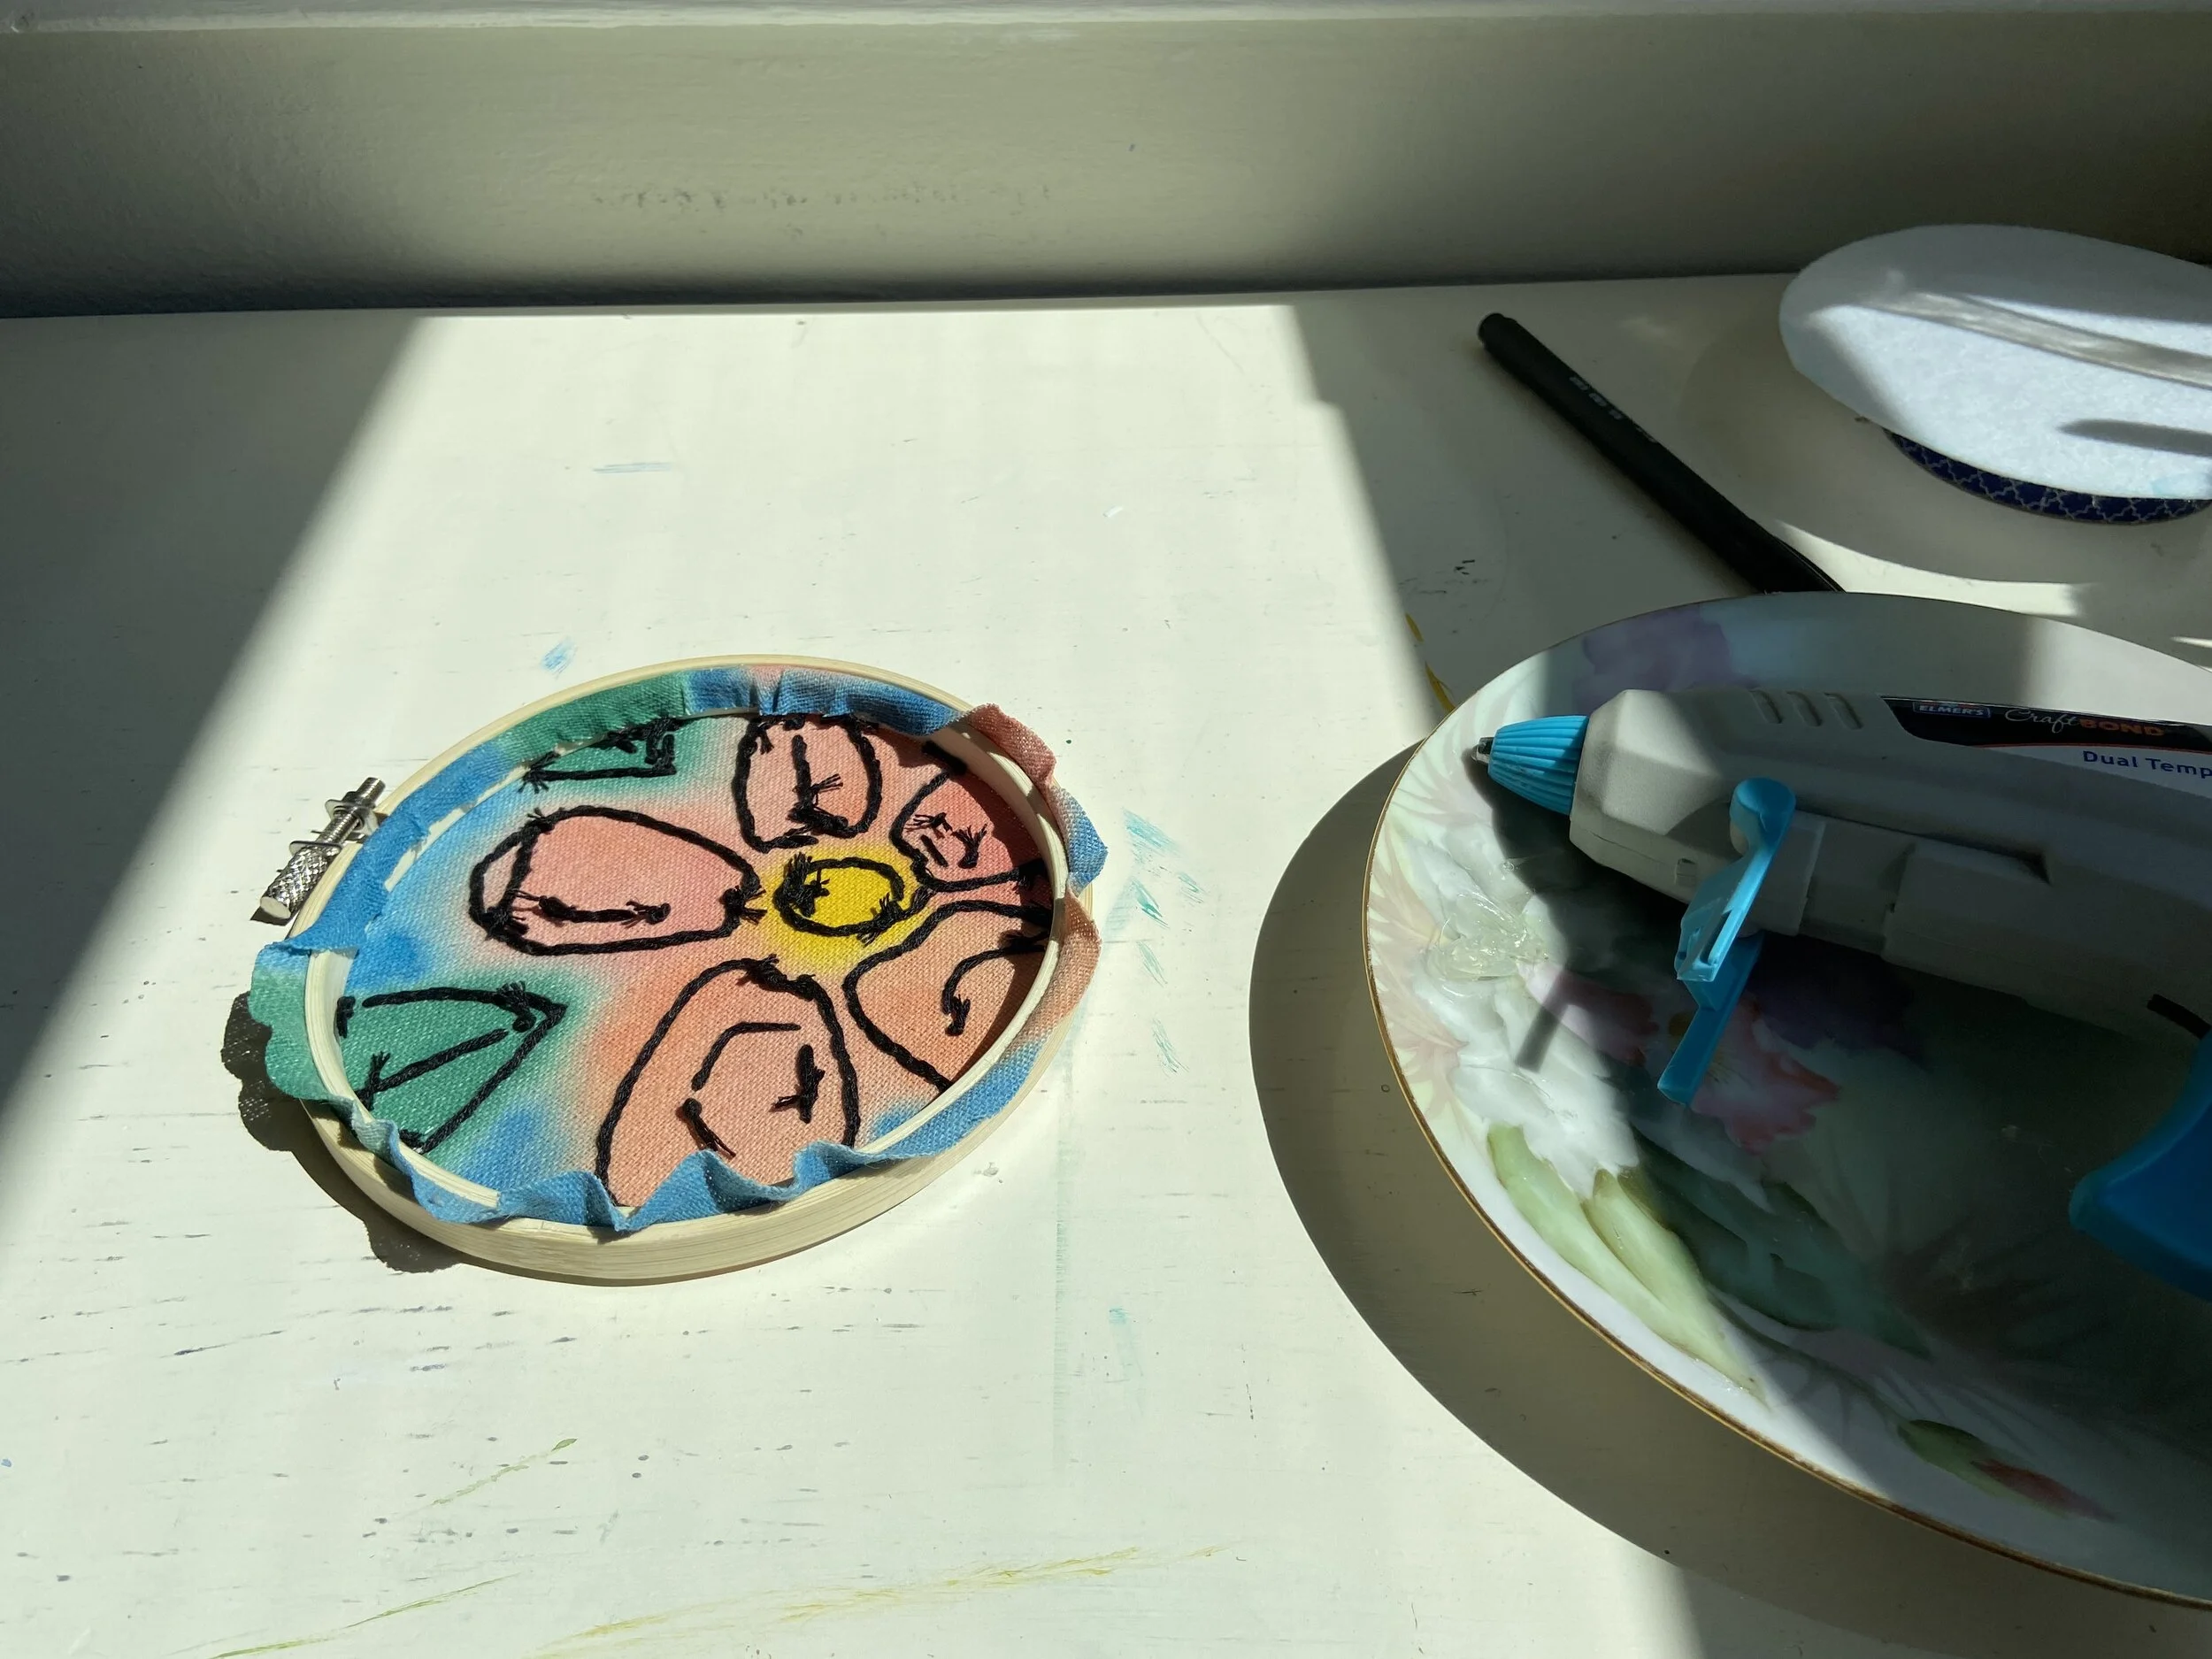
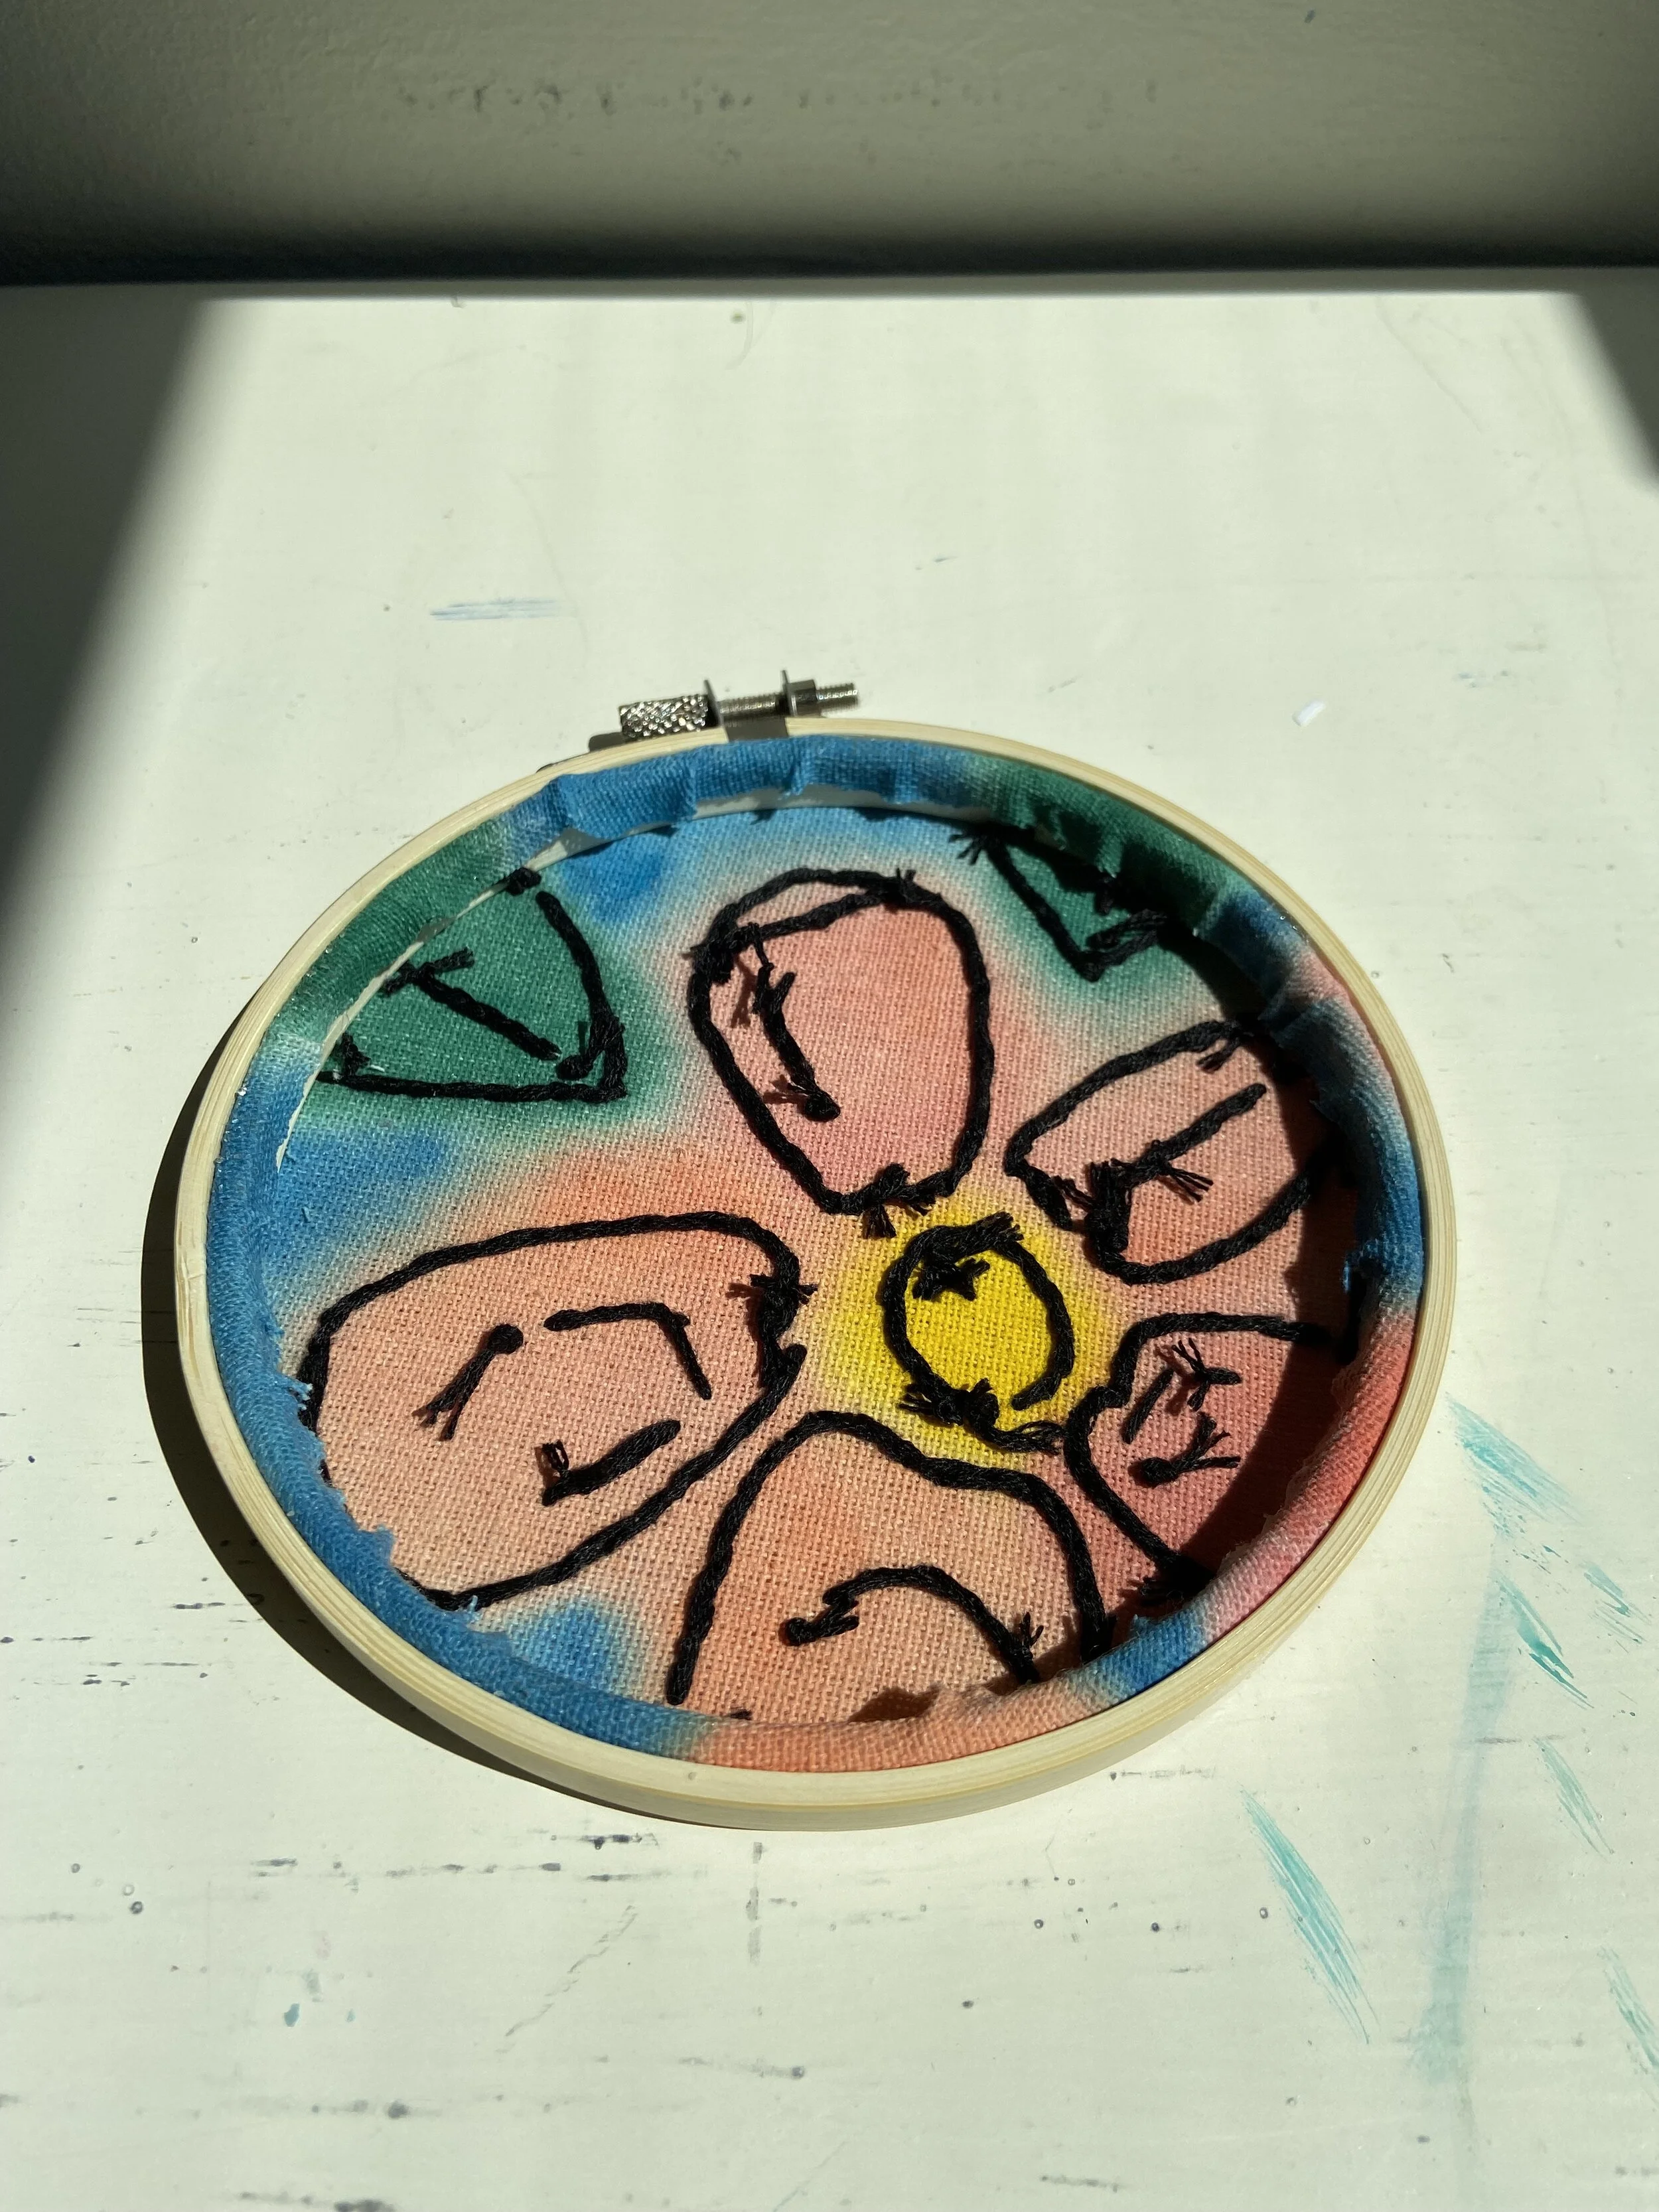
I then painted the center of my flower, followed by the petals, then the leaves, then the background. This step took more watercolor than I thought it would. I noticed that the paint bled through the fabric, so instead of rotating my fabric I started rotating my workspace so that the paint wouldn’t touch areas I didn’t want it to be in.
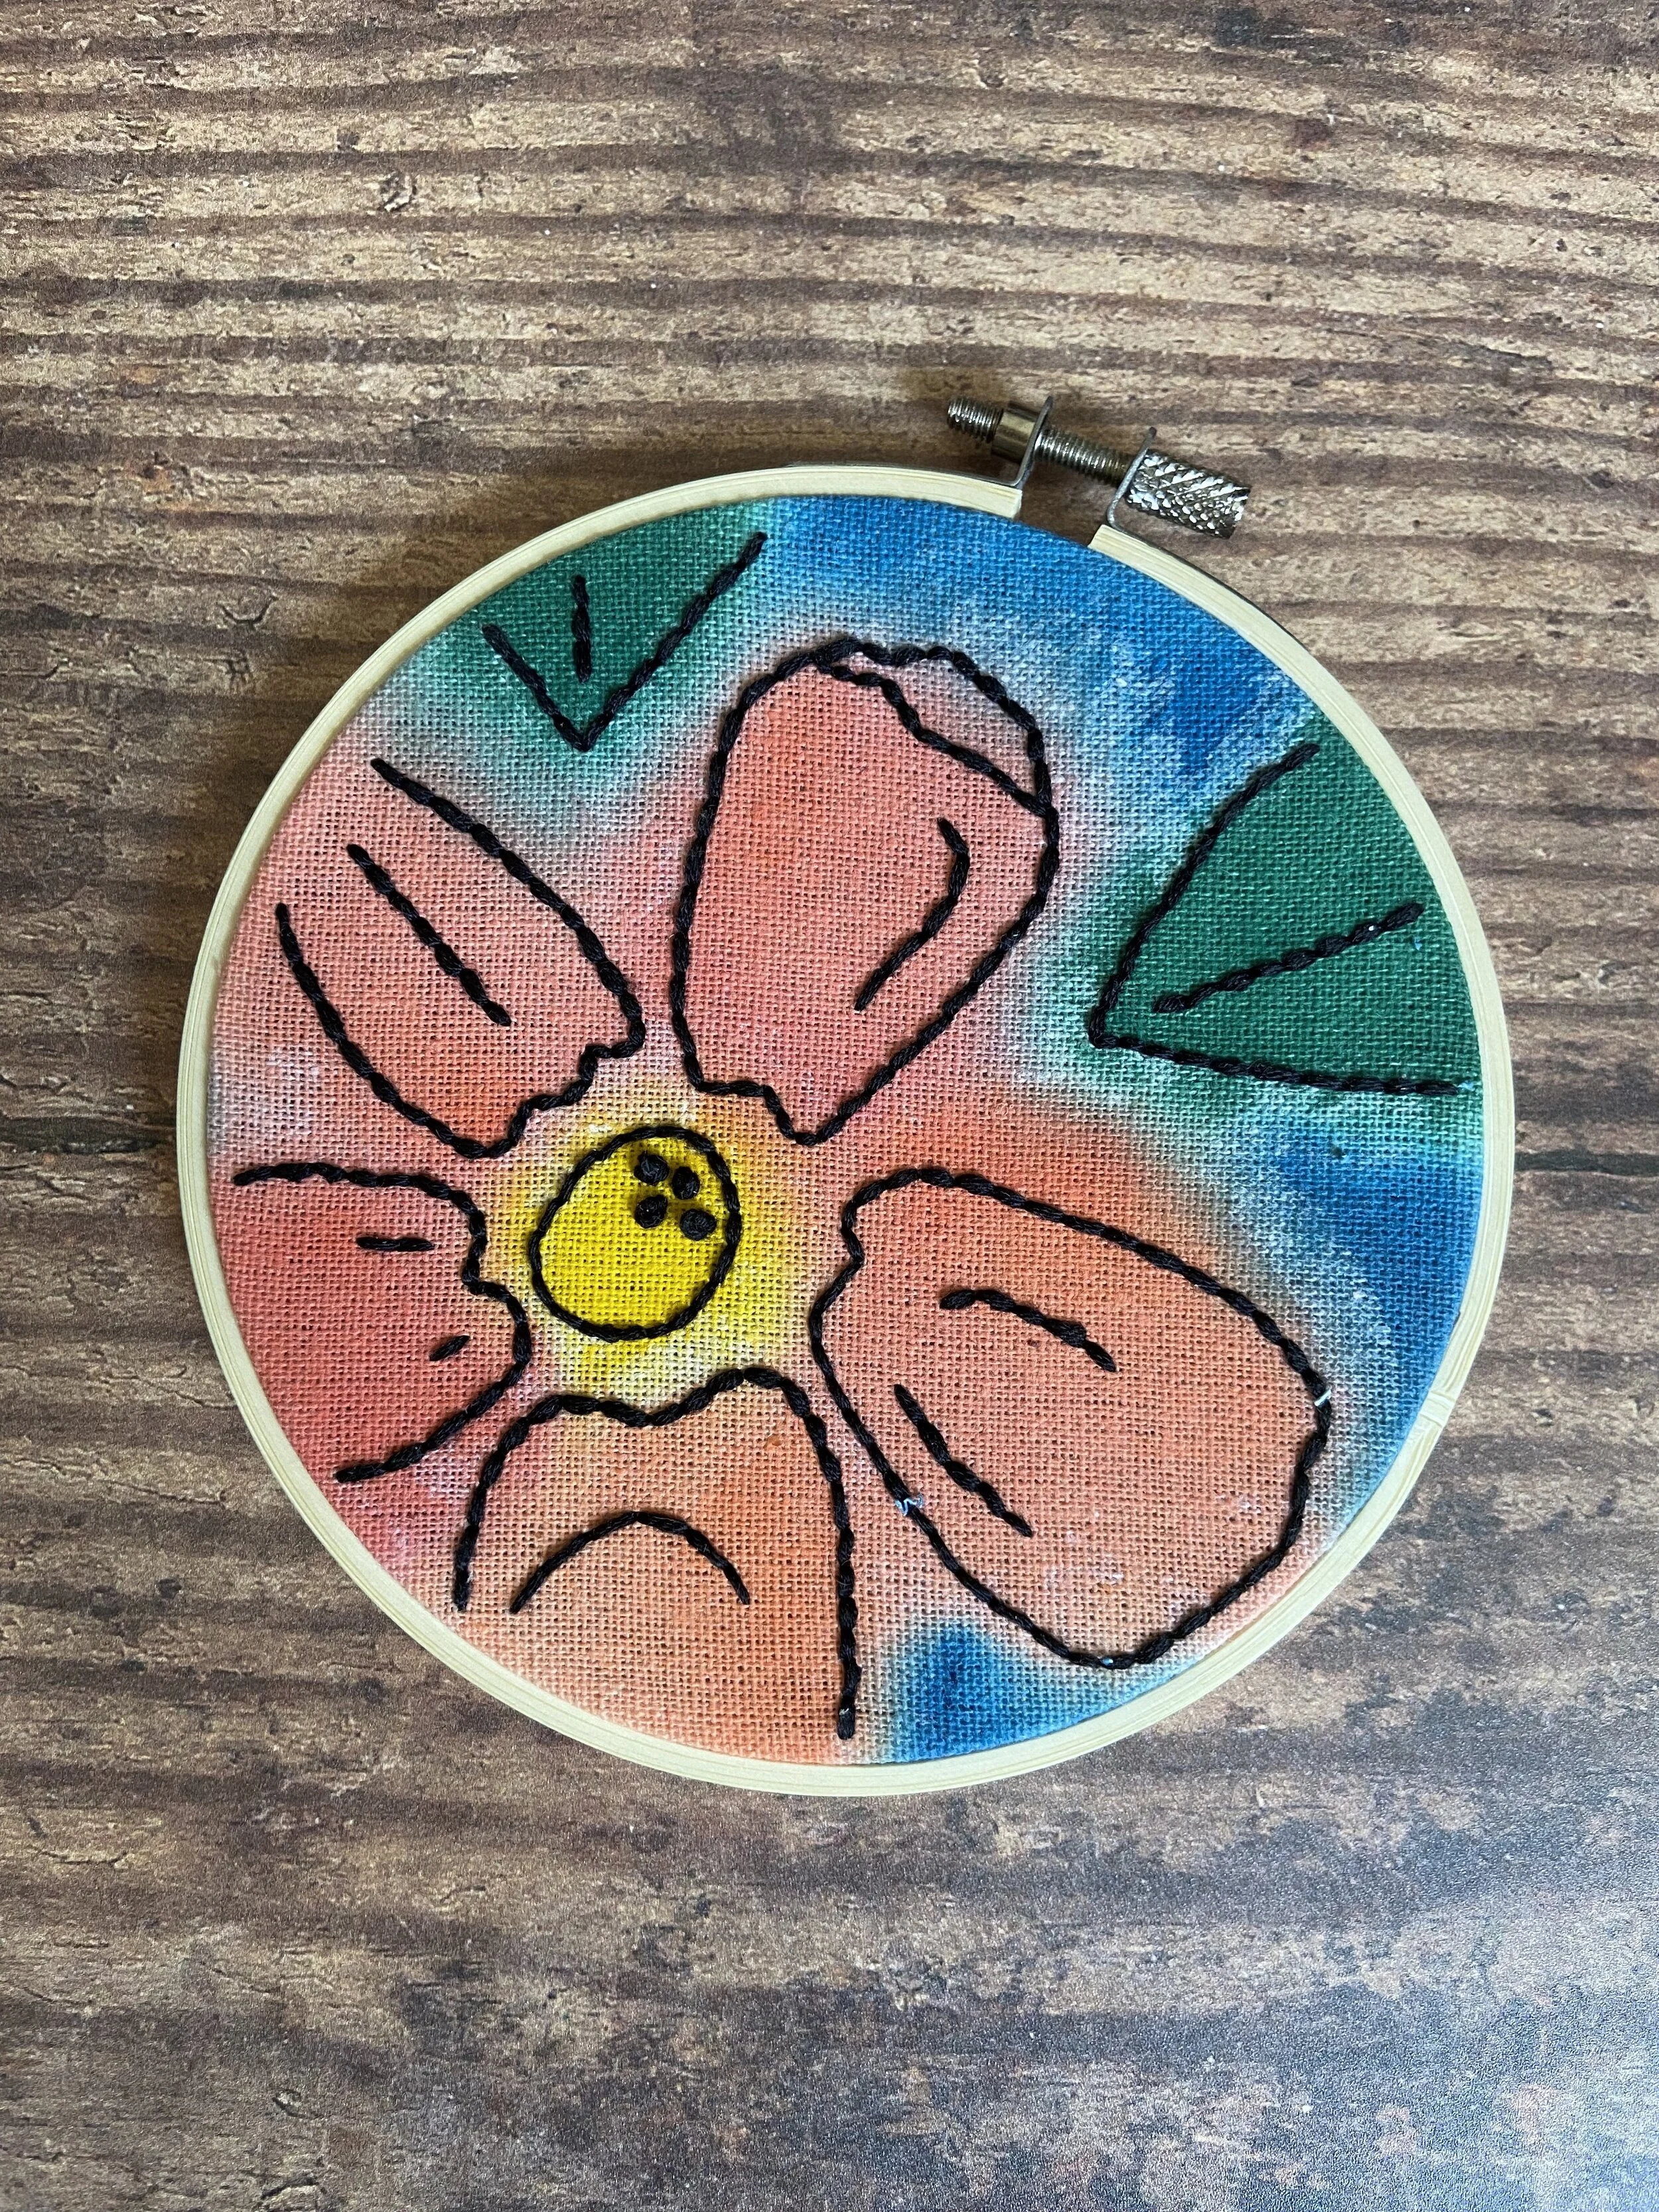
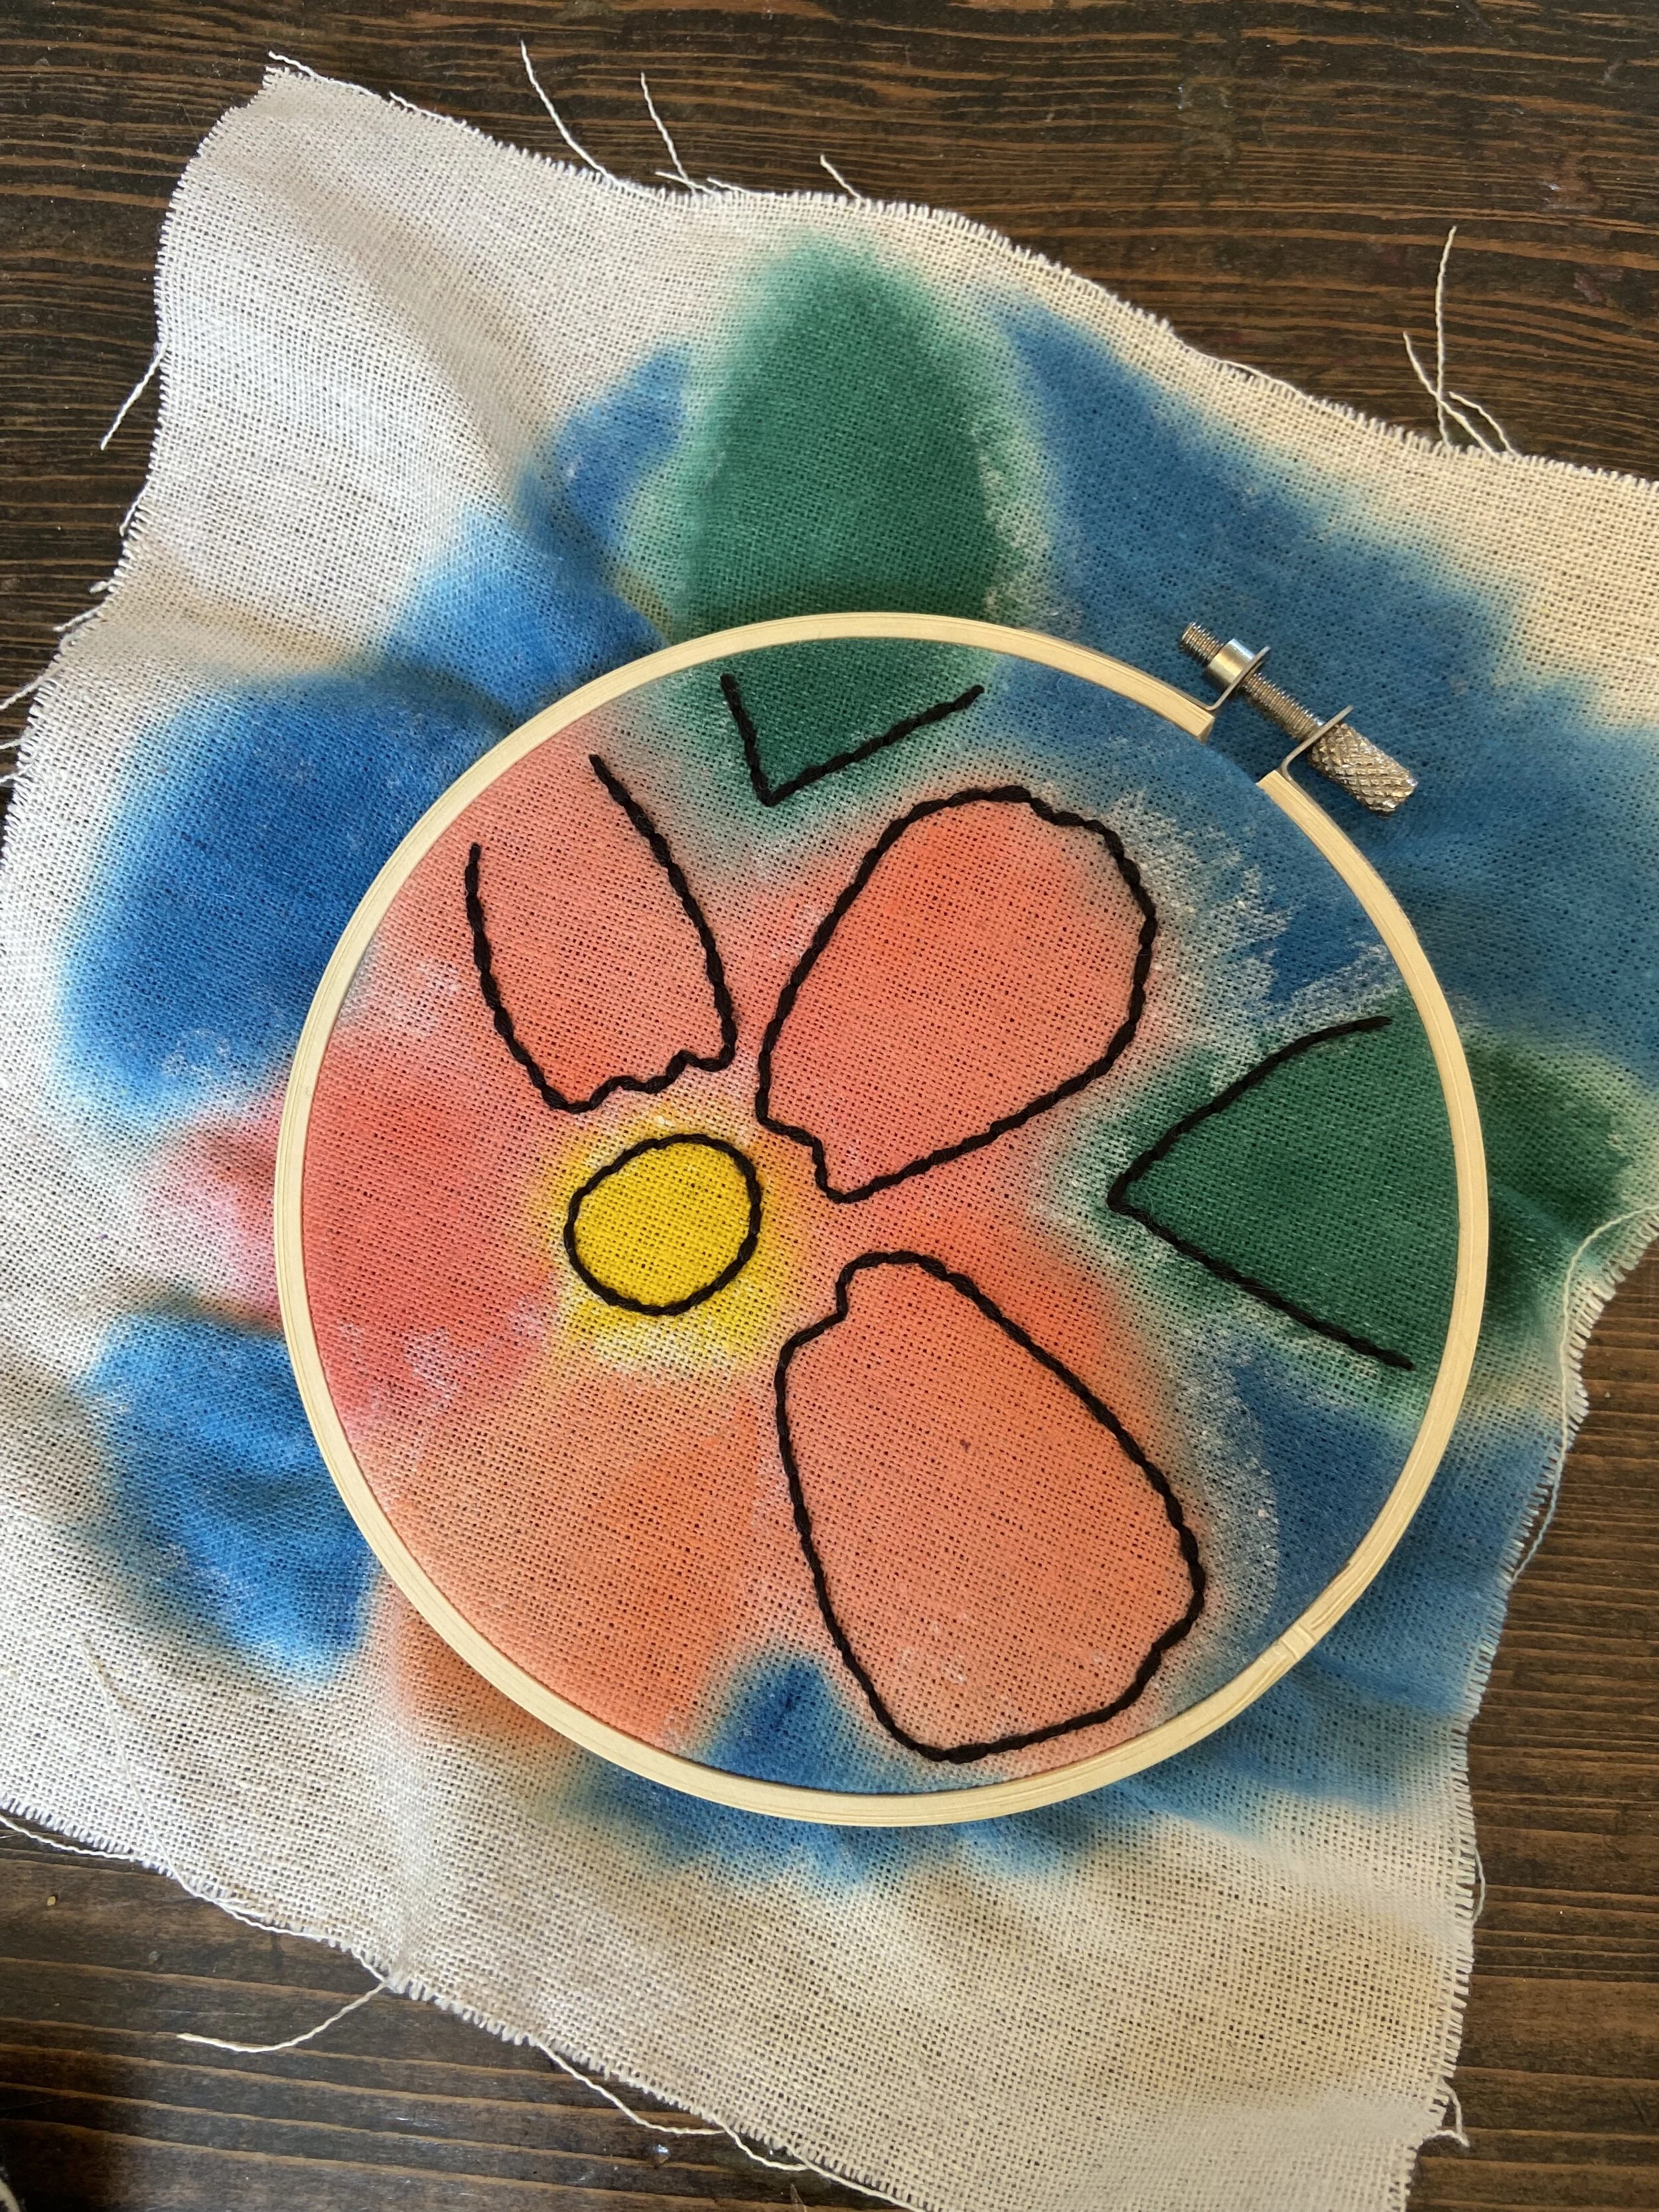
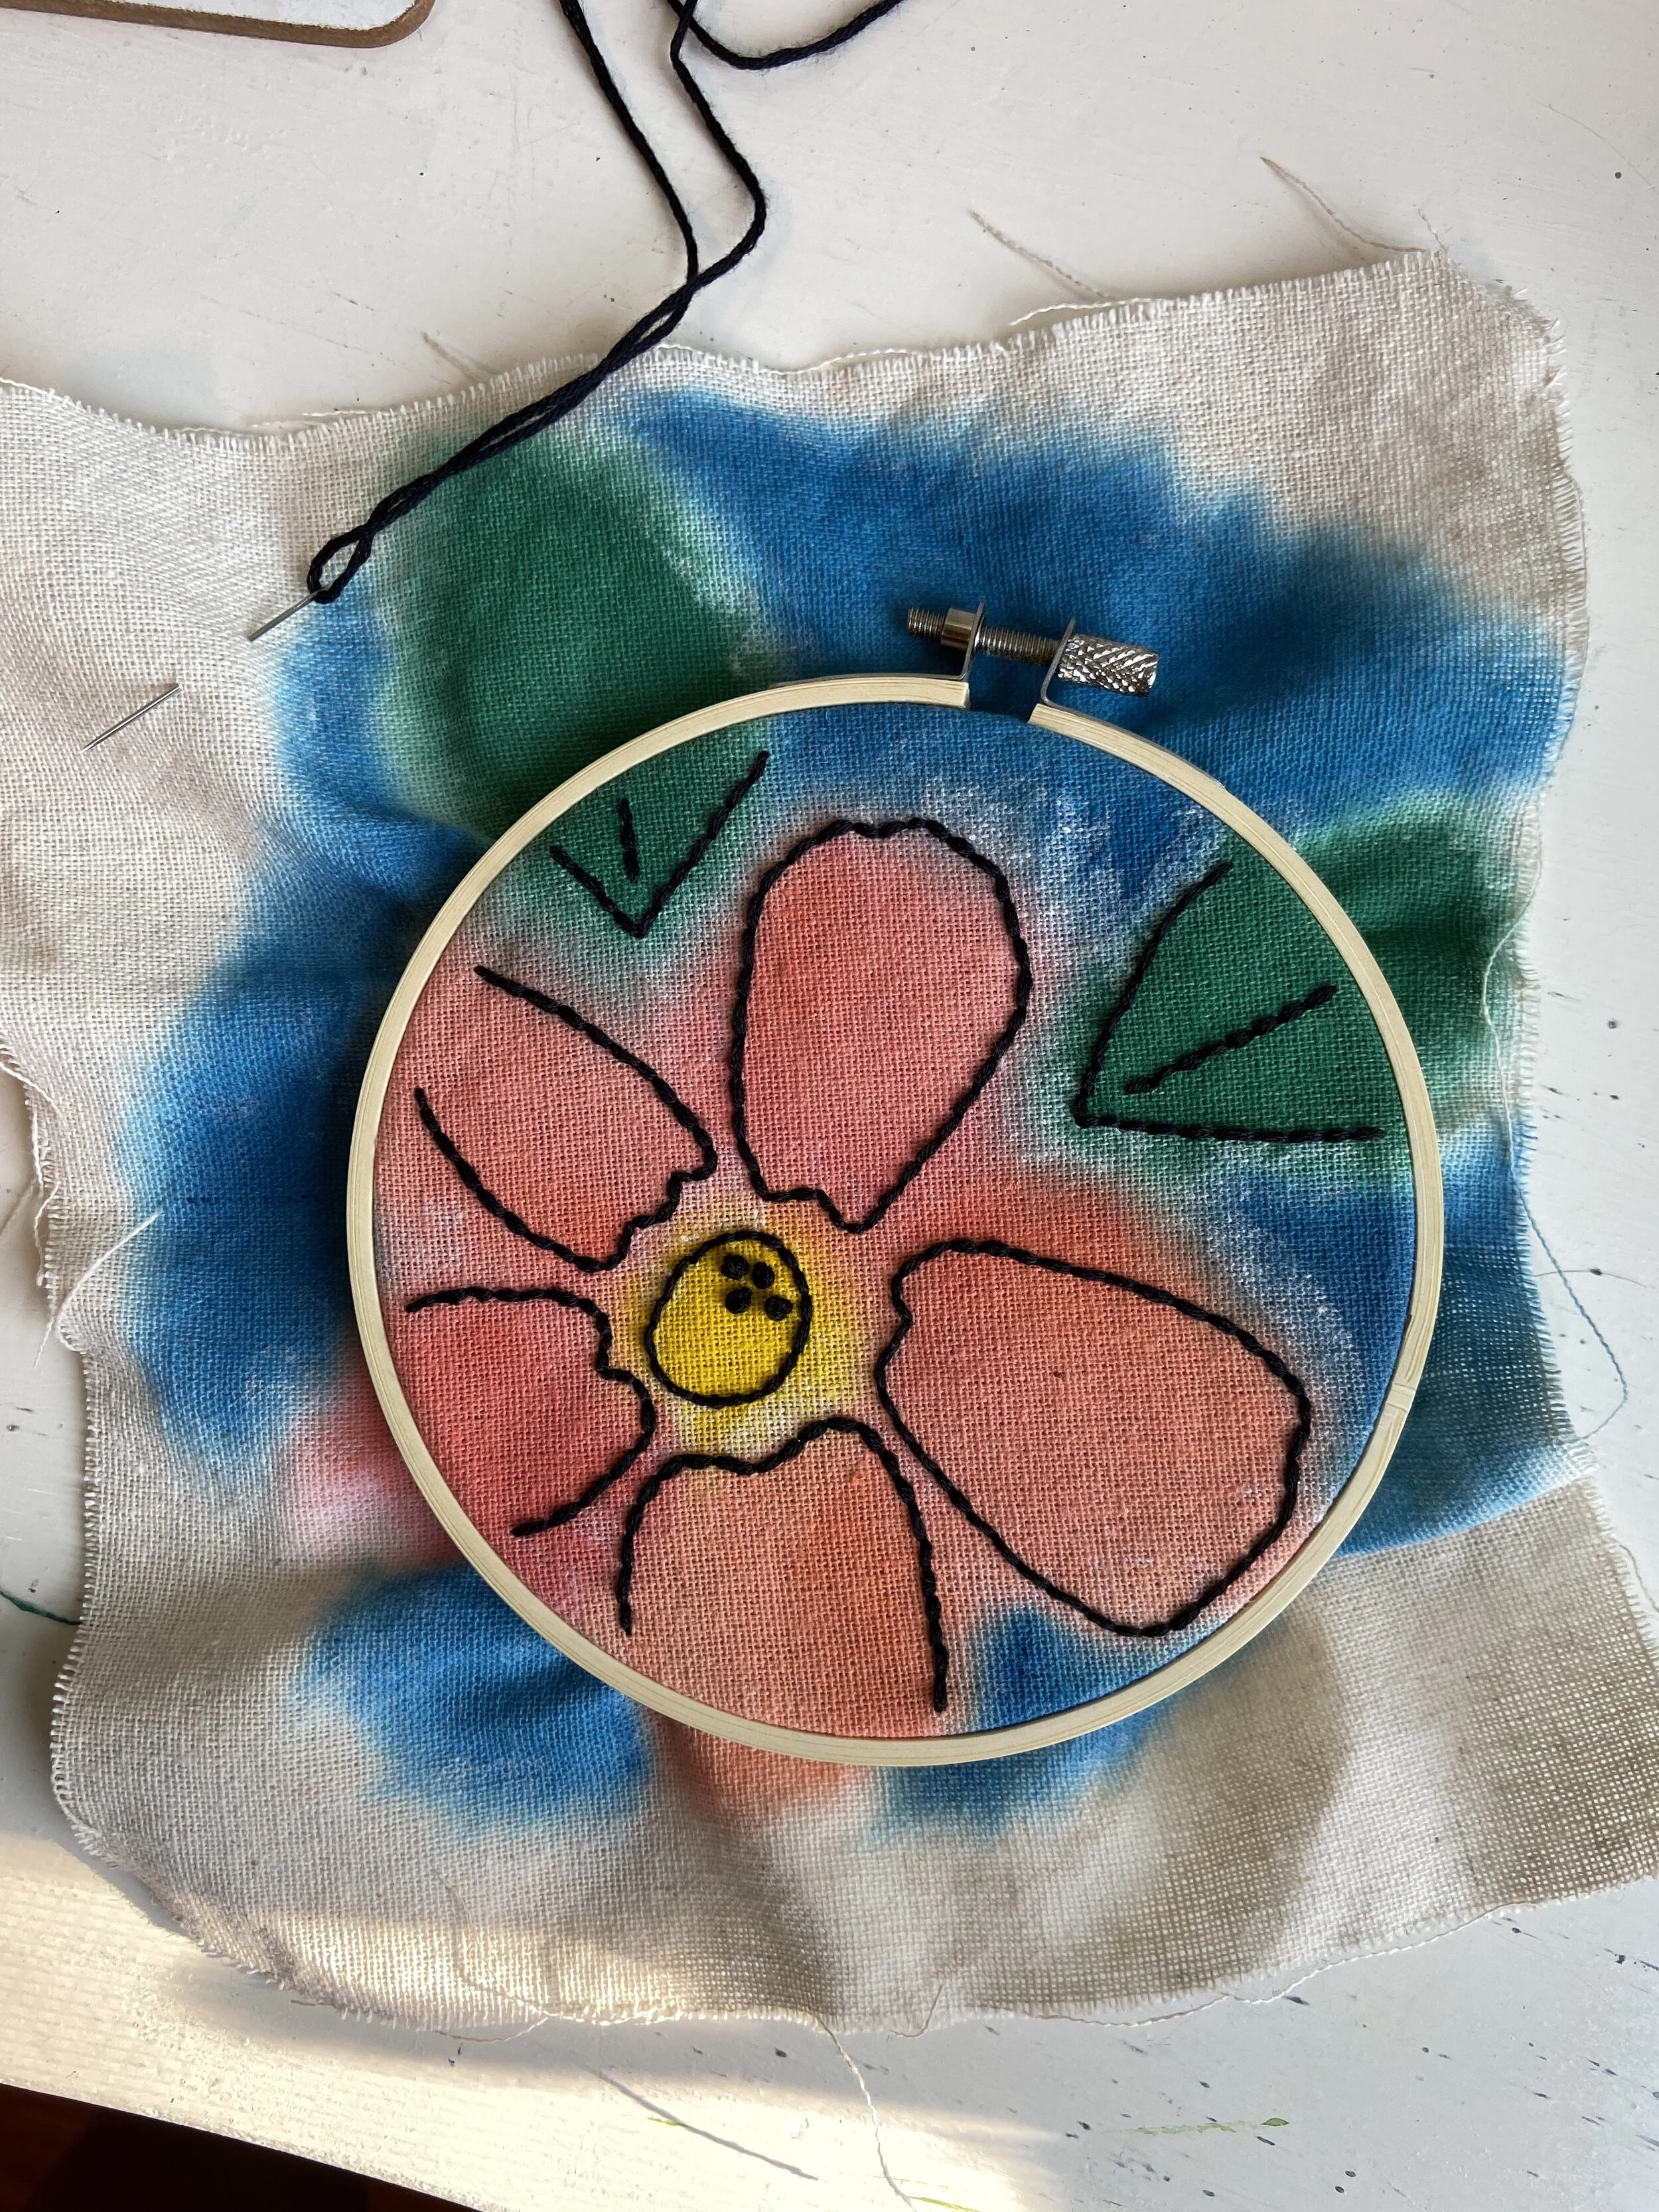
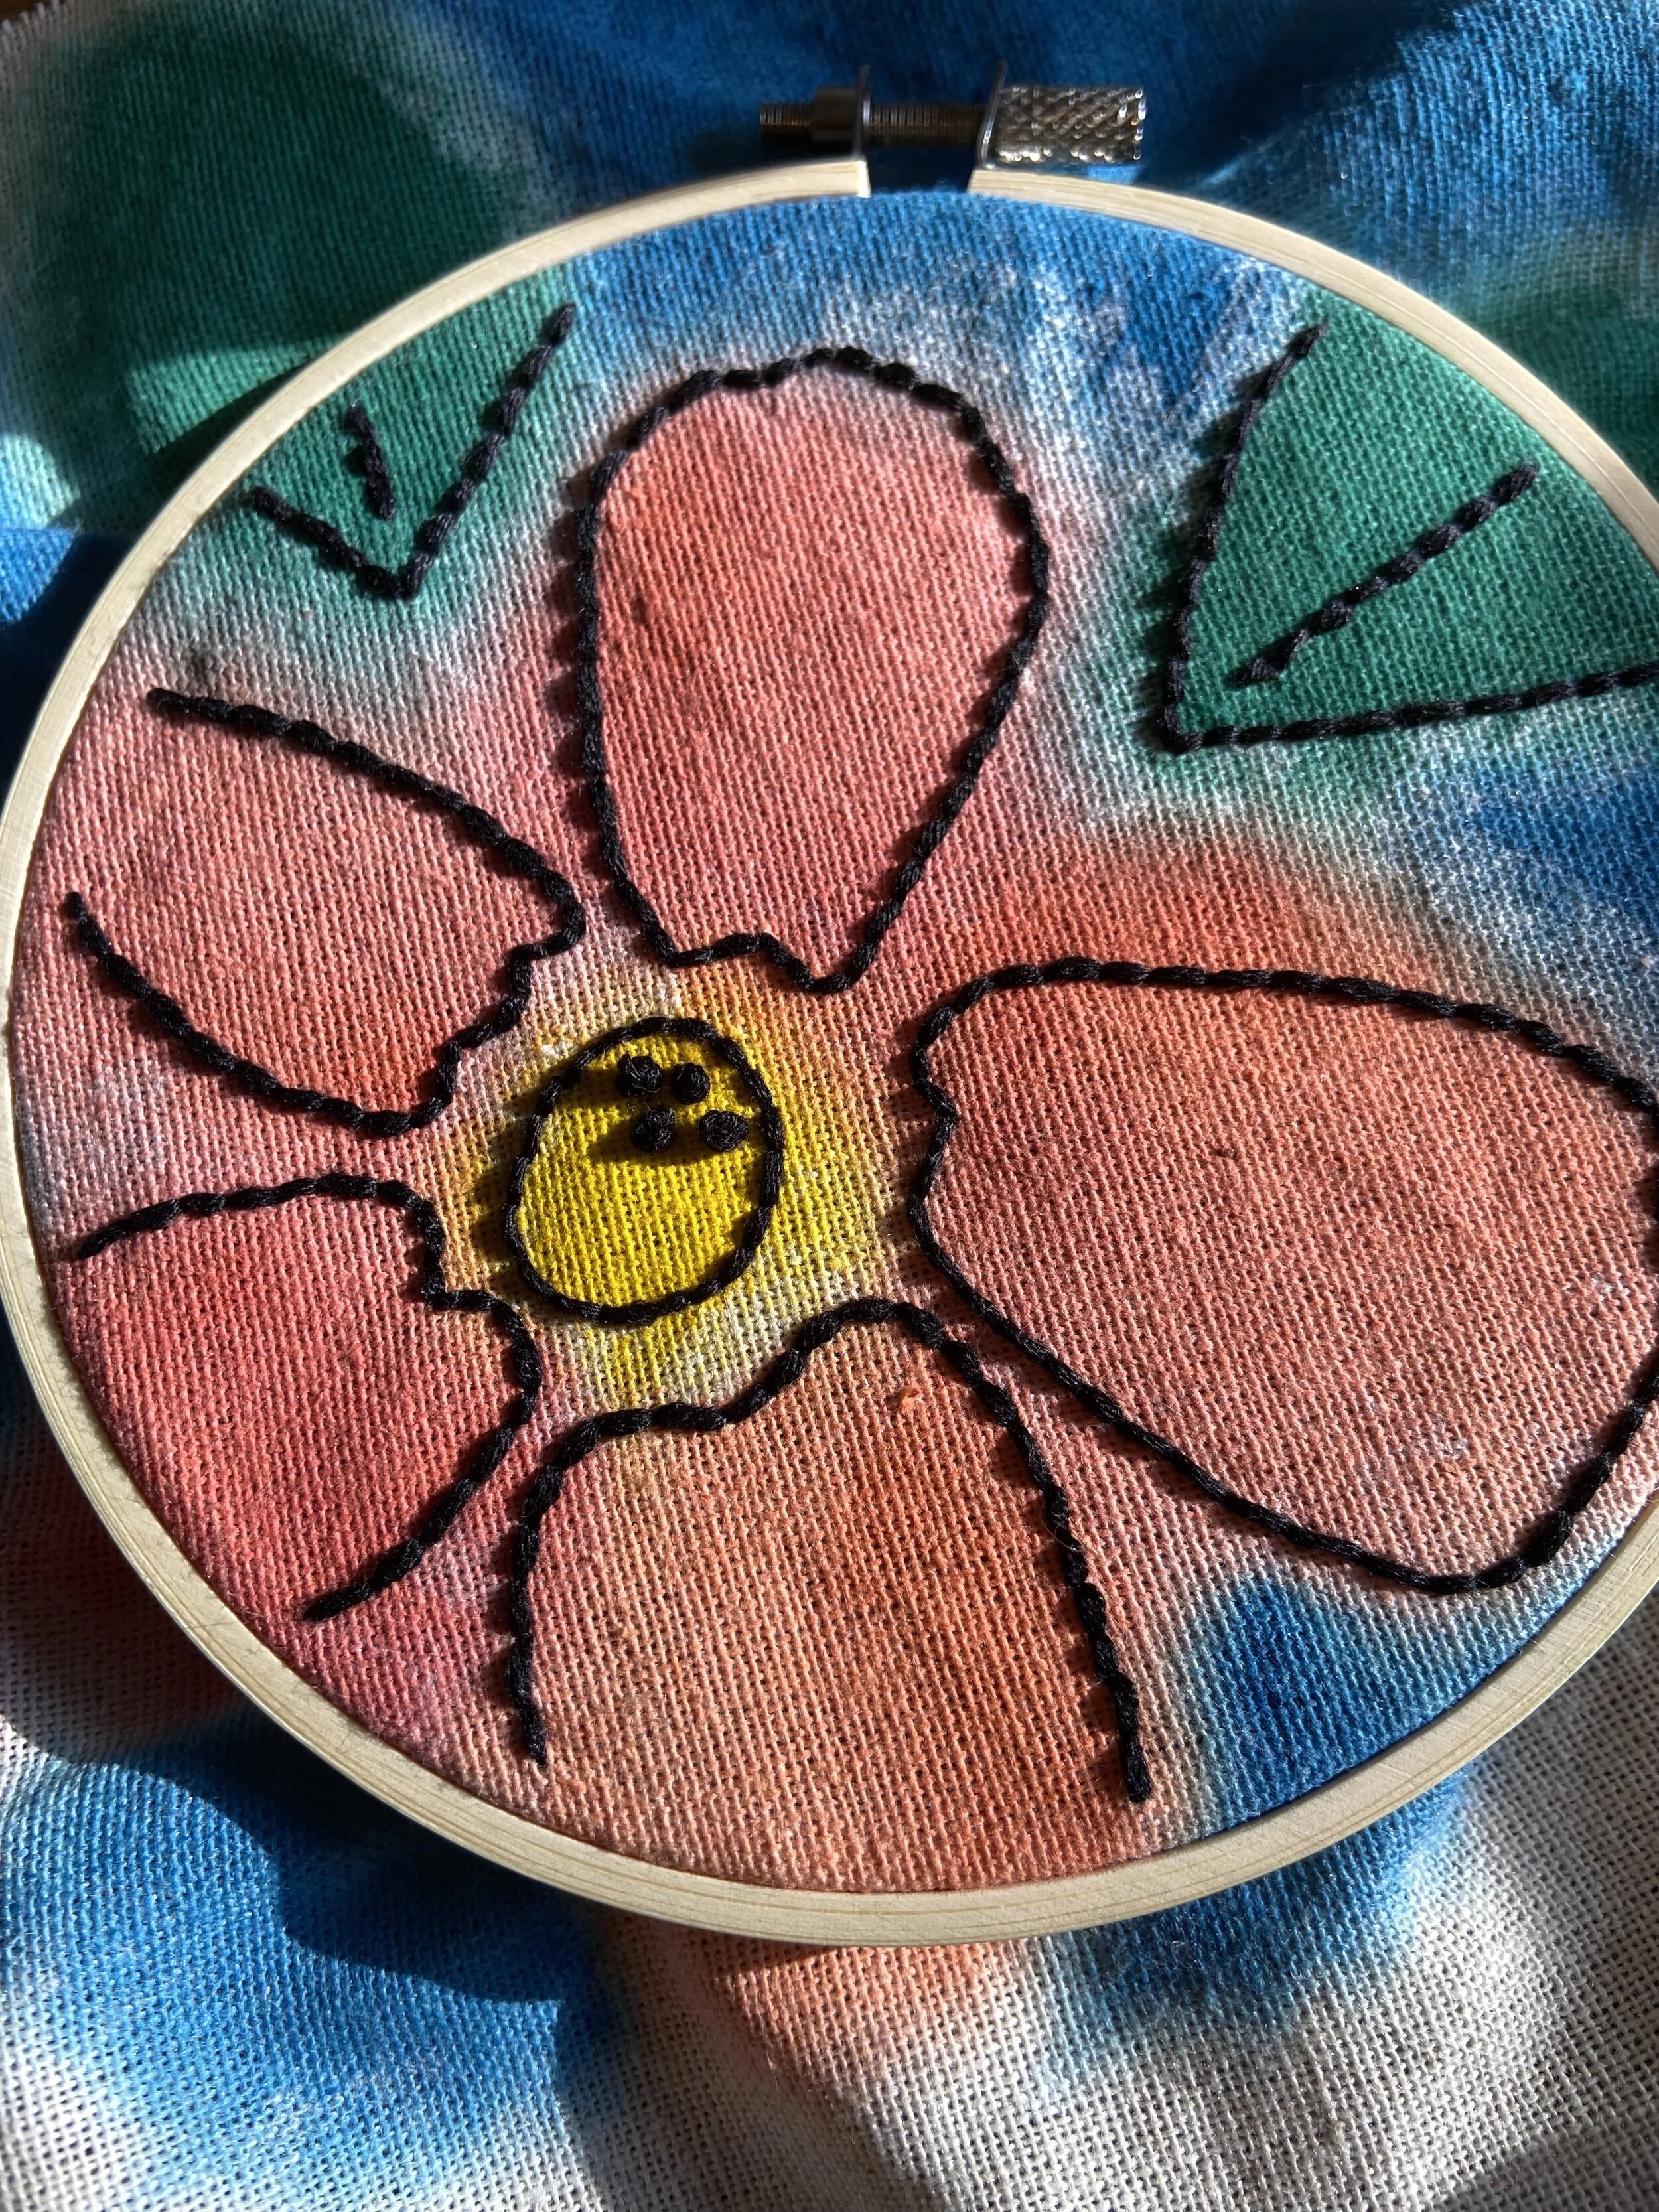
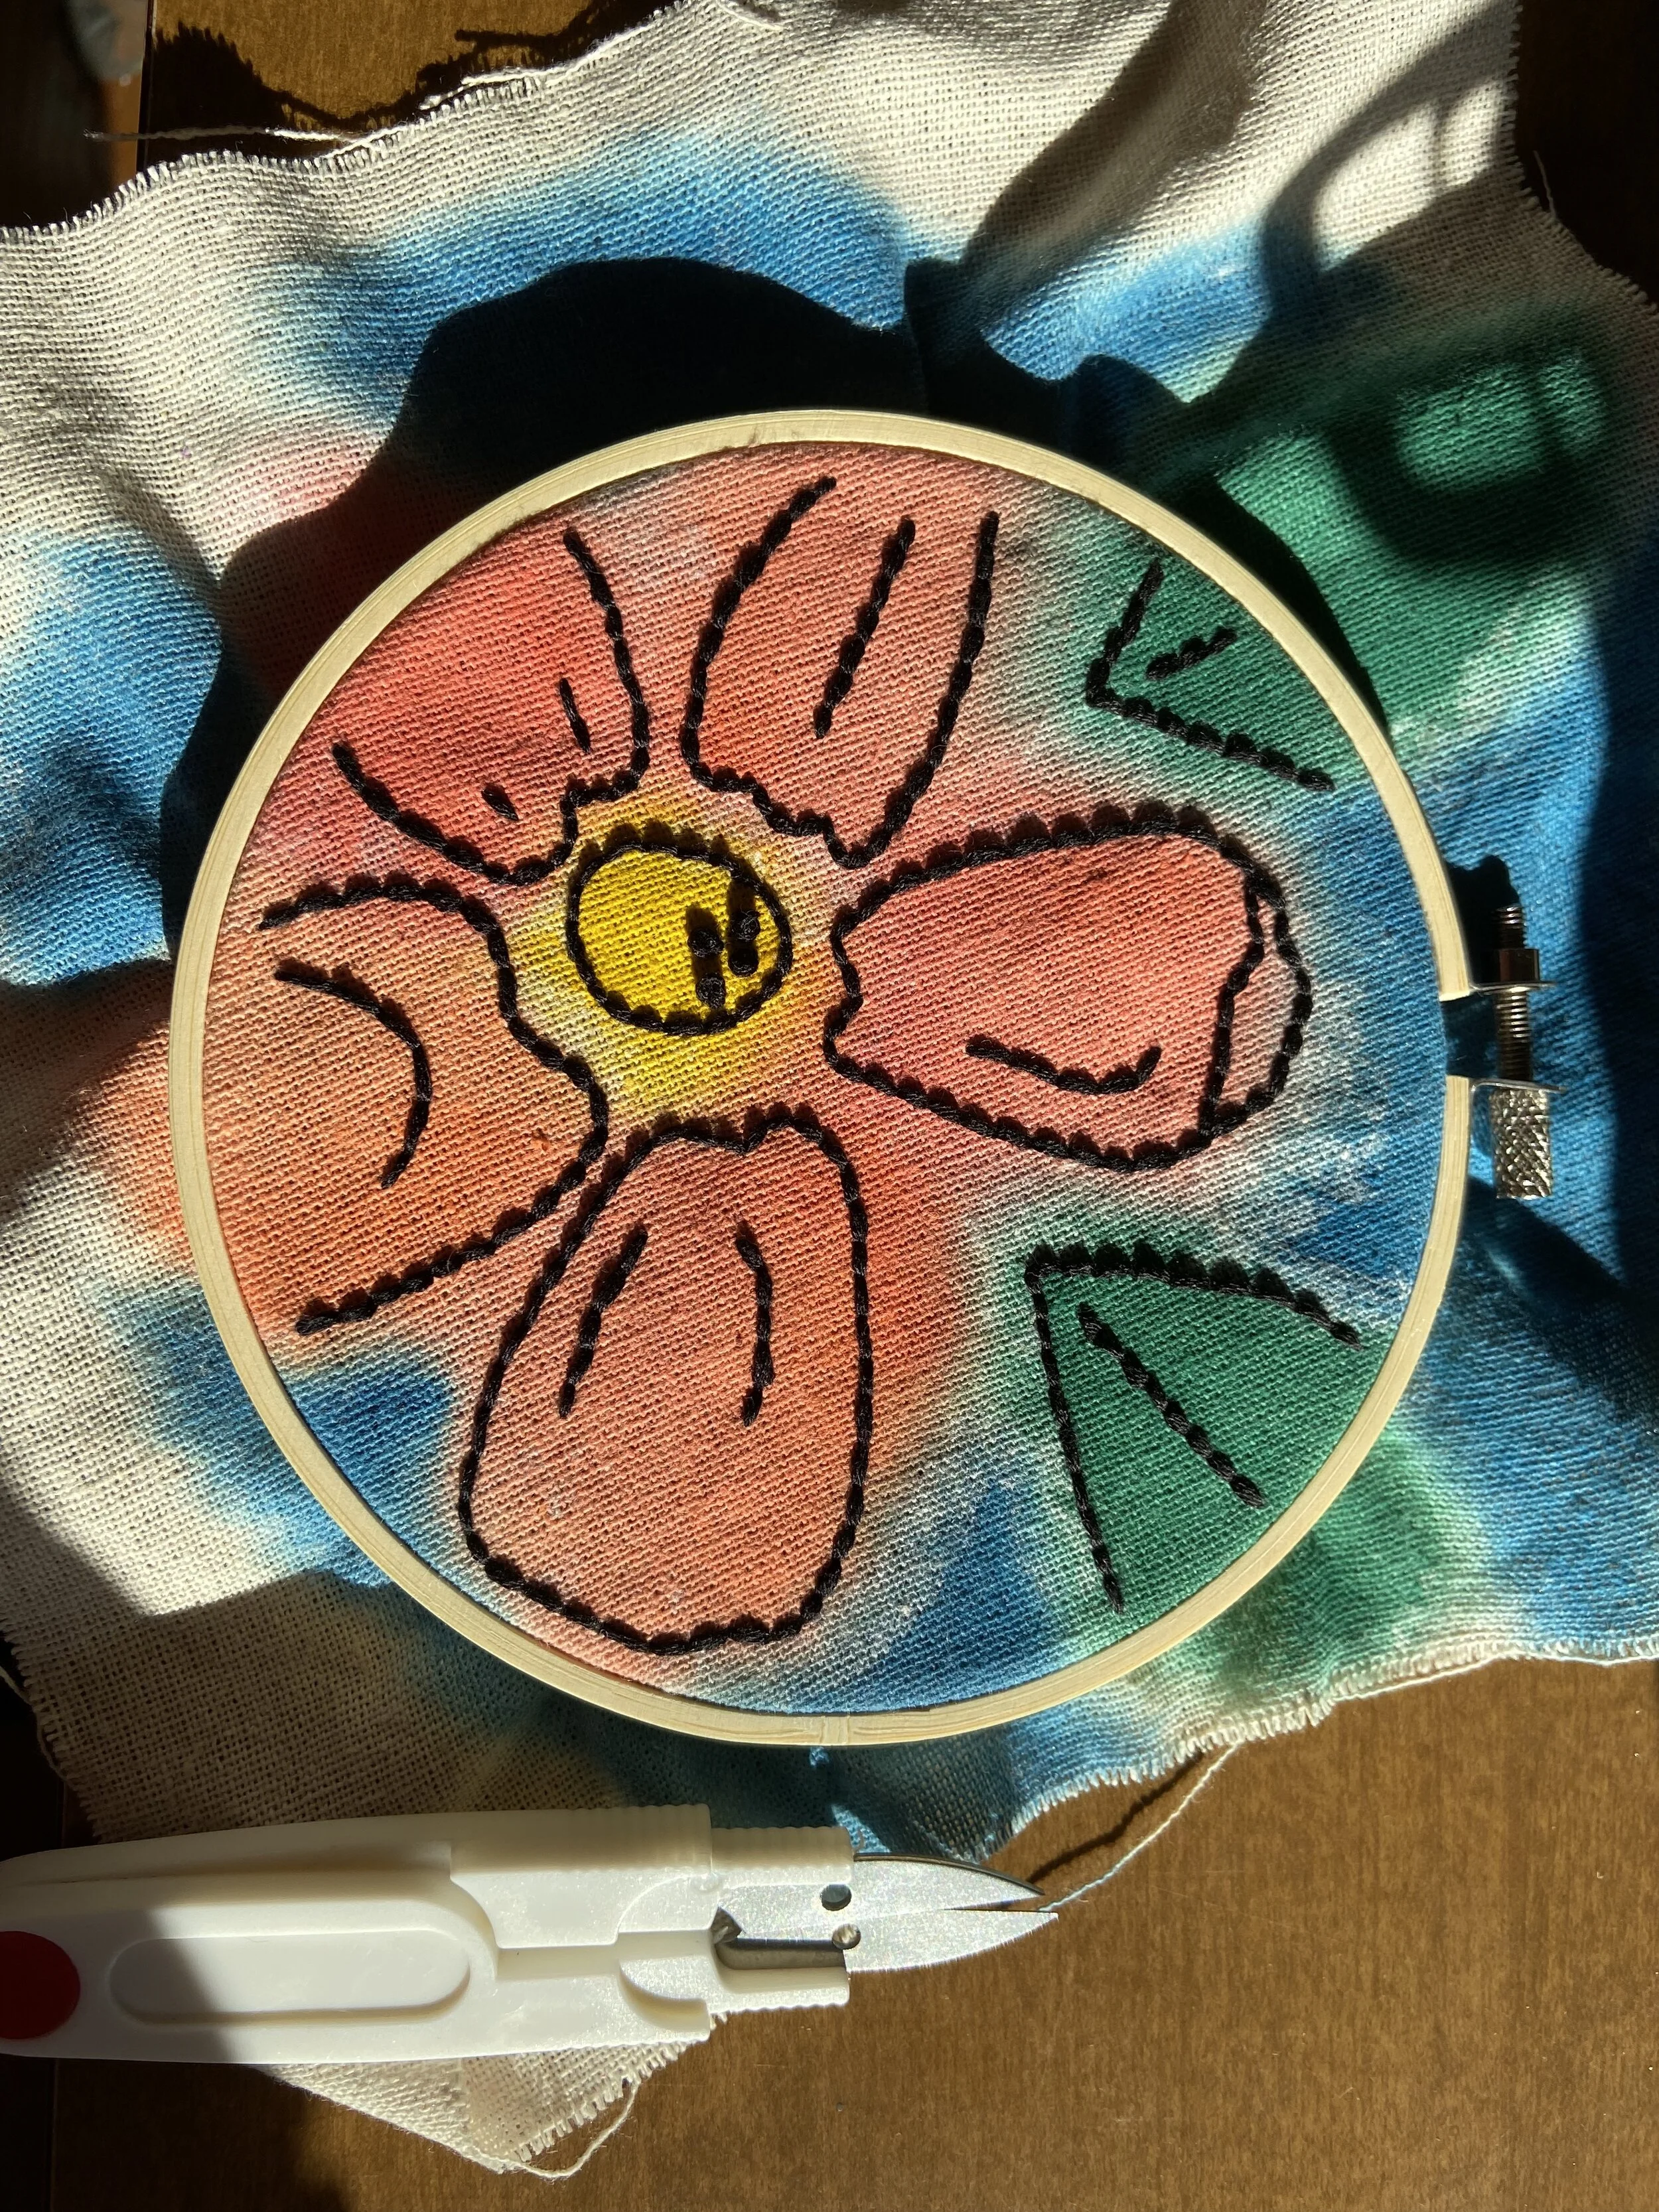
After my fabric dried I put it in my hoop. I then took black embroidery floss and stitched the outlines of the shapes of my drawing using a backstitch. I added a few french knots in the center of the flower to add some texture. I knew that I wanted this embroidery to match the feeling of my watercolor and ink drawings, so I wasn’t too precious about getting things perfect.
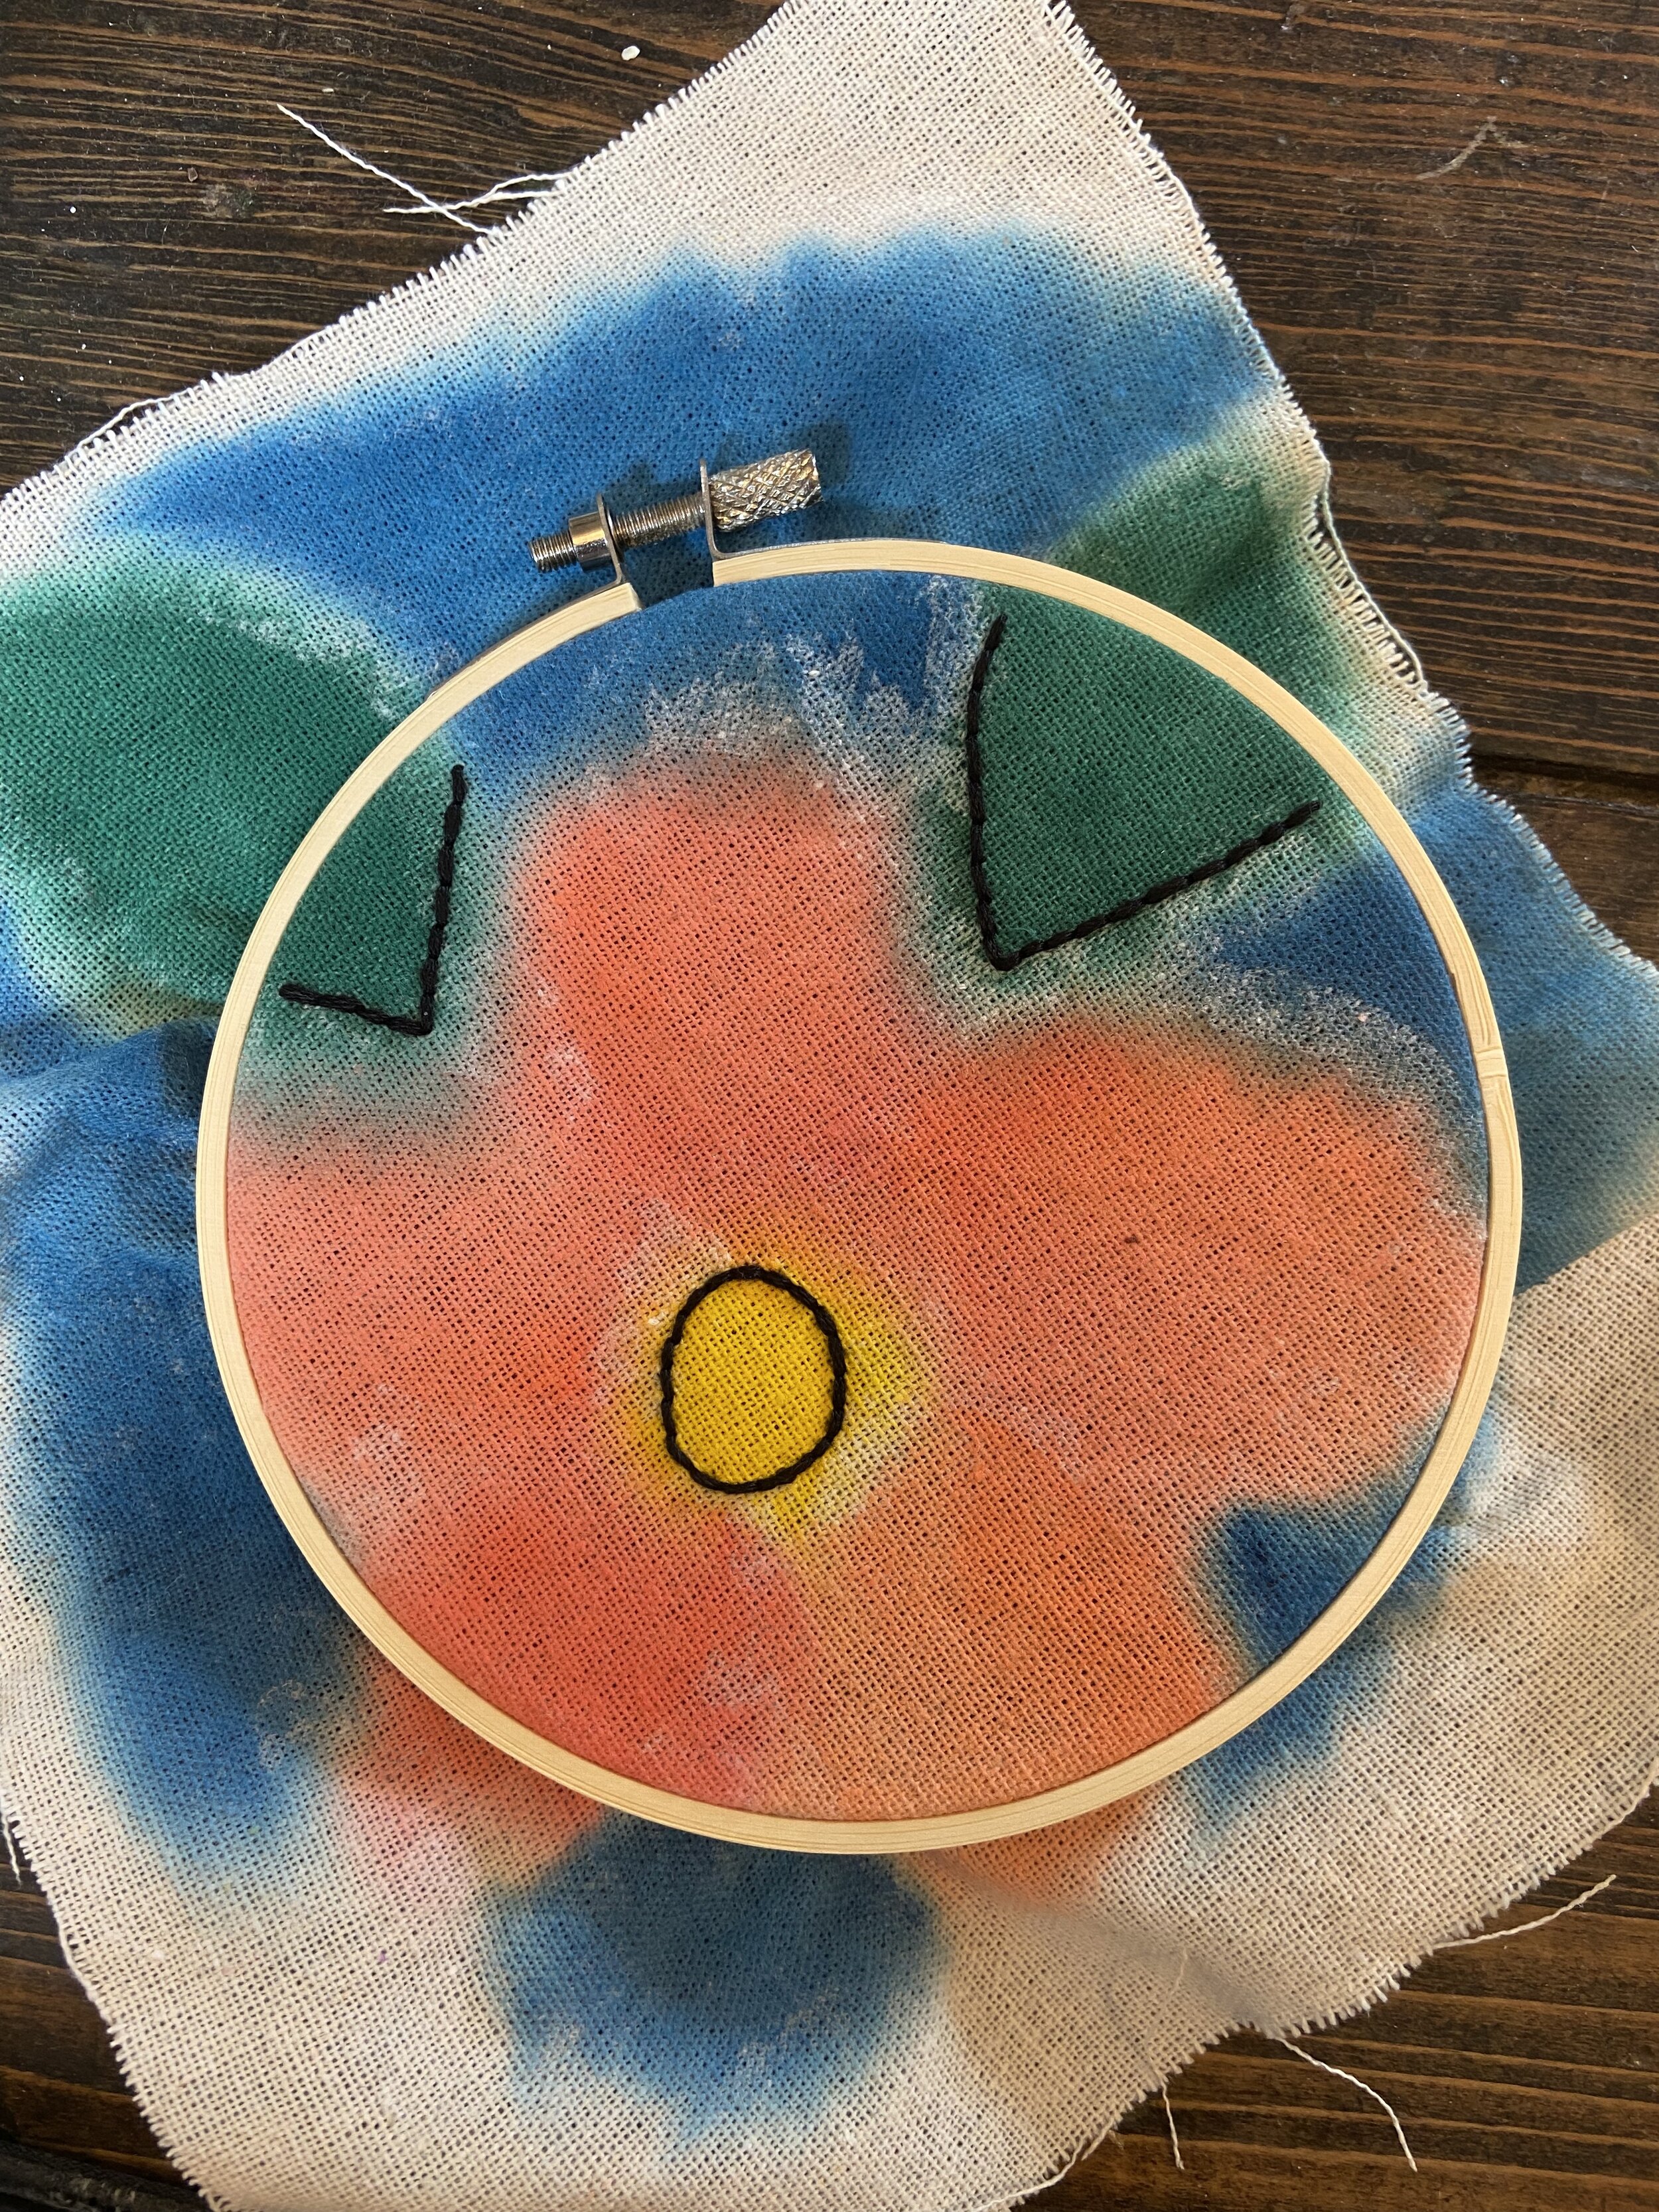
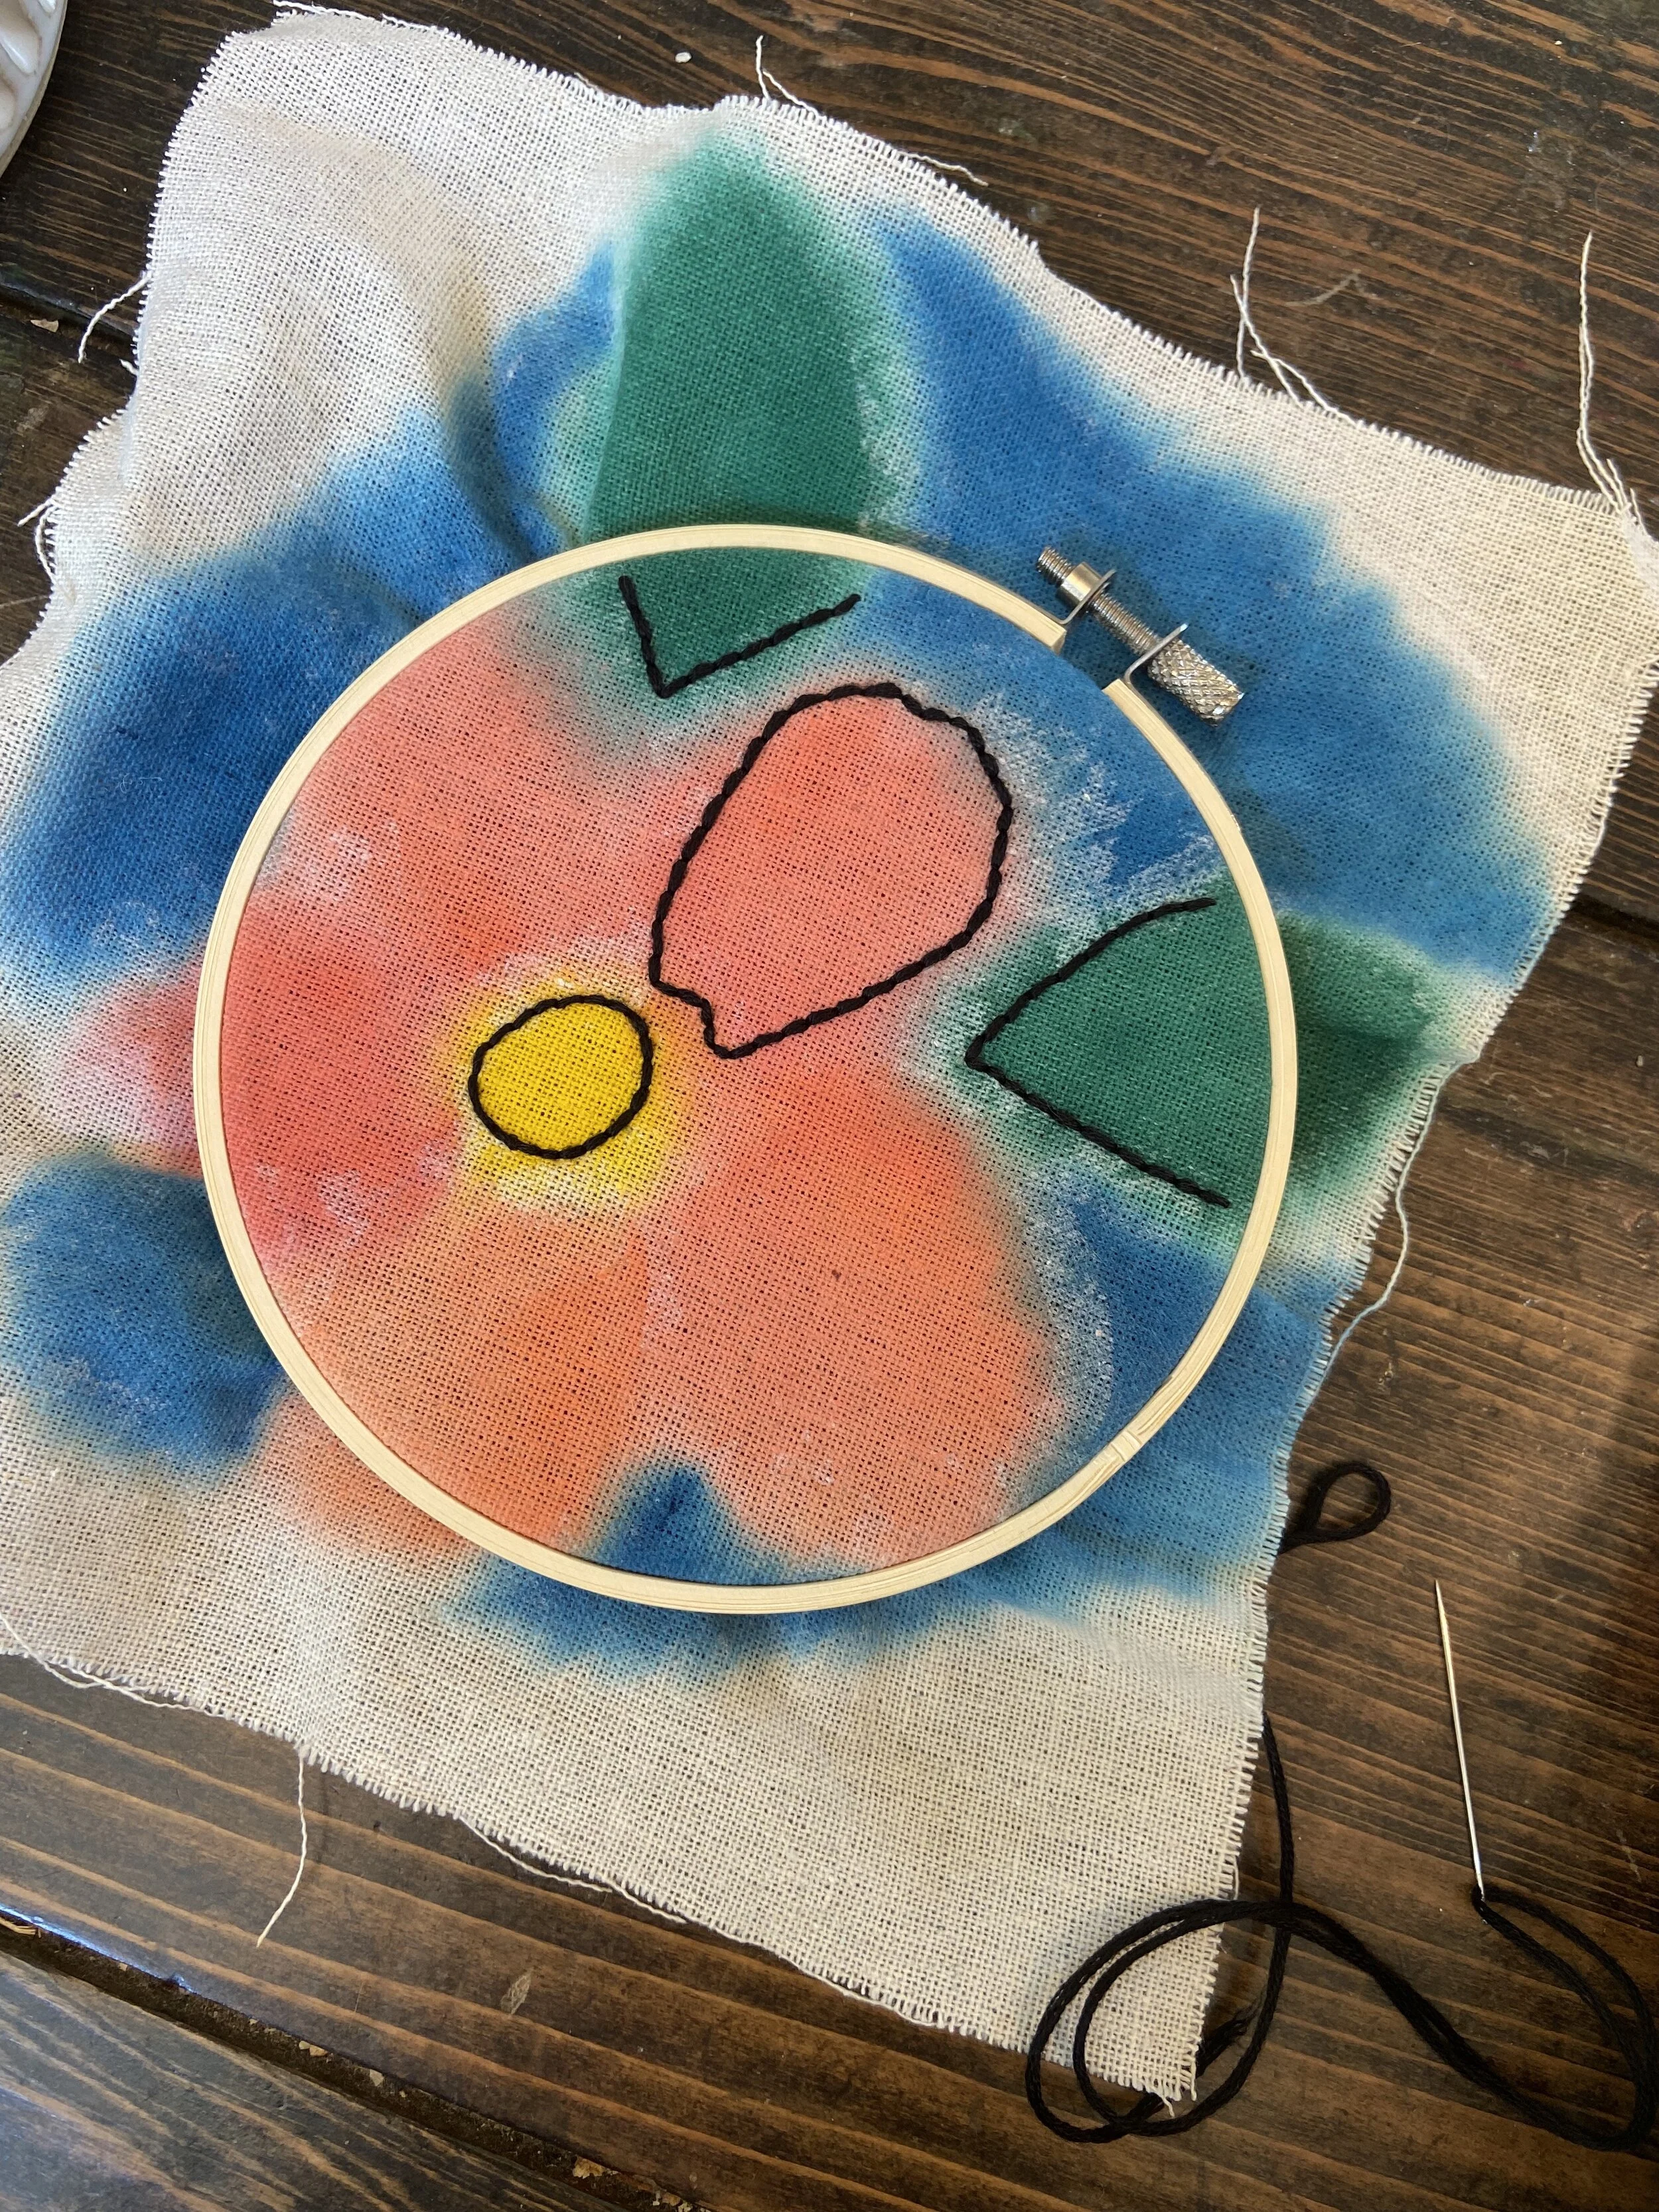
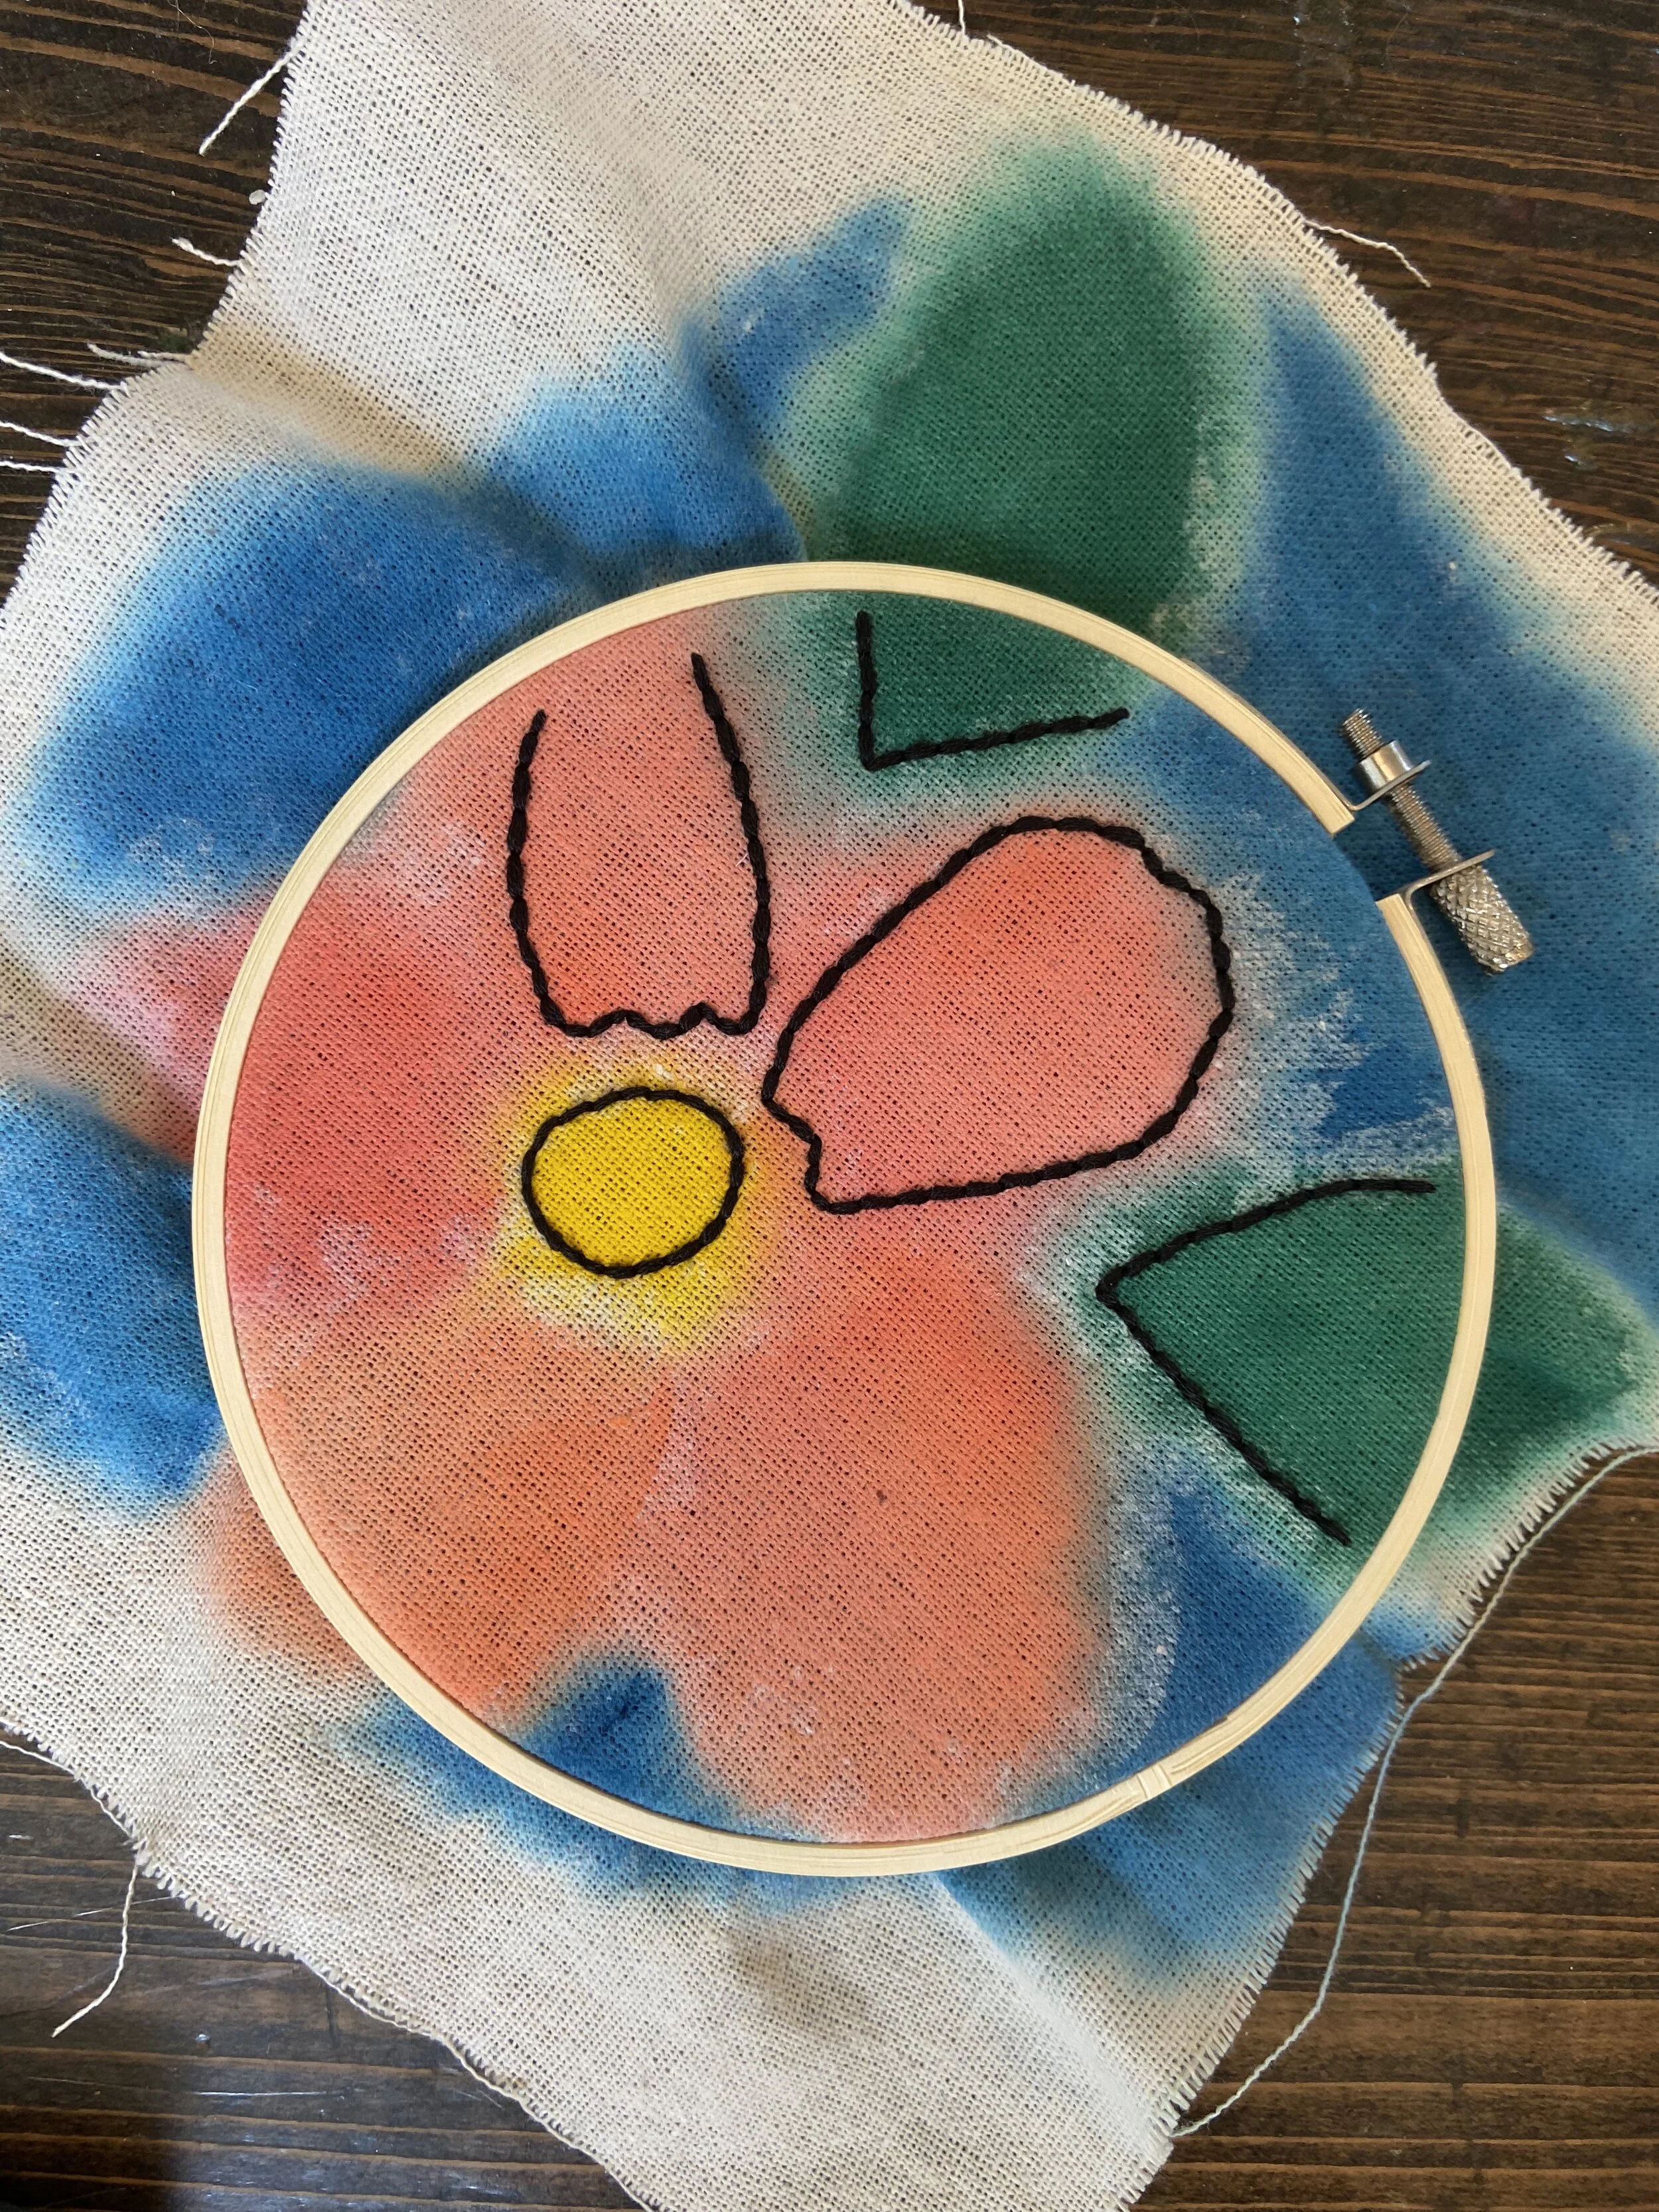
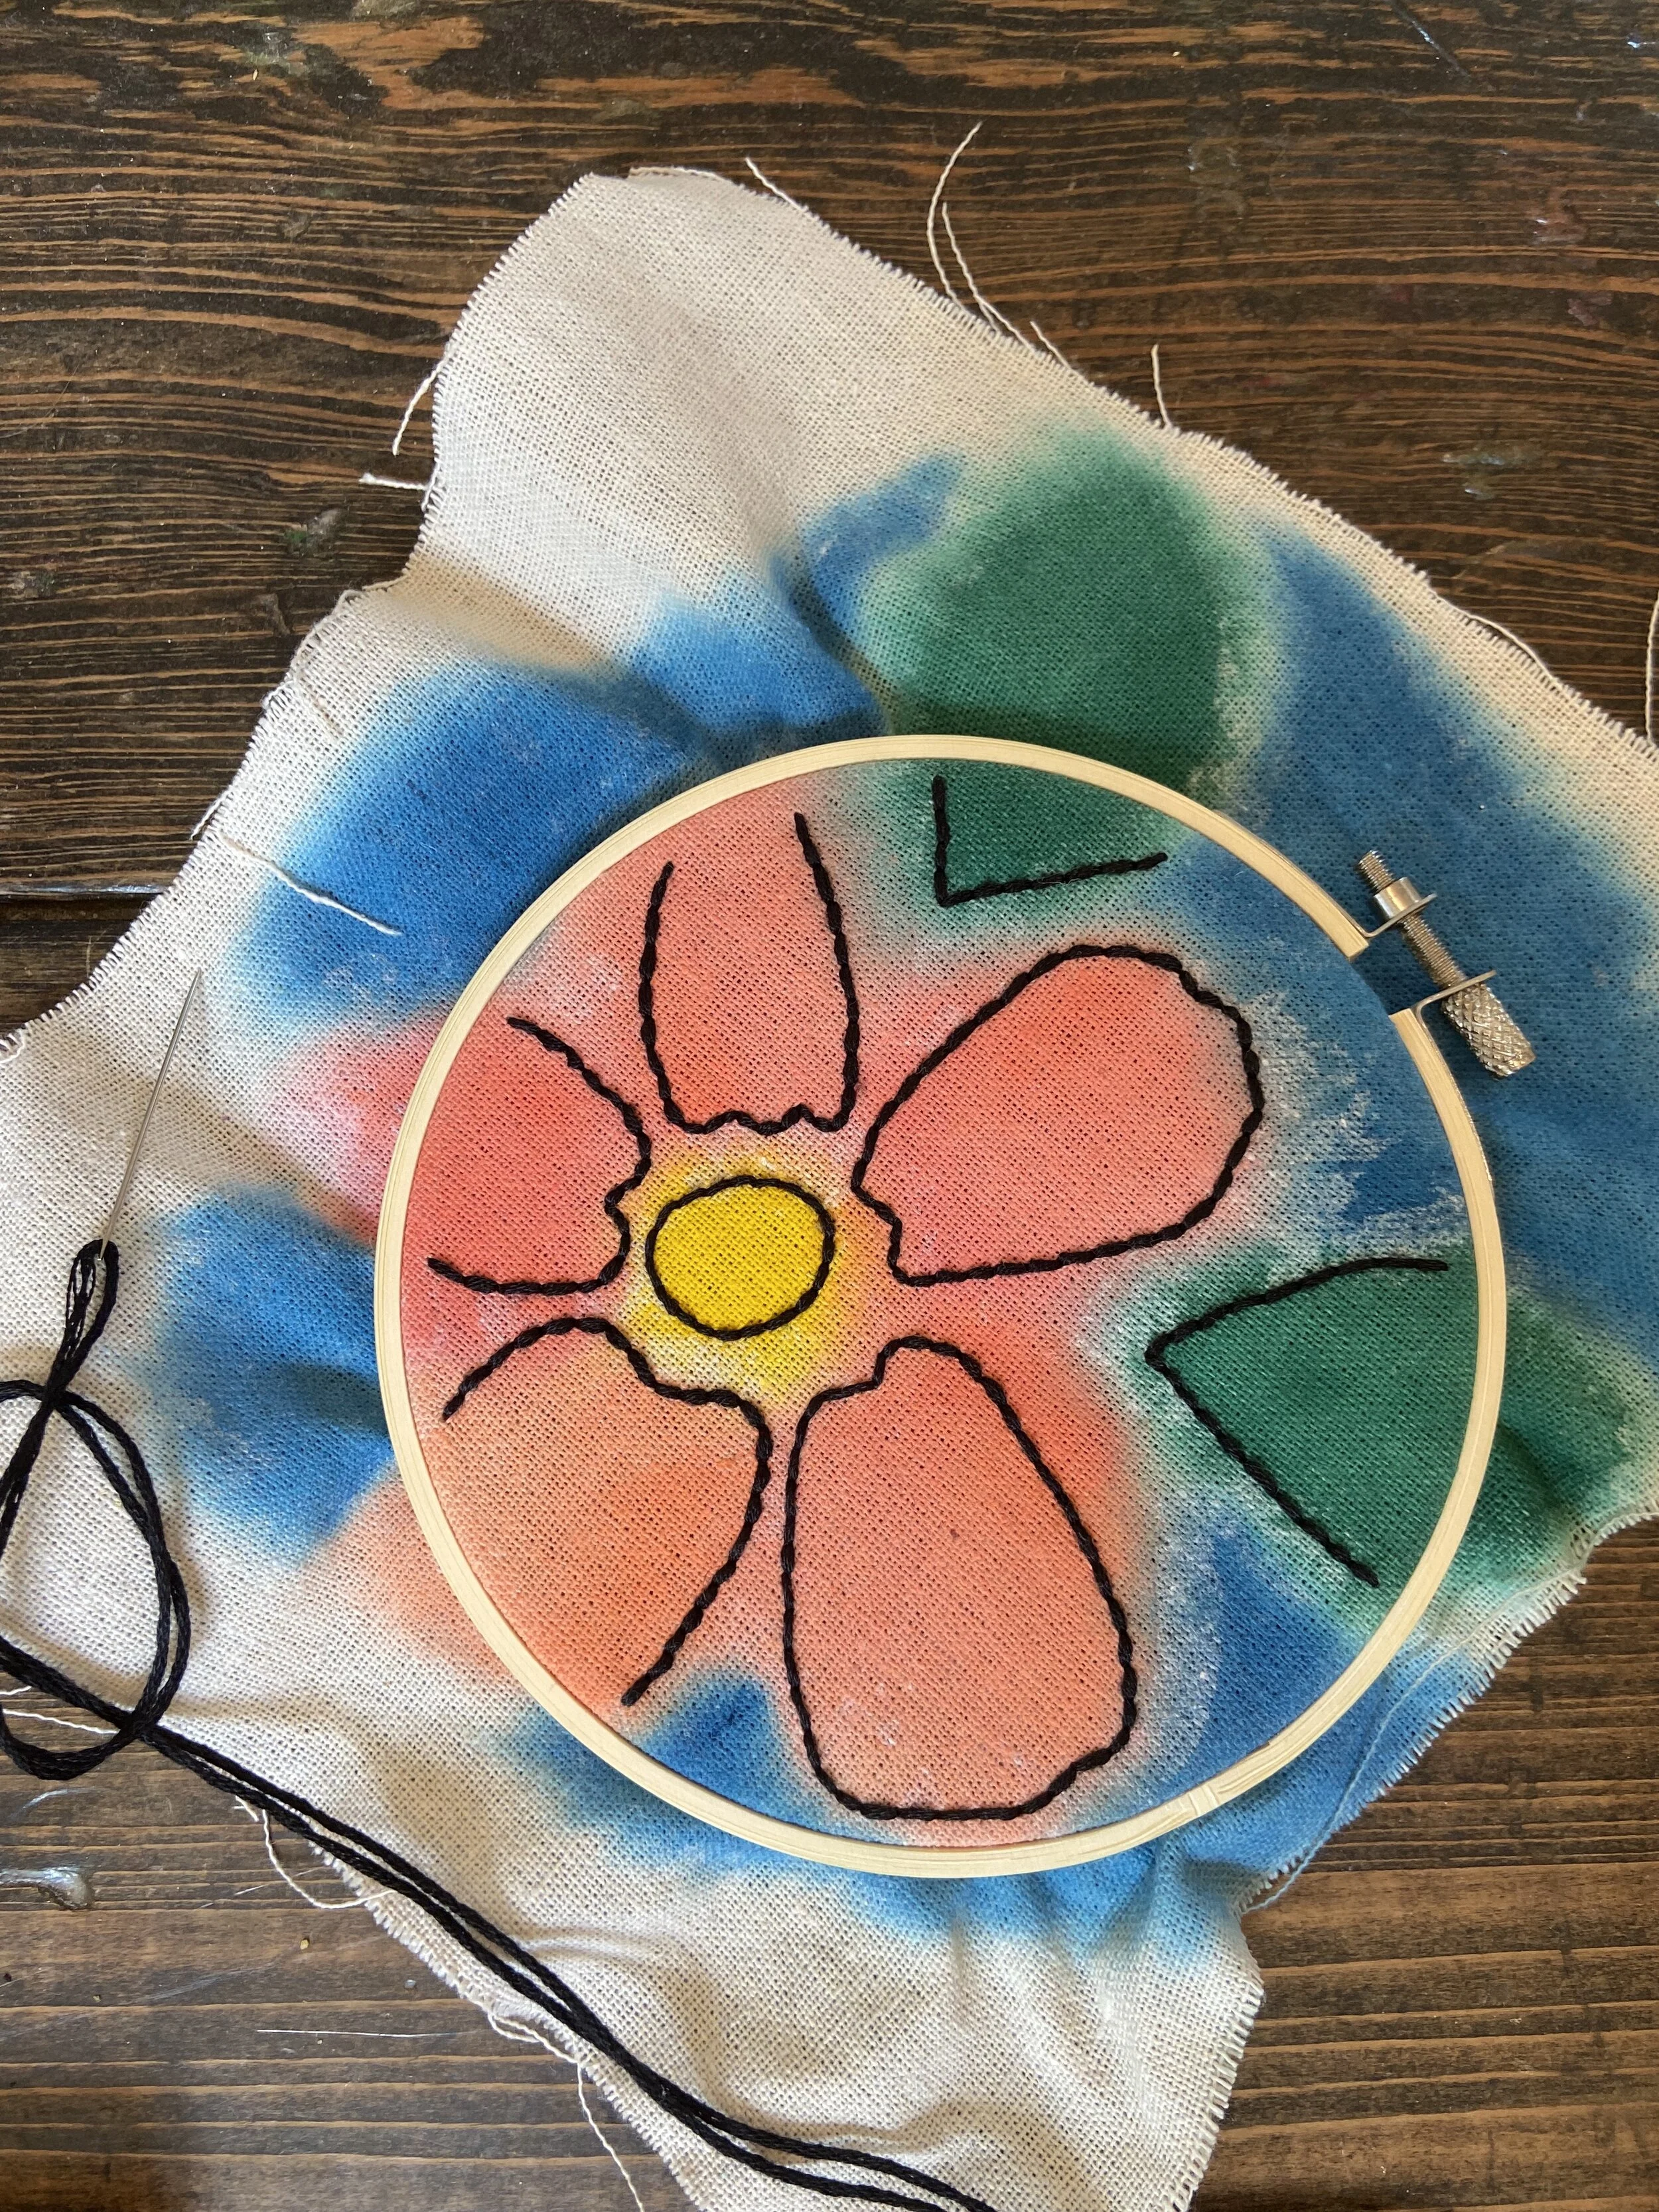
I then added detail lines to the petals and leaves using the same black embroidery floss and back stitch.
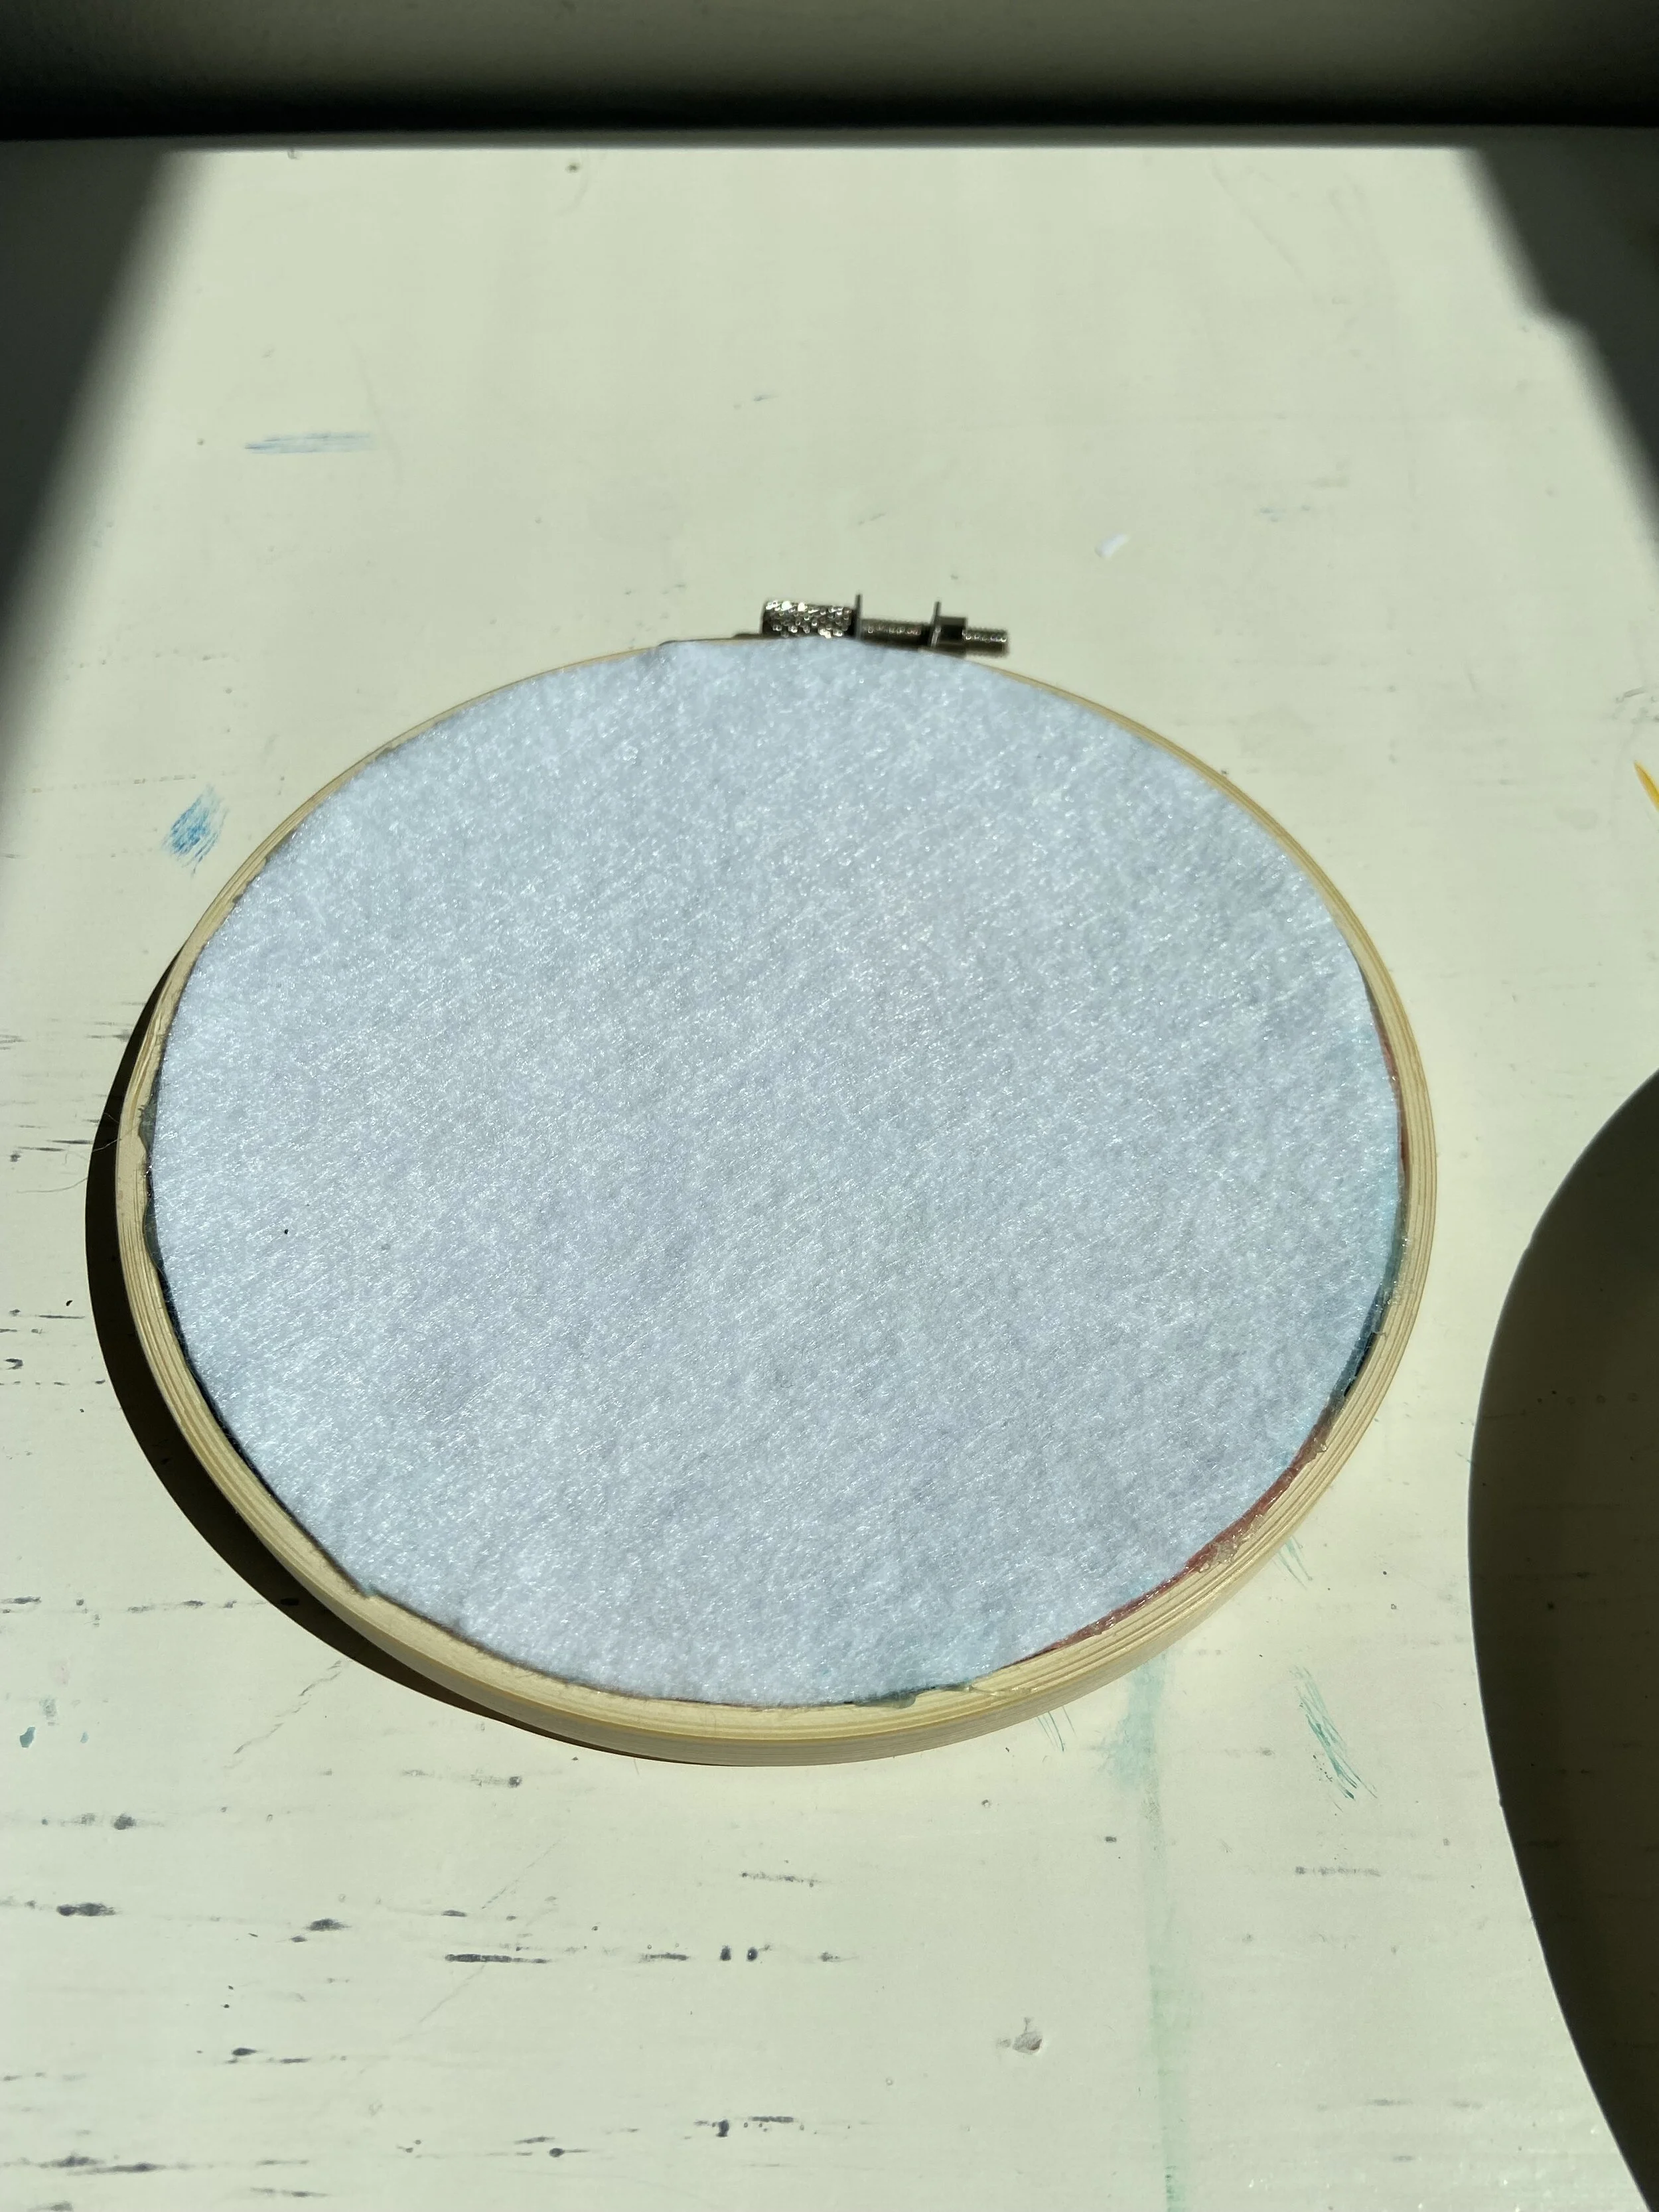
When I do embroidery I try to cut the backing piece of felt before I start my project. I forgot this time, but luckily I had an extra hoop to trace. I separate the hoop and trace the inside of the outer hoop onto my felt.
I went back to the project I was working on. Then I made sure the fabric was tight in the hoop and cut around the hoop. I glued the extra fabric to the inside of the hoop using a hot glue gun, and glued the circle of backing felt to the back of the finished project using hot glue as well.
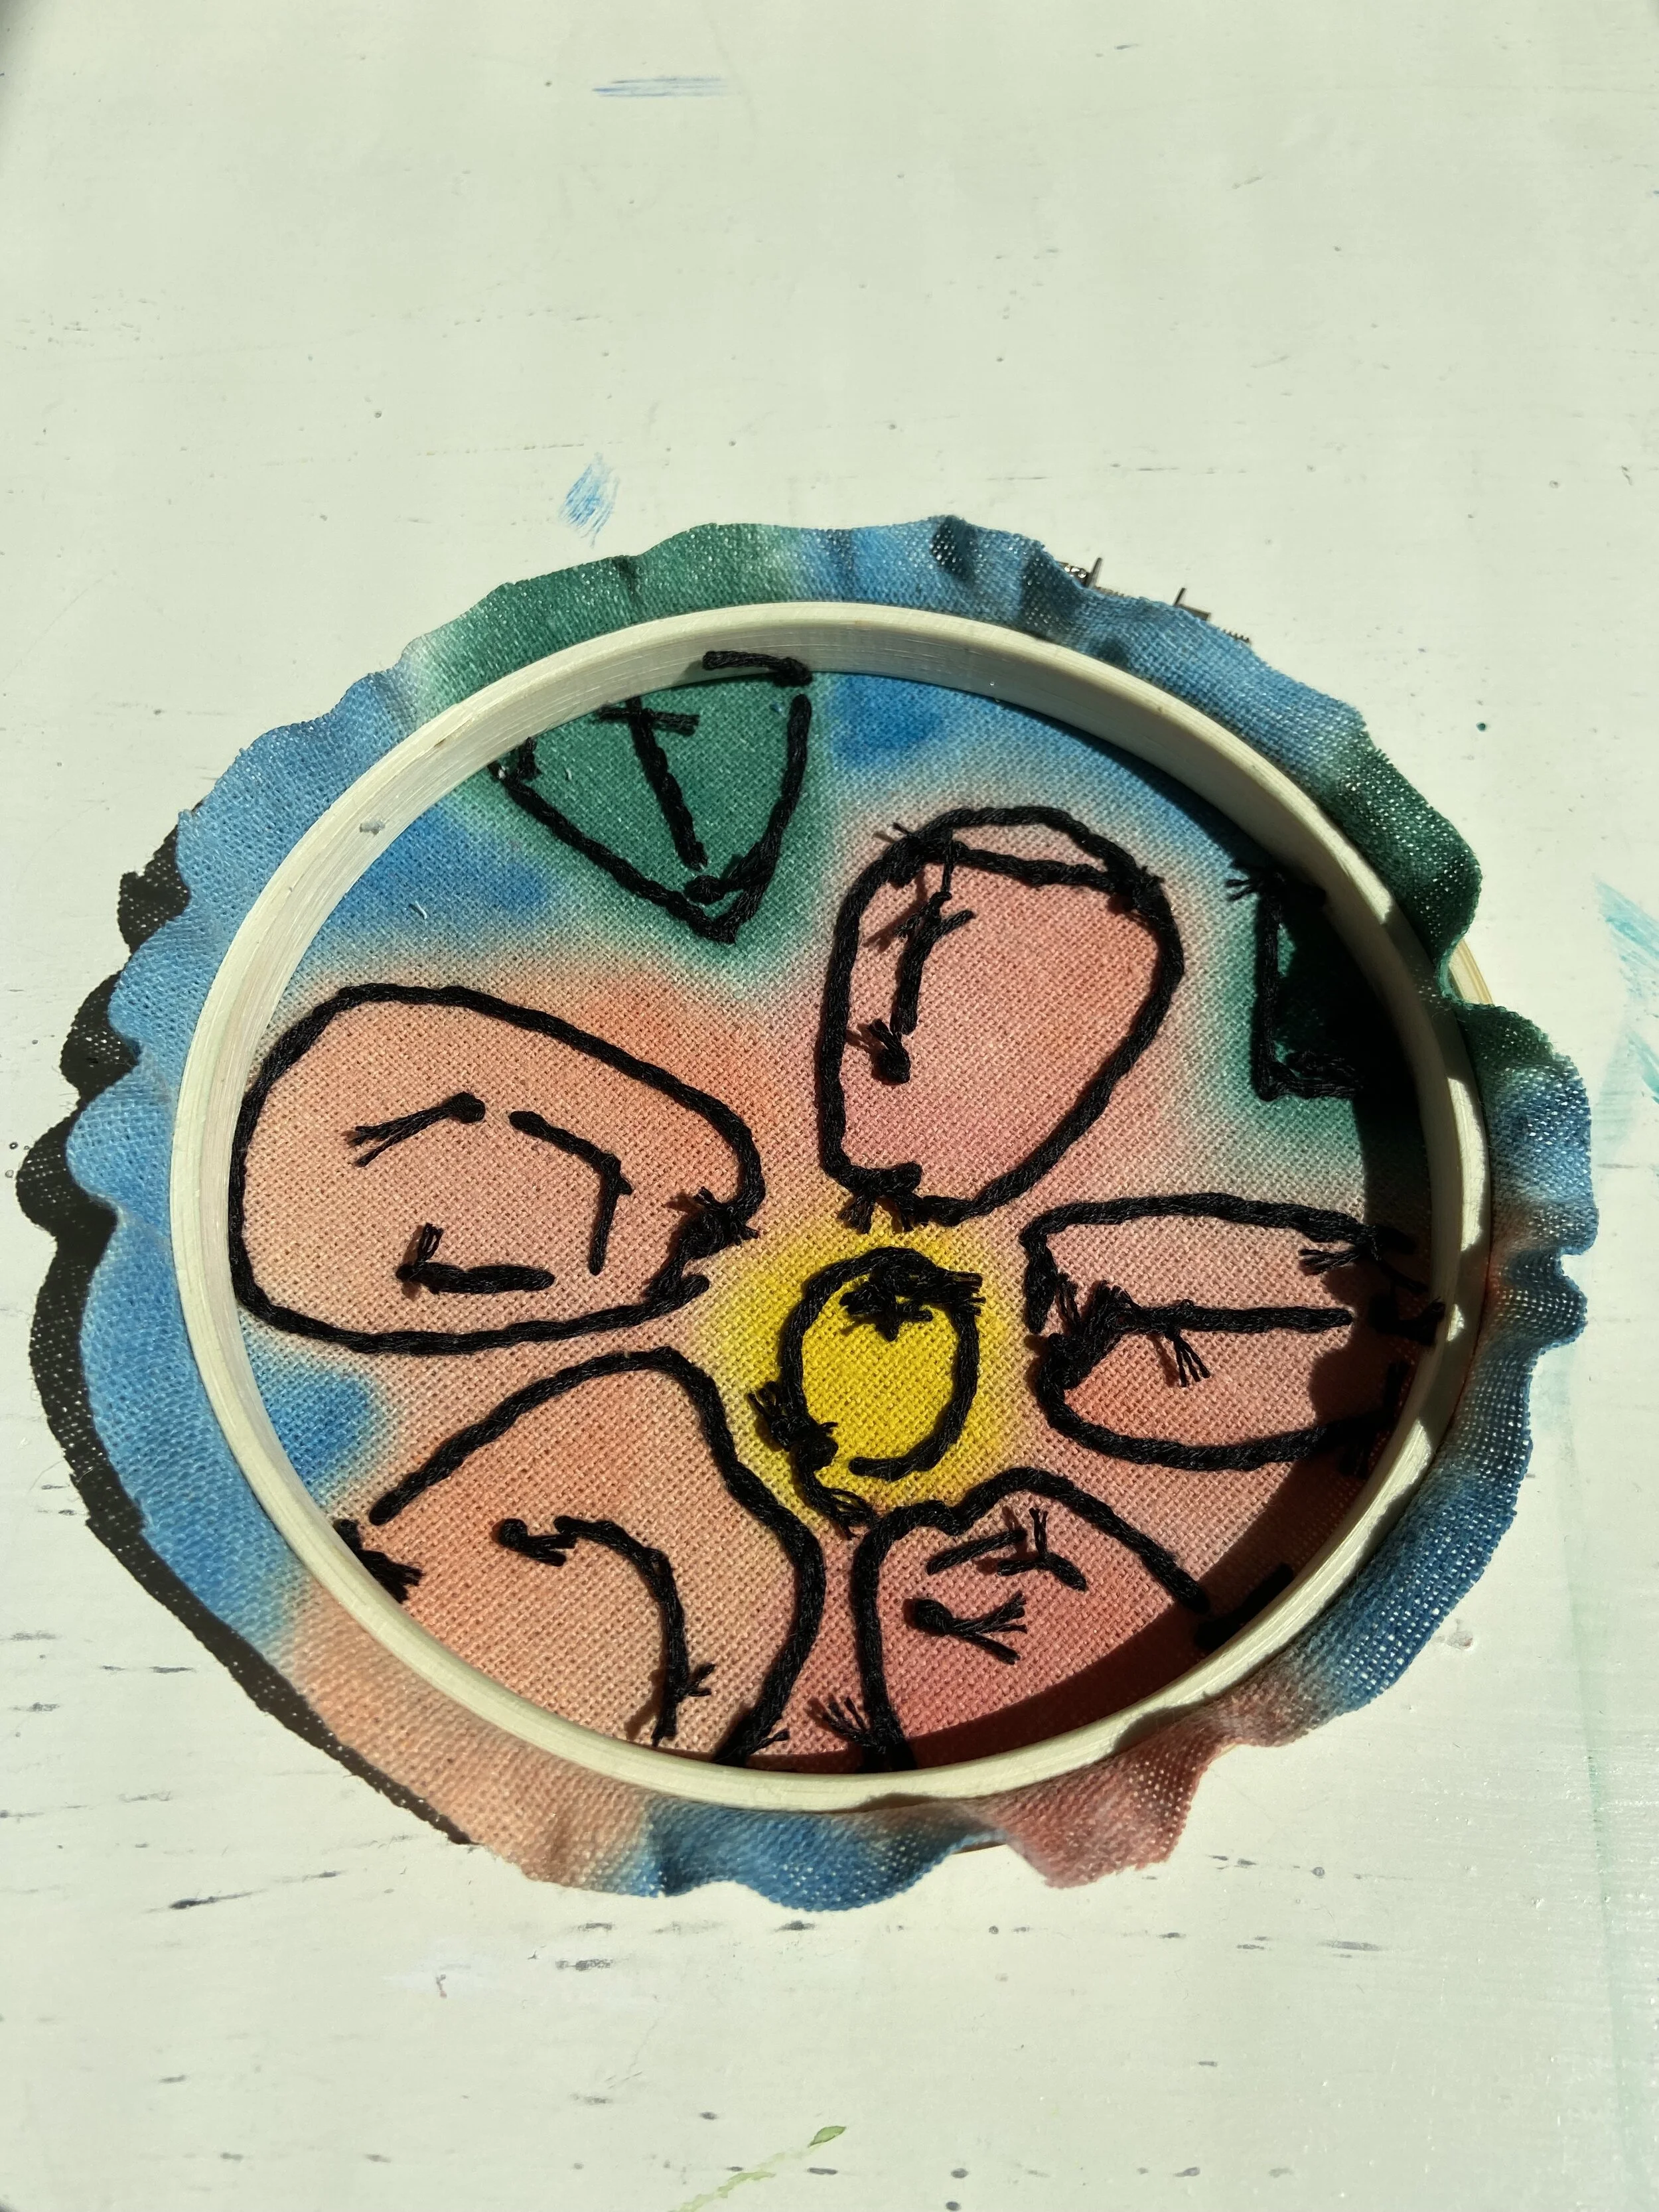
Overall I’m happy with how this project came out. I didn’t want to draw my lines on the fabric for the black embroidery because I didn’t want to use a water-soluble pen on top of the watercolor. When I add black ink to watercolor pieces, I like it when the ink line has varying thickness. I wasn’t really able to add that to this piece. I think I could have separated the floss and used three strands for the detail work. It’s something to try in the future. I also loved how the watercolor blooms and moves on the fabric. You might be able to accomplish something similar using tie-dye. There’s pros and cons to both methods. Tie dye might be more permanent but require less steps and give you less control. Watercolor spreads and moves, but might not be permanent if you get the piece wet. However, hopefully it is not likely that this piece would get wet.
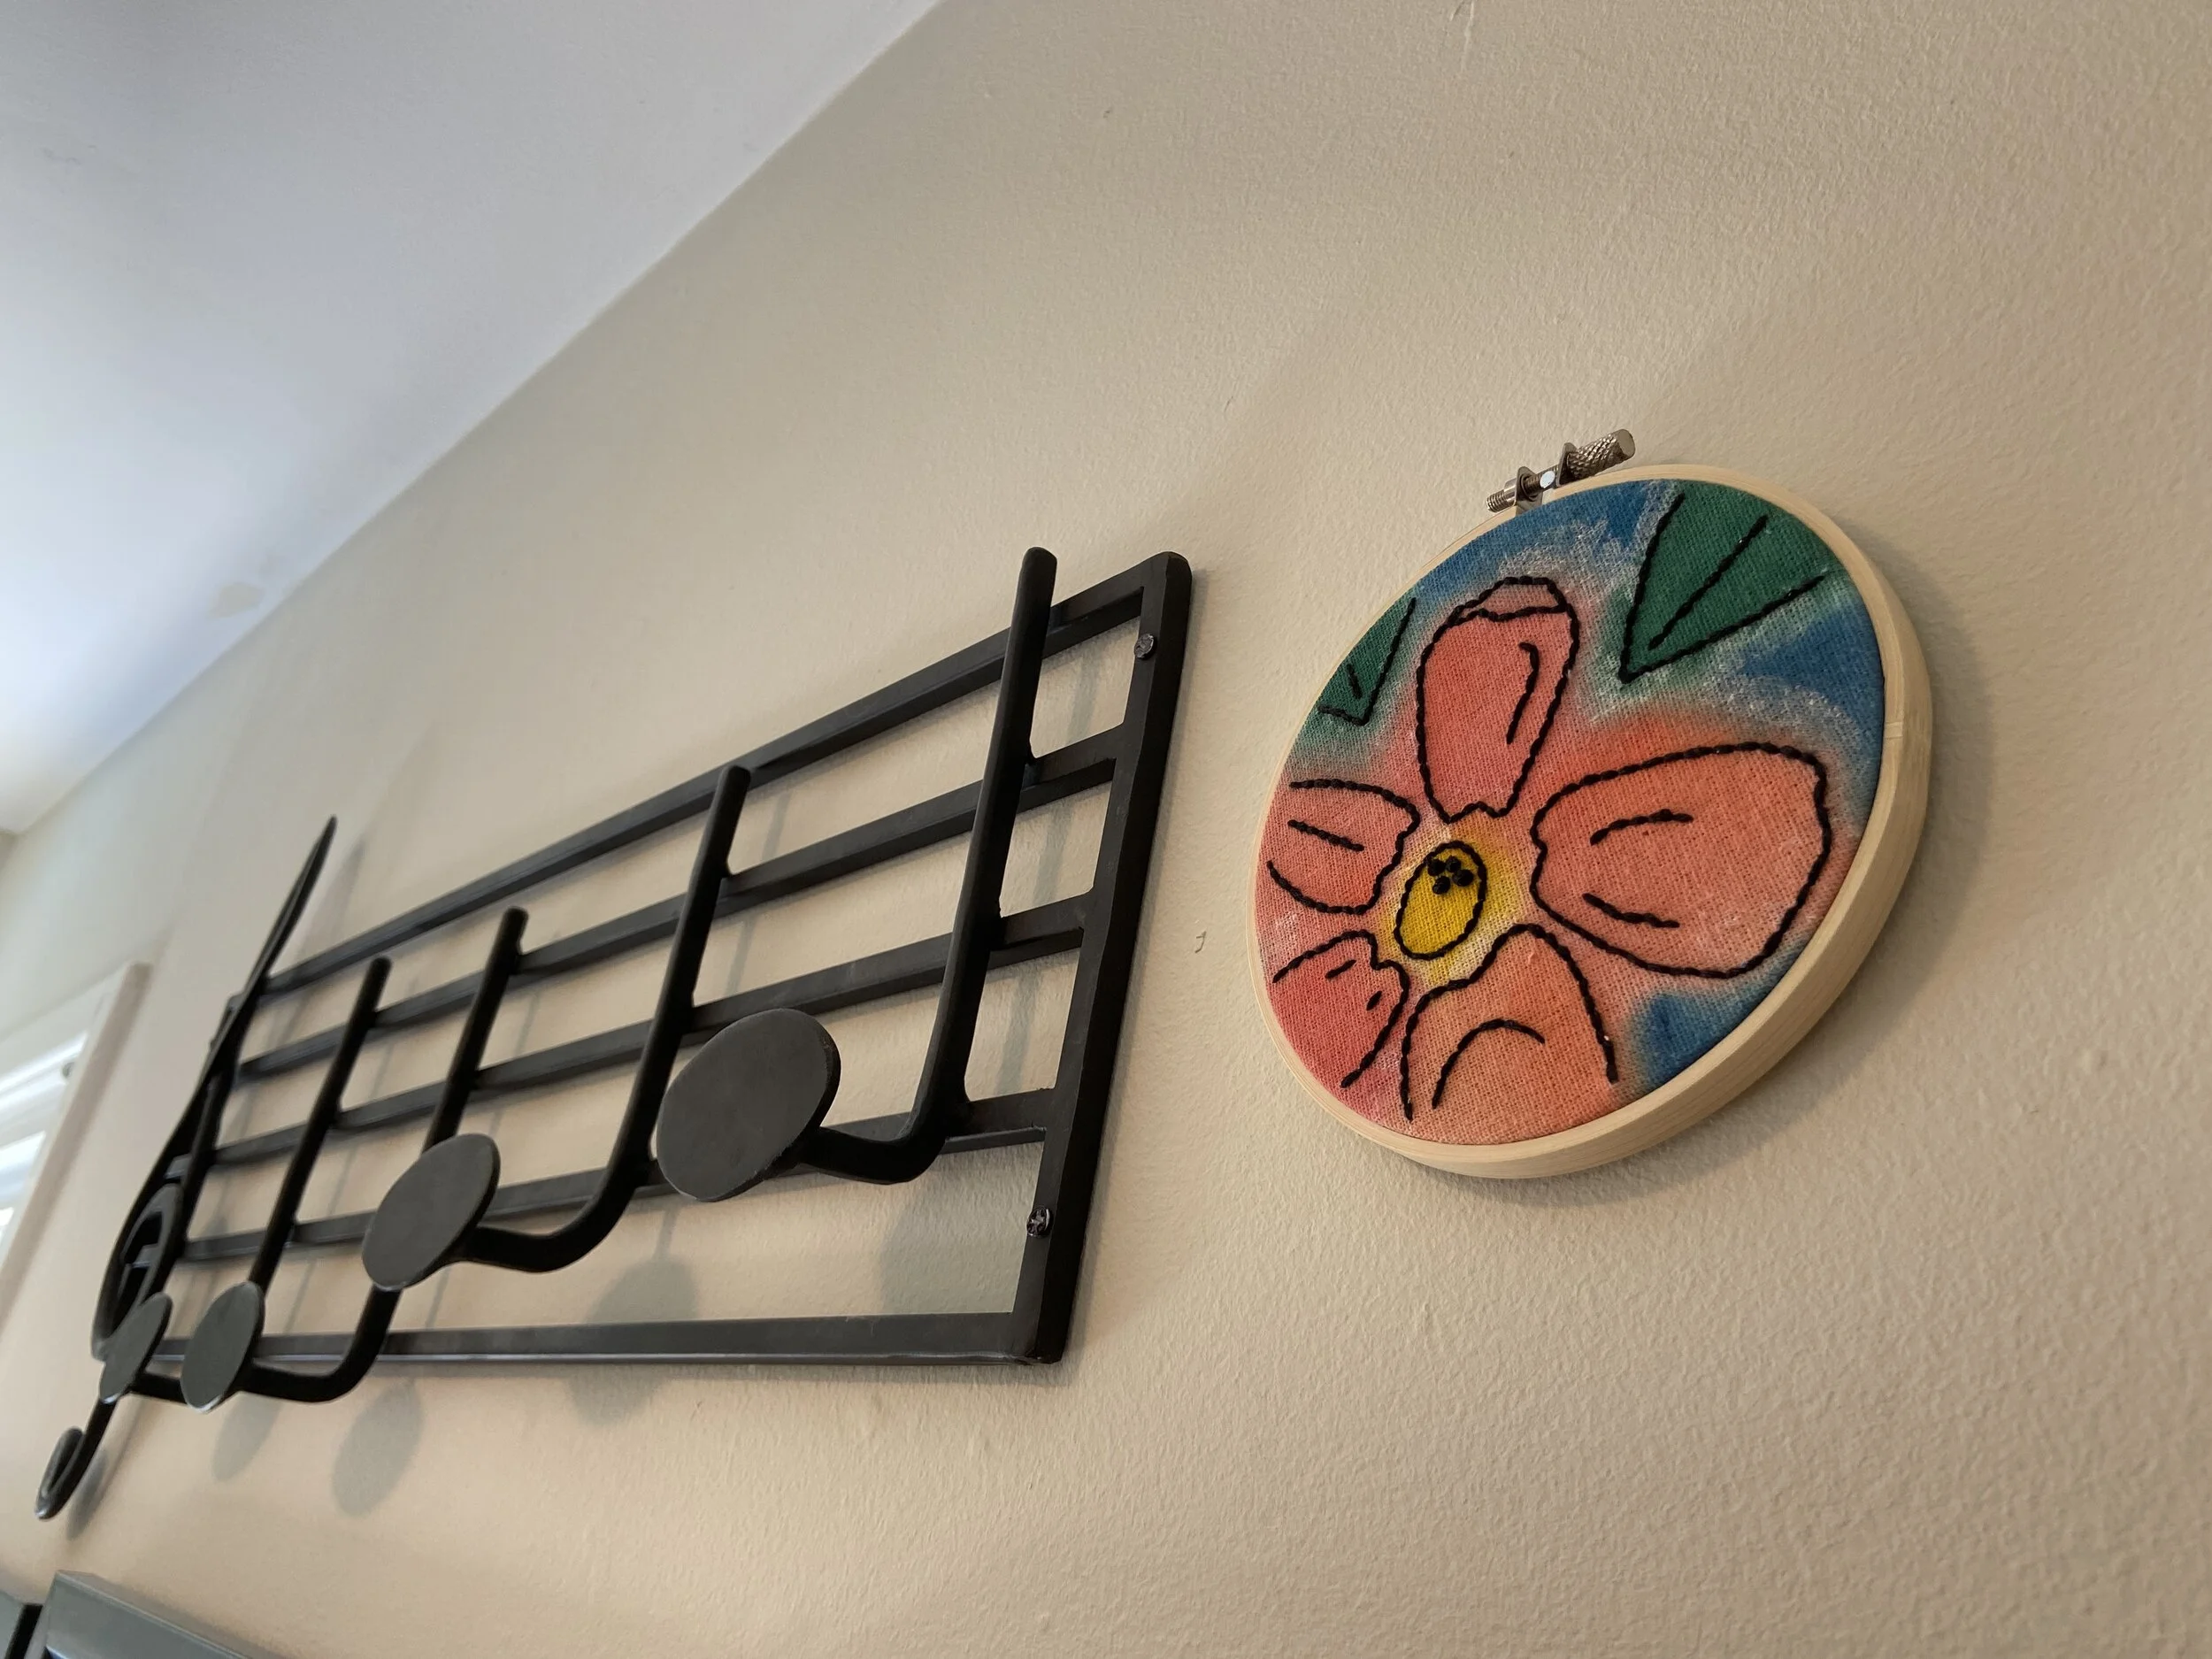
In the future I might try staining the hoop before I start. I think a darker wood finish might help the piece feel more polished or fit in better in my house.