The Pillowcase Caper
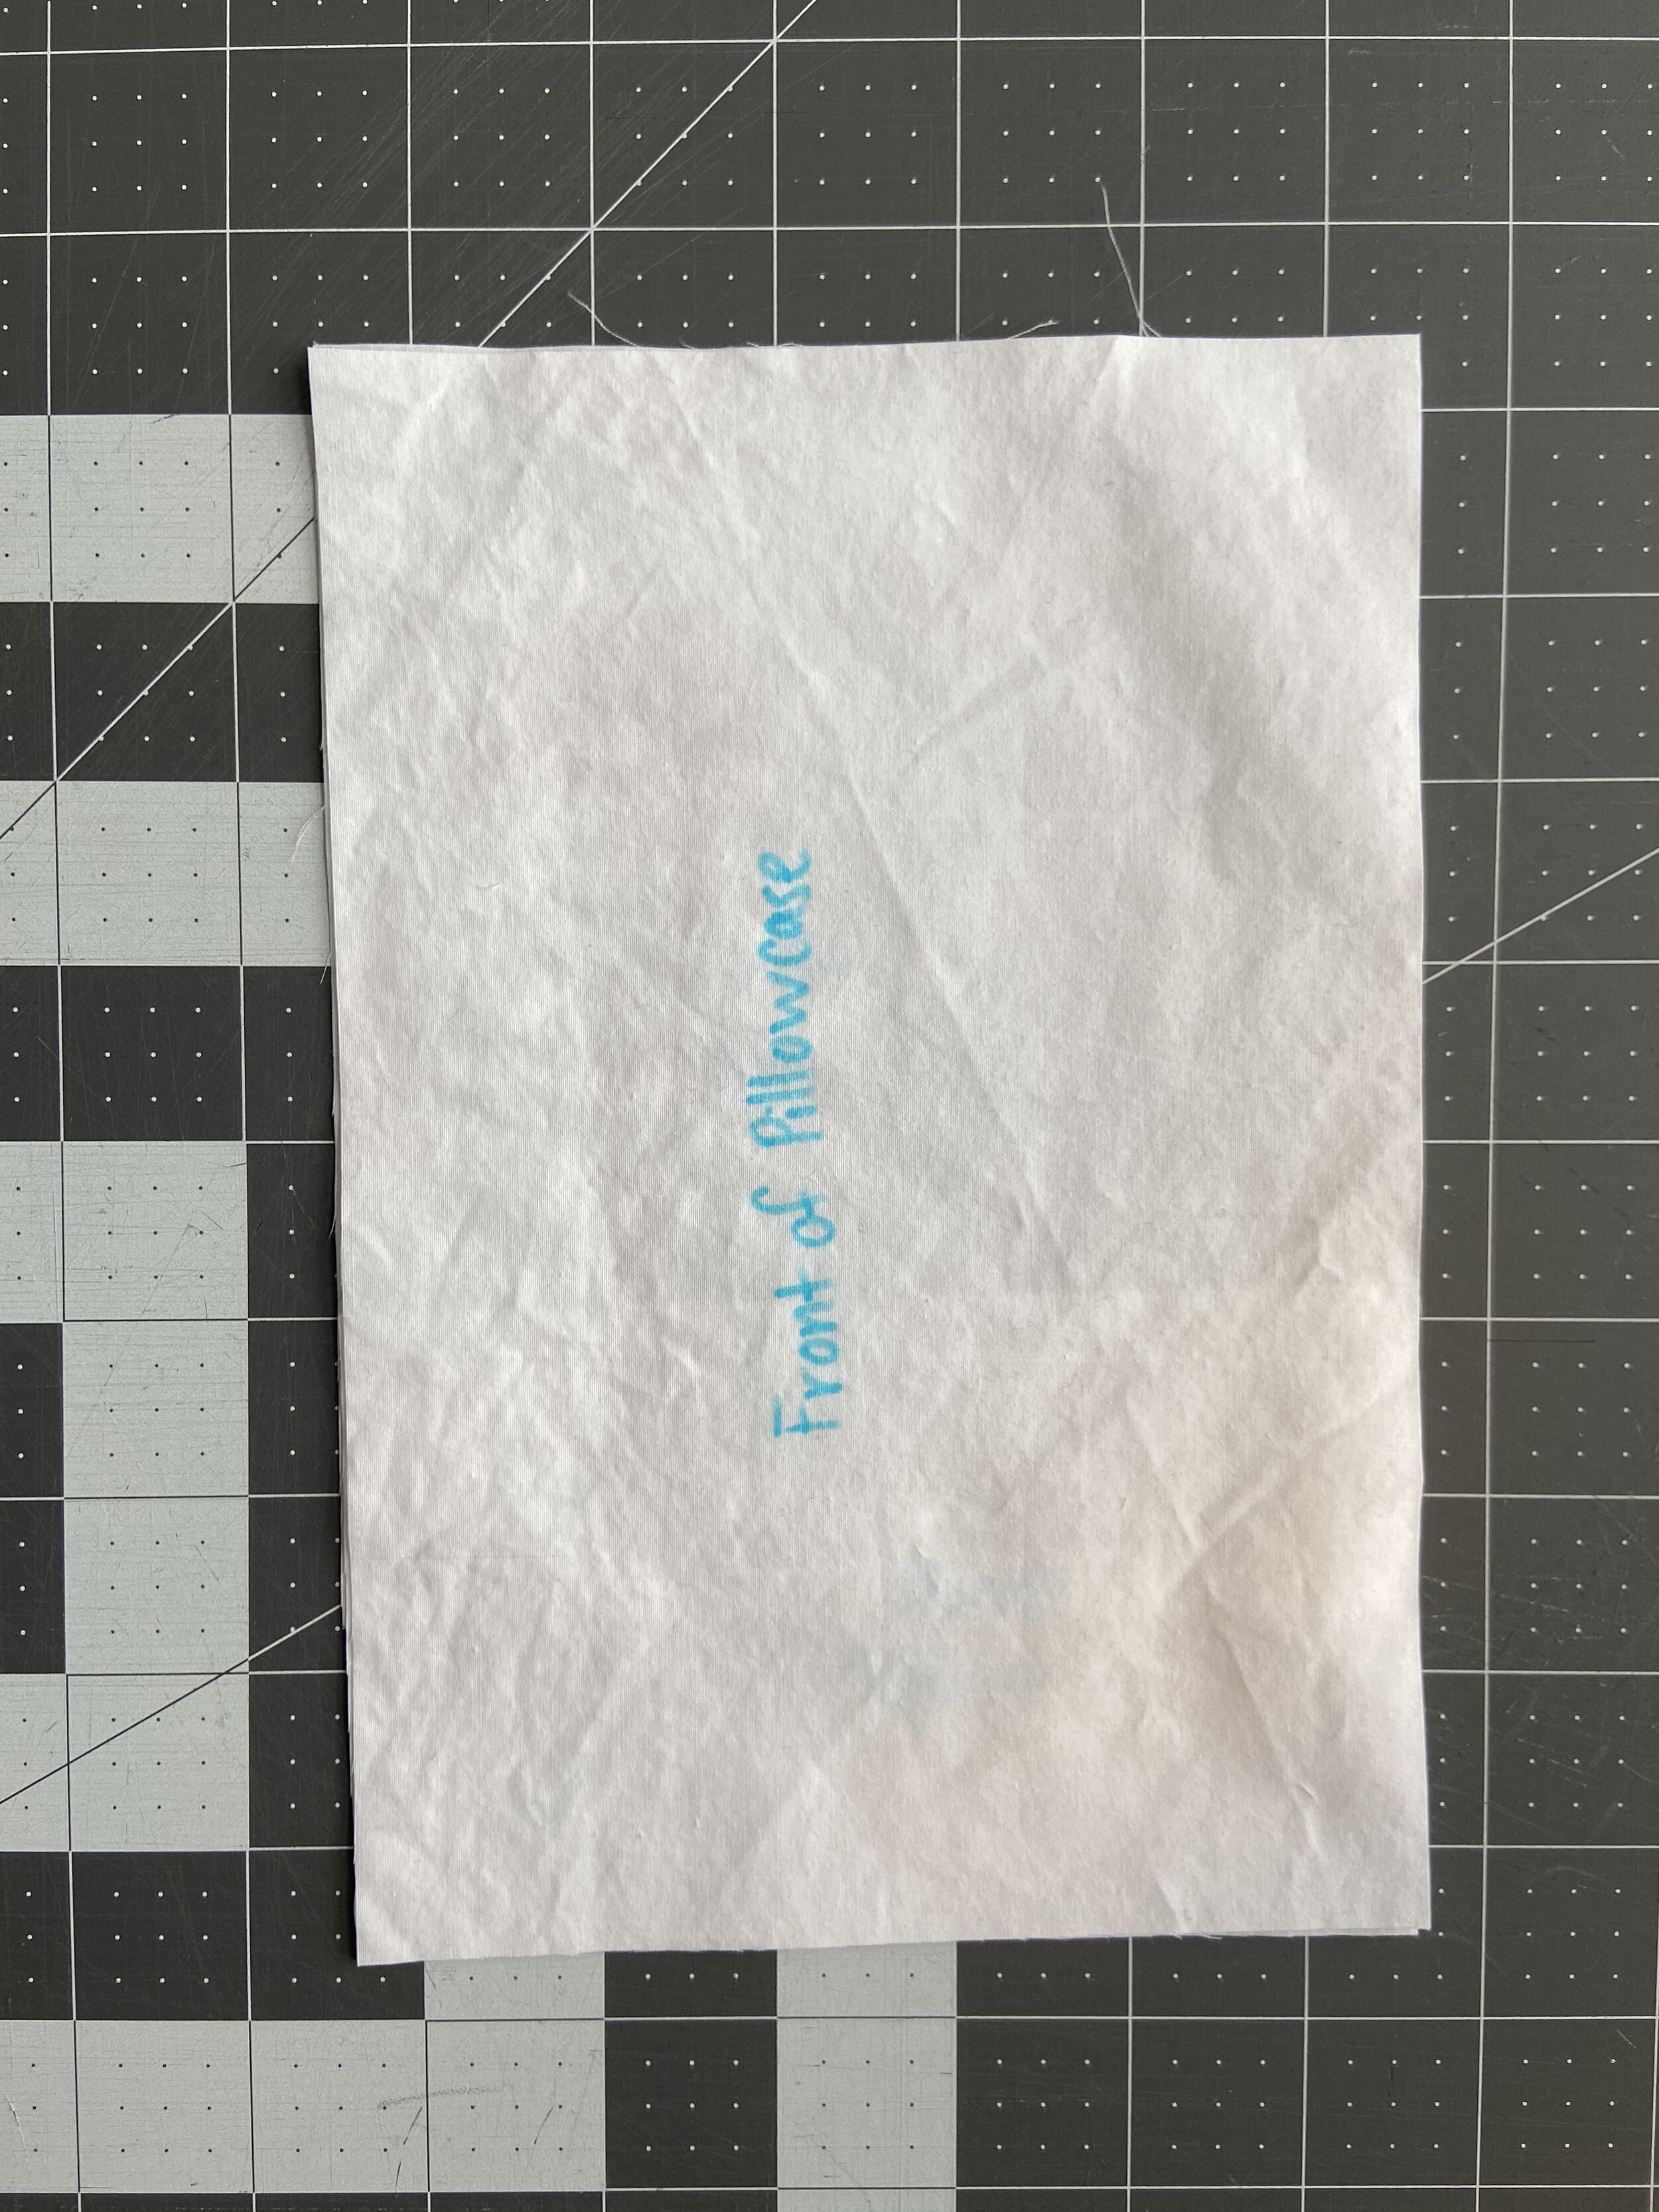
A family friend had these pillowcases that were falling apart, and she needed new ones. They are constructed in a rather unique way. When I first looked at them, it looked like they had a front and an envelope closure on the back. When I looked closer, I realized that there was a line of stitching that joined the front to the smaller of the envelope closure pieces. So each pillowcase will need three pieces: a front and two pieces for the back: a larger and a smaller envelope piece.


The front and back of the original pillowcase.
I measured each of the pieces that the pillowcase is made of. The front piece is 20 inches by 16 inches. The two back pieces are 16 by 7 inches and 16 by 18 inches. I then added 1 inch to each dimension to allow room for ½ inch French seams or hems on all sides. I chose to use French seams to keep all unfinished edges from unraveling, and I do not own a serger.
To make the pillowcases I had a fitted sheet. I cut the elastic and seams out of the fitted sheet and was left with a piece of flat fabric, which I then ironed (I could have done a better job on this step). I know the sheet had been washed before, so I did not wash it. However, if it had not been washed, I would recommend washing it first before you cut it so that nothing frays.
I then cut my pieces out of the fabric using my cutting mat, rotary cutter, and quilting ruler. The size of the pieces I cut for each pillowcase ended up being 21 by 17 inches, 17 by 8 inches, and 17 by 19 inches. The quilting ruler helps me to ensure that my corners are cut correctly at 90 degrees. This part took a while as I was trying to get as many pillowcases as possible from this piece of fabric. I could have taken the dimensions of the fabric and plotted the best layout, but I wanted to leave room for error. To save time you could also fold the fabric in half and cut through both layers of the fabric, but I don’t trust my cutting skills.
My next step was to hem the edges that form the envelope closure. I marked a quarter inch and half inch lines along one of the longer sides of each piece. I folded each piece over to the half inch line and then folded again and ironed. You could probably just mark one line at the half inch mark, fold the raw edge to meet the line, and then fold over again. I sewed as close to the edge of the hem as I could, locking my beginnings and endings of seams with a forward and back stitch. You can see from the pictures that I wasn’t thinking and ended up hemming the front pieces as well. I ended up picking out that seam and ironing it flat later.

Marking lines at a half inch and quarter inch

Folding once and pressing

Folded twice and pressed

I then secured the hem with clips and sewed as close to the folded edge as I could
I then made a mock-up to determine how my French seams would work. I used three small pieces of fabric from my scraps to show the pillowcase would roughly fit together. I then labeled each piece to help me remember which side was facing out, as well as which side of the envelope closure was on top of or underneath the other. When you are working with a French seam, the fabric is sewn with the wrong sides together, then you trim the seam, fold it over, and sew with the right sides together. This locks the unfinished edges in between the two seams. I am still new to using French seams. On my mock-up, I just did a quick job of making the seams and didn’t press anything – I just wanted to make sure that I had the order of fabrics correct before I sewed so that I wouldn’t have to unpick a whole pillowcase.
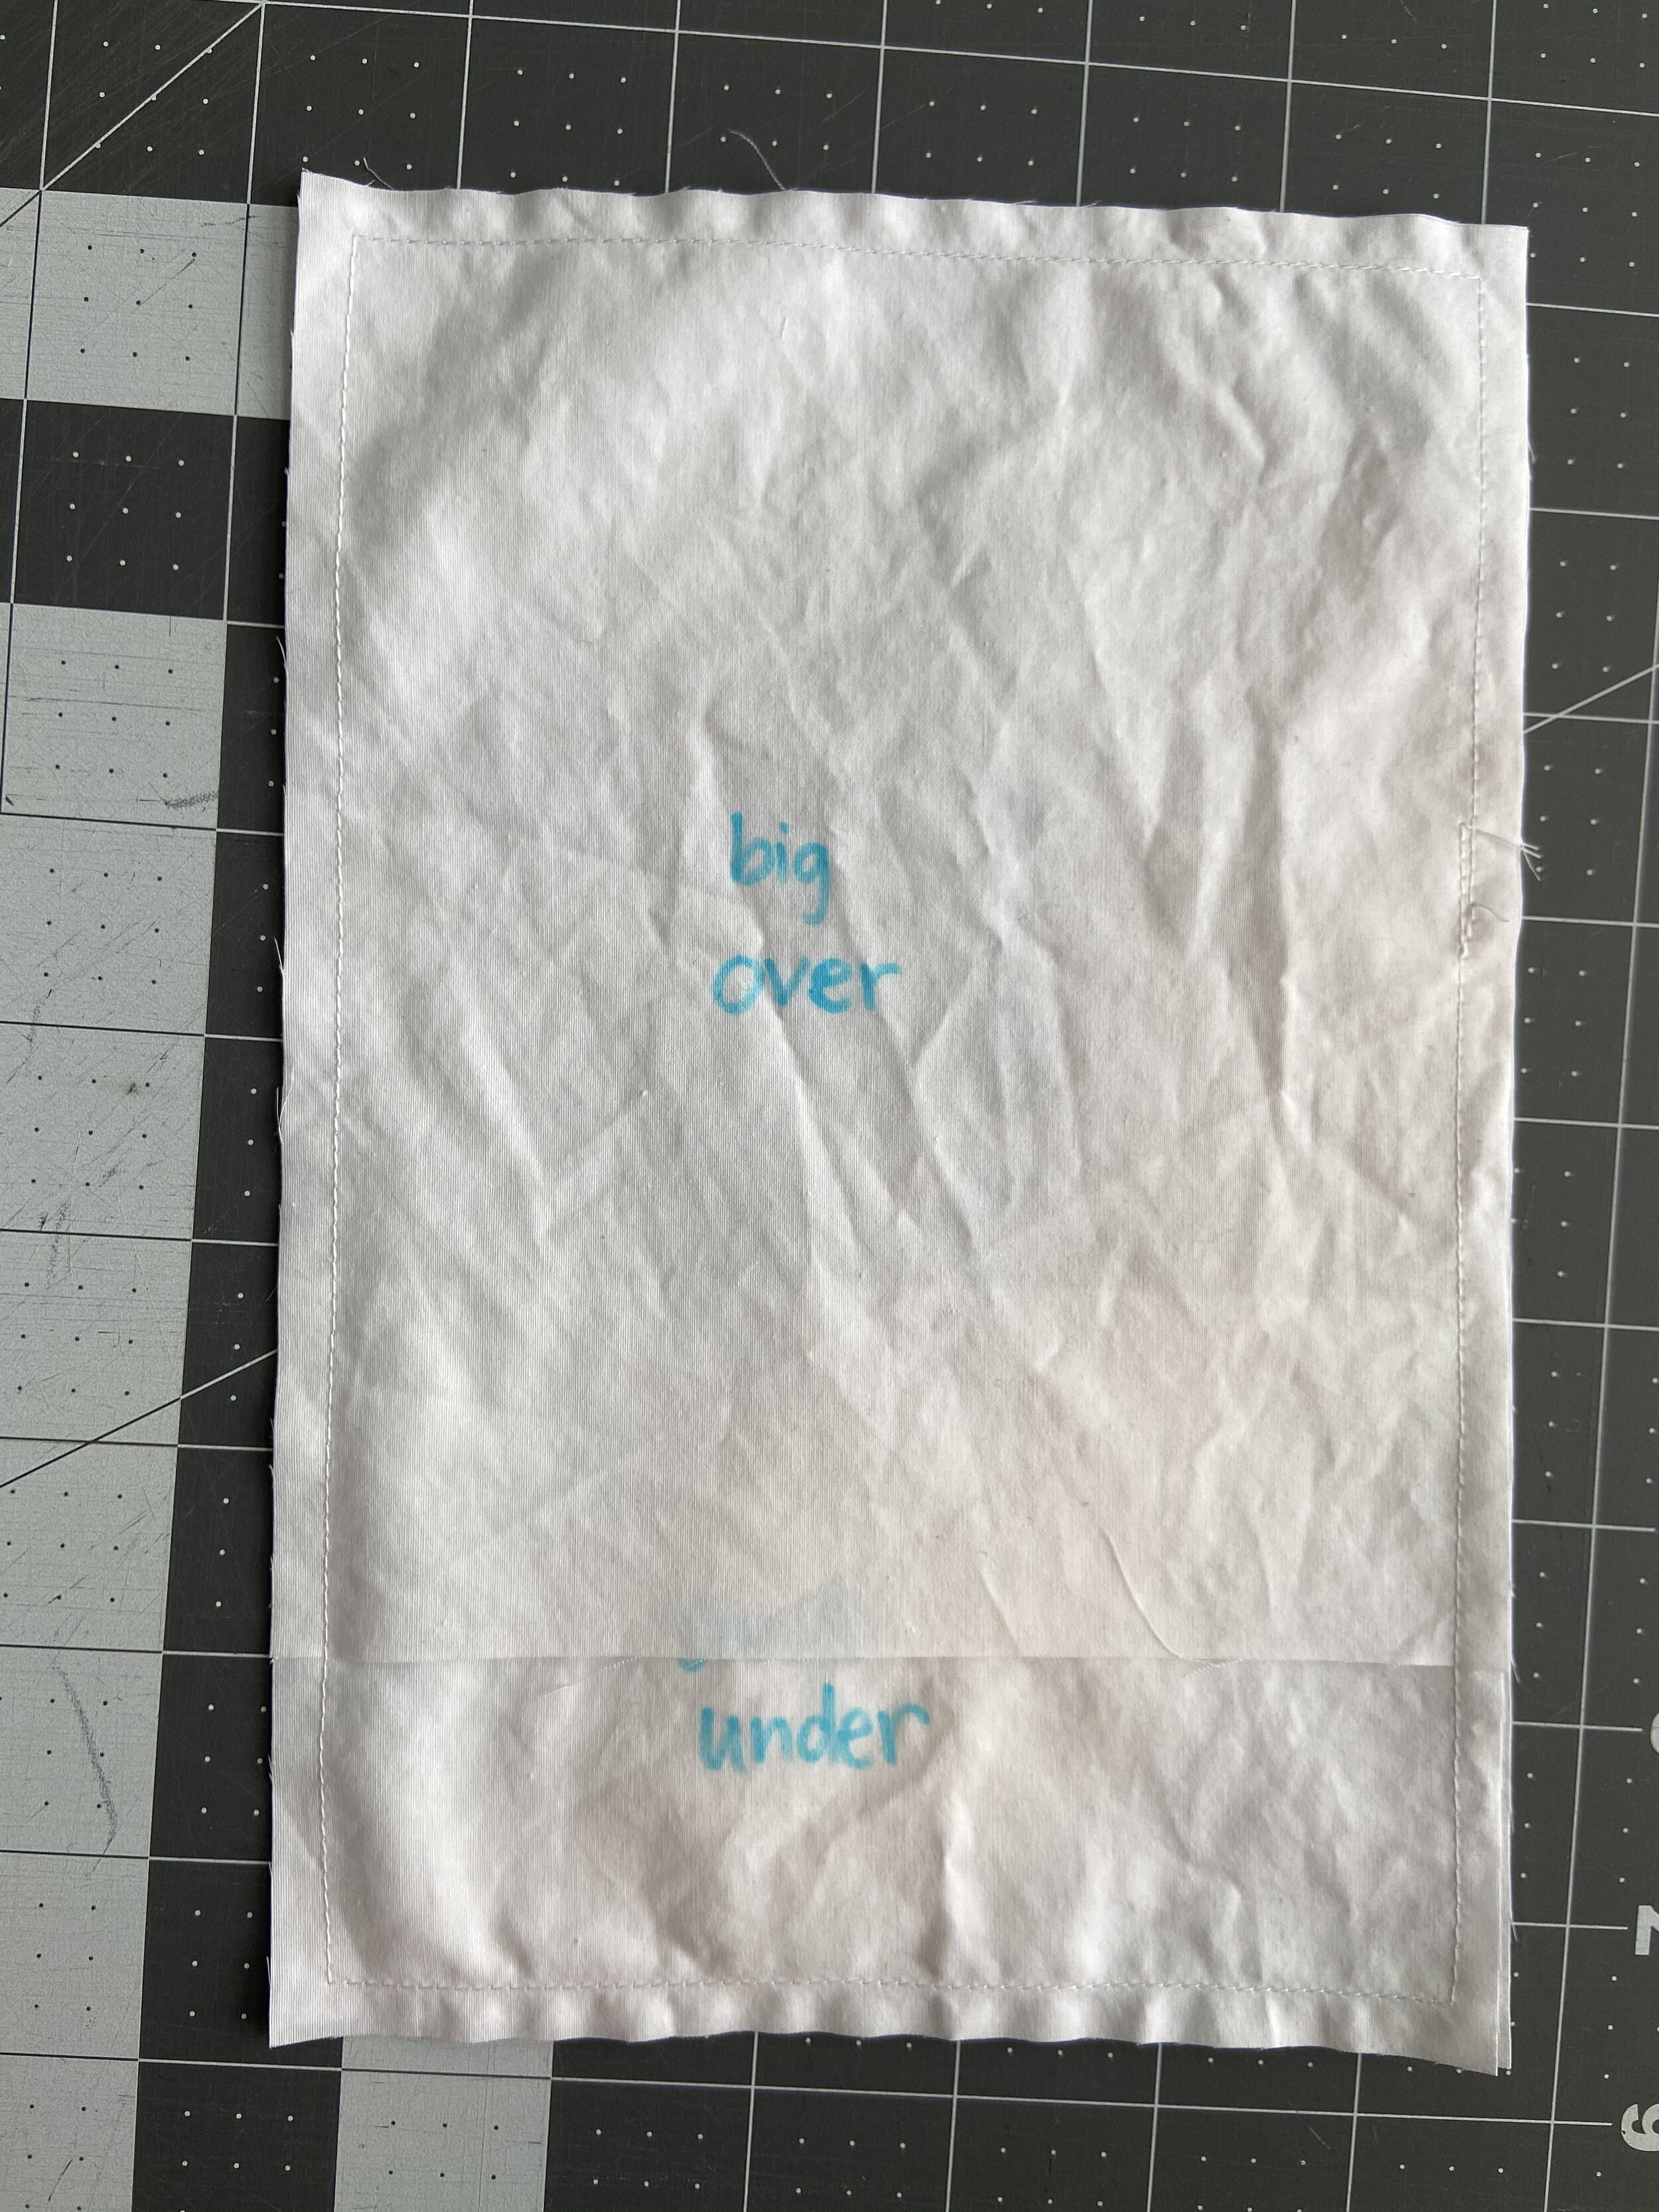
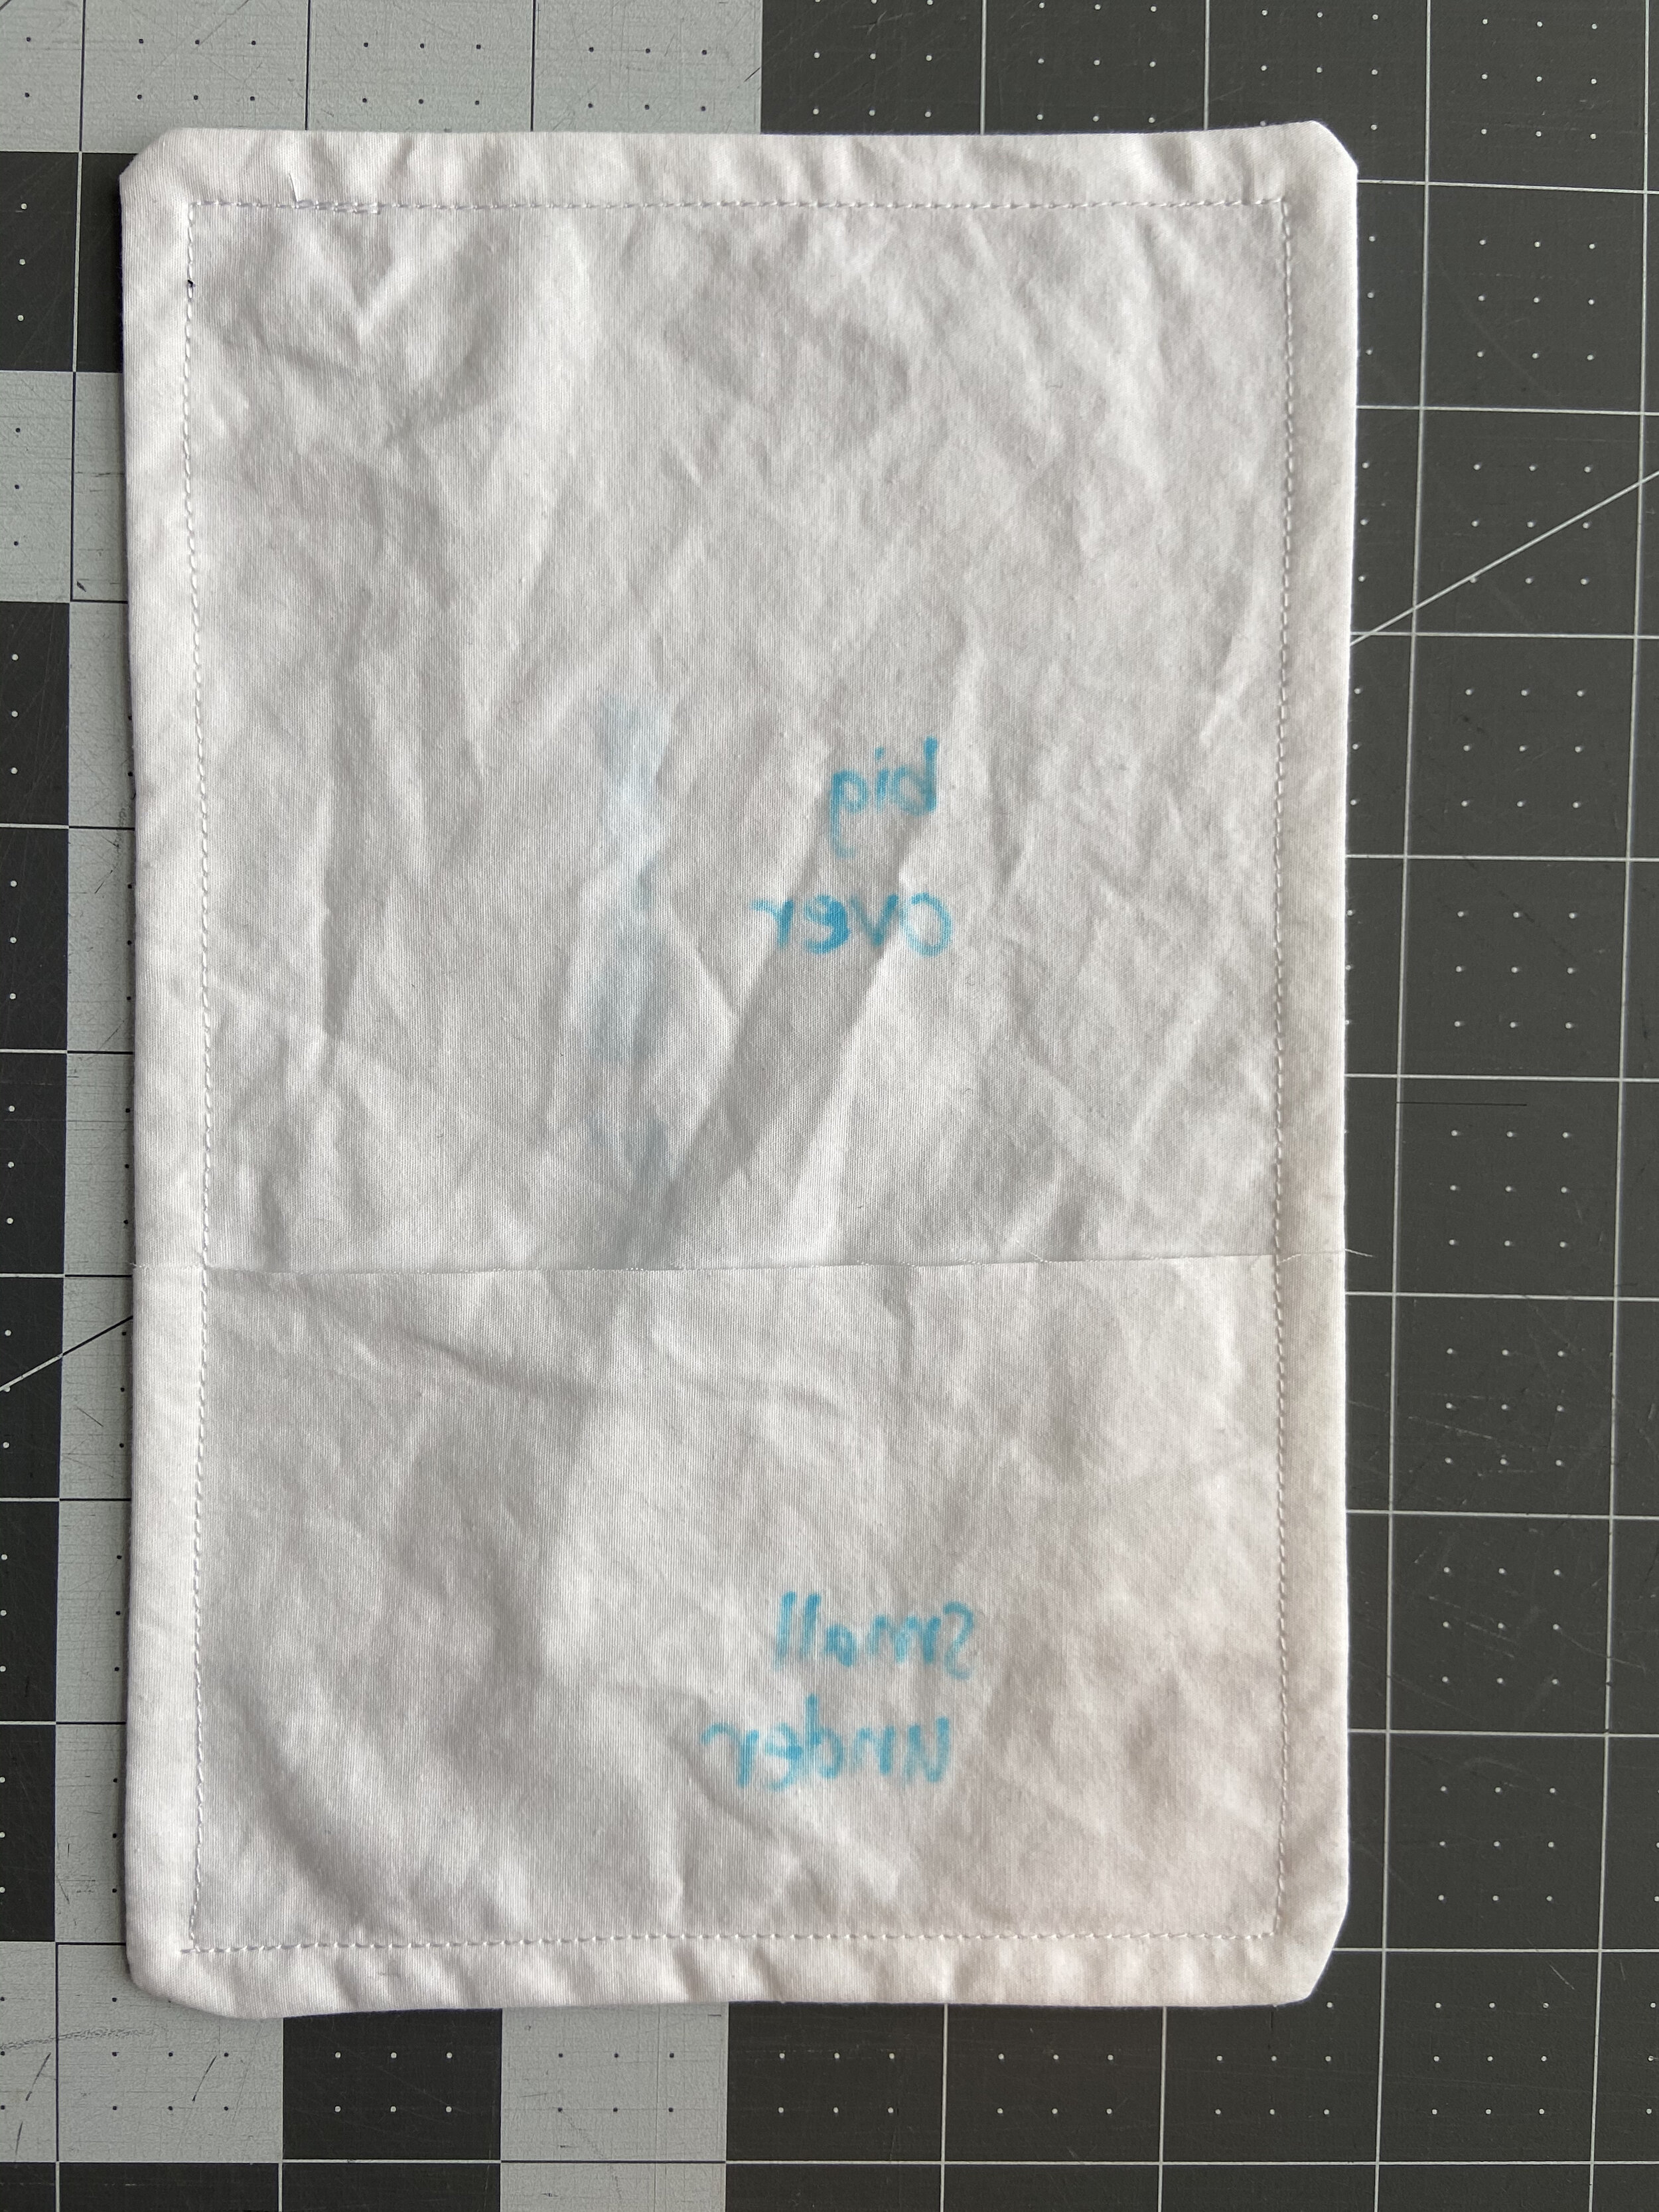
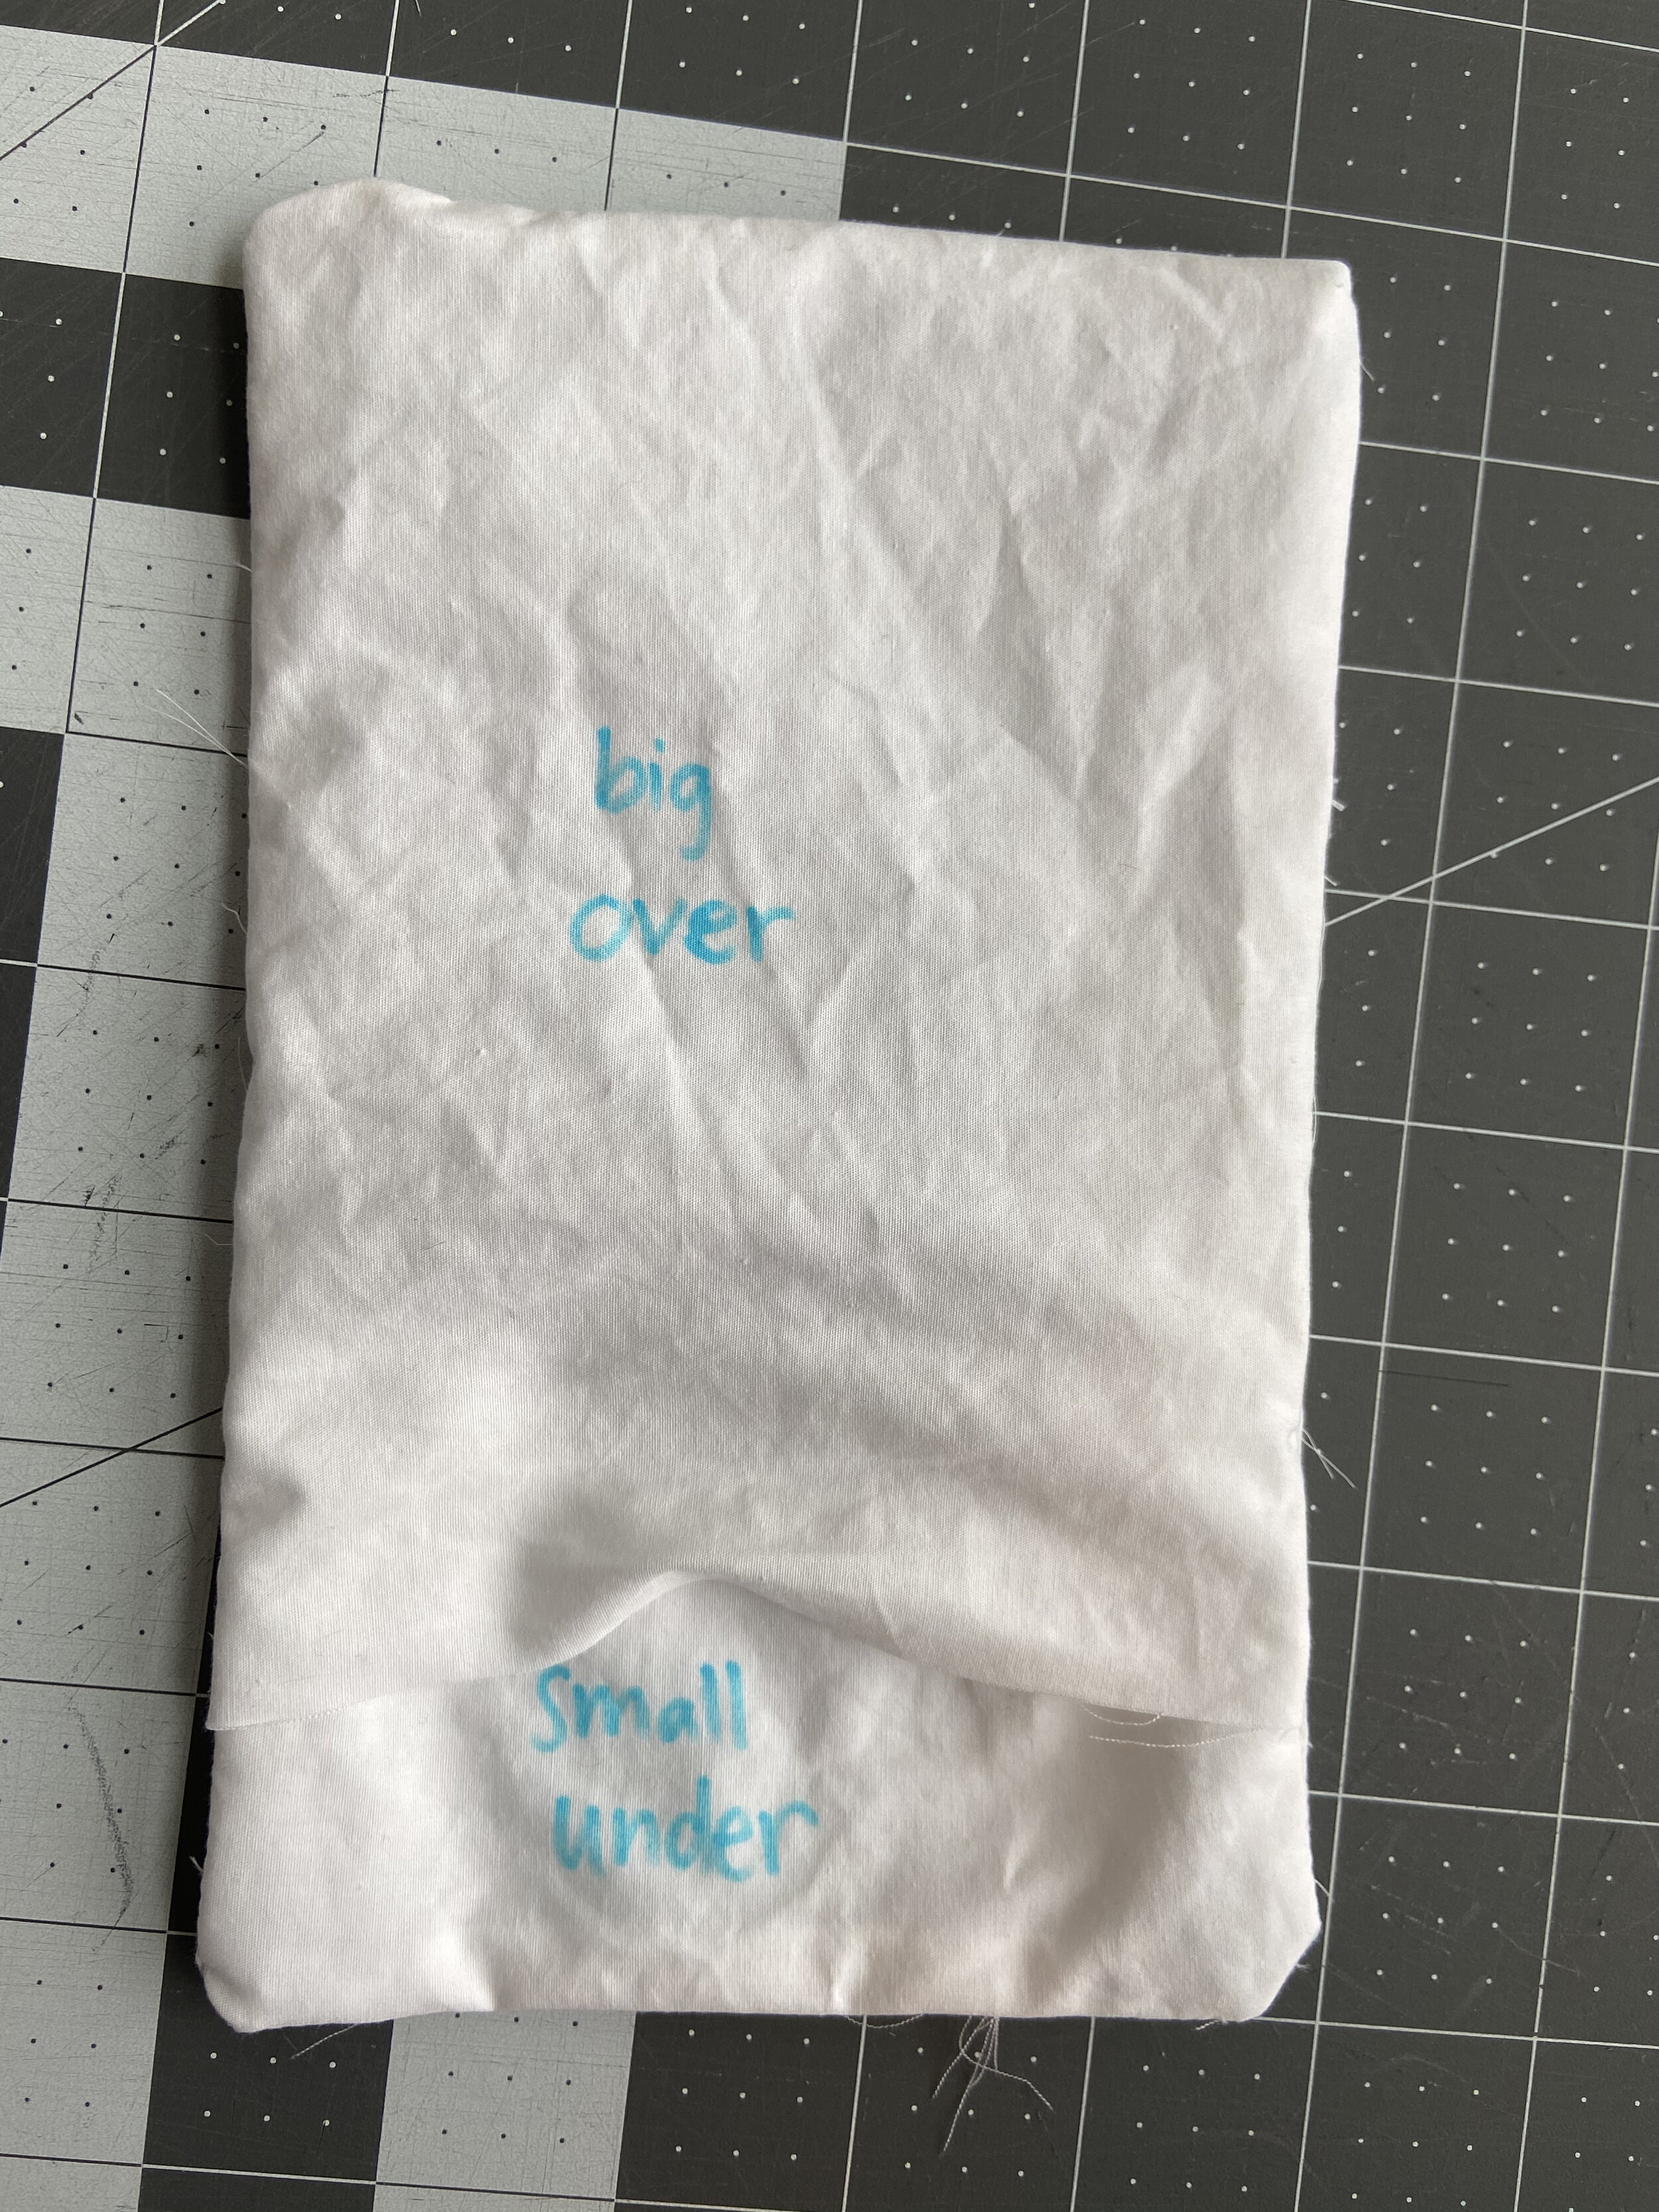
In a French seam, your first seam has the fabric in the way it will end up, so that is how I put my pieces for the pillowcase. My mock-up worked, and I was ready to pin and sew.
I pinned, well, clipped my pieces into position and sewed a quarter inch around the pillowcase. I then trimmed the extra fabric away and chopped off the corners, flipped the project inside-out so that the right sides are now together, and pressed the seam. I then sewed another seam a quarter inch from the edge. I flipped the pillowcase right-side out and gave it a good press.
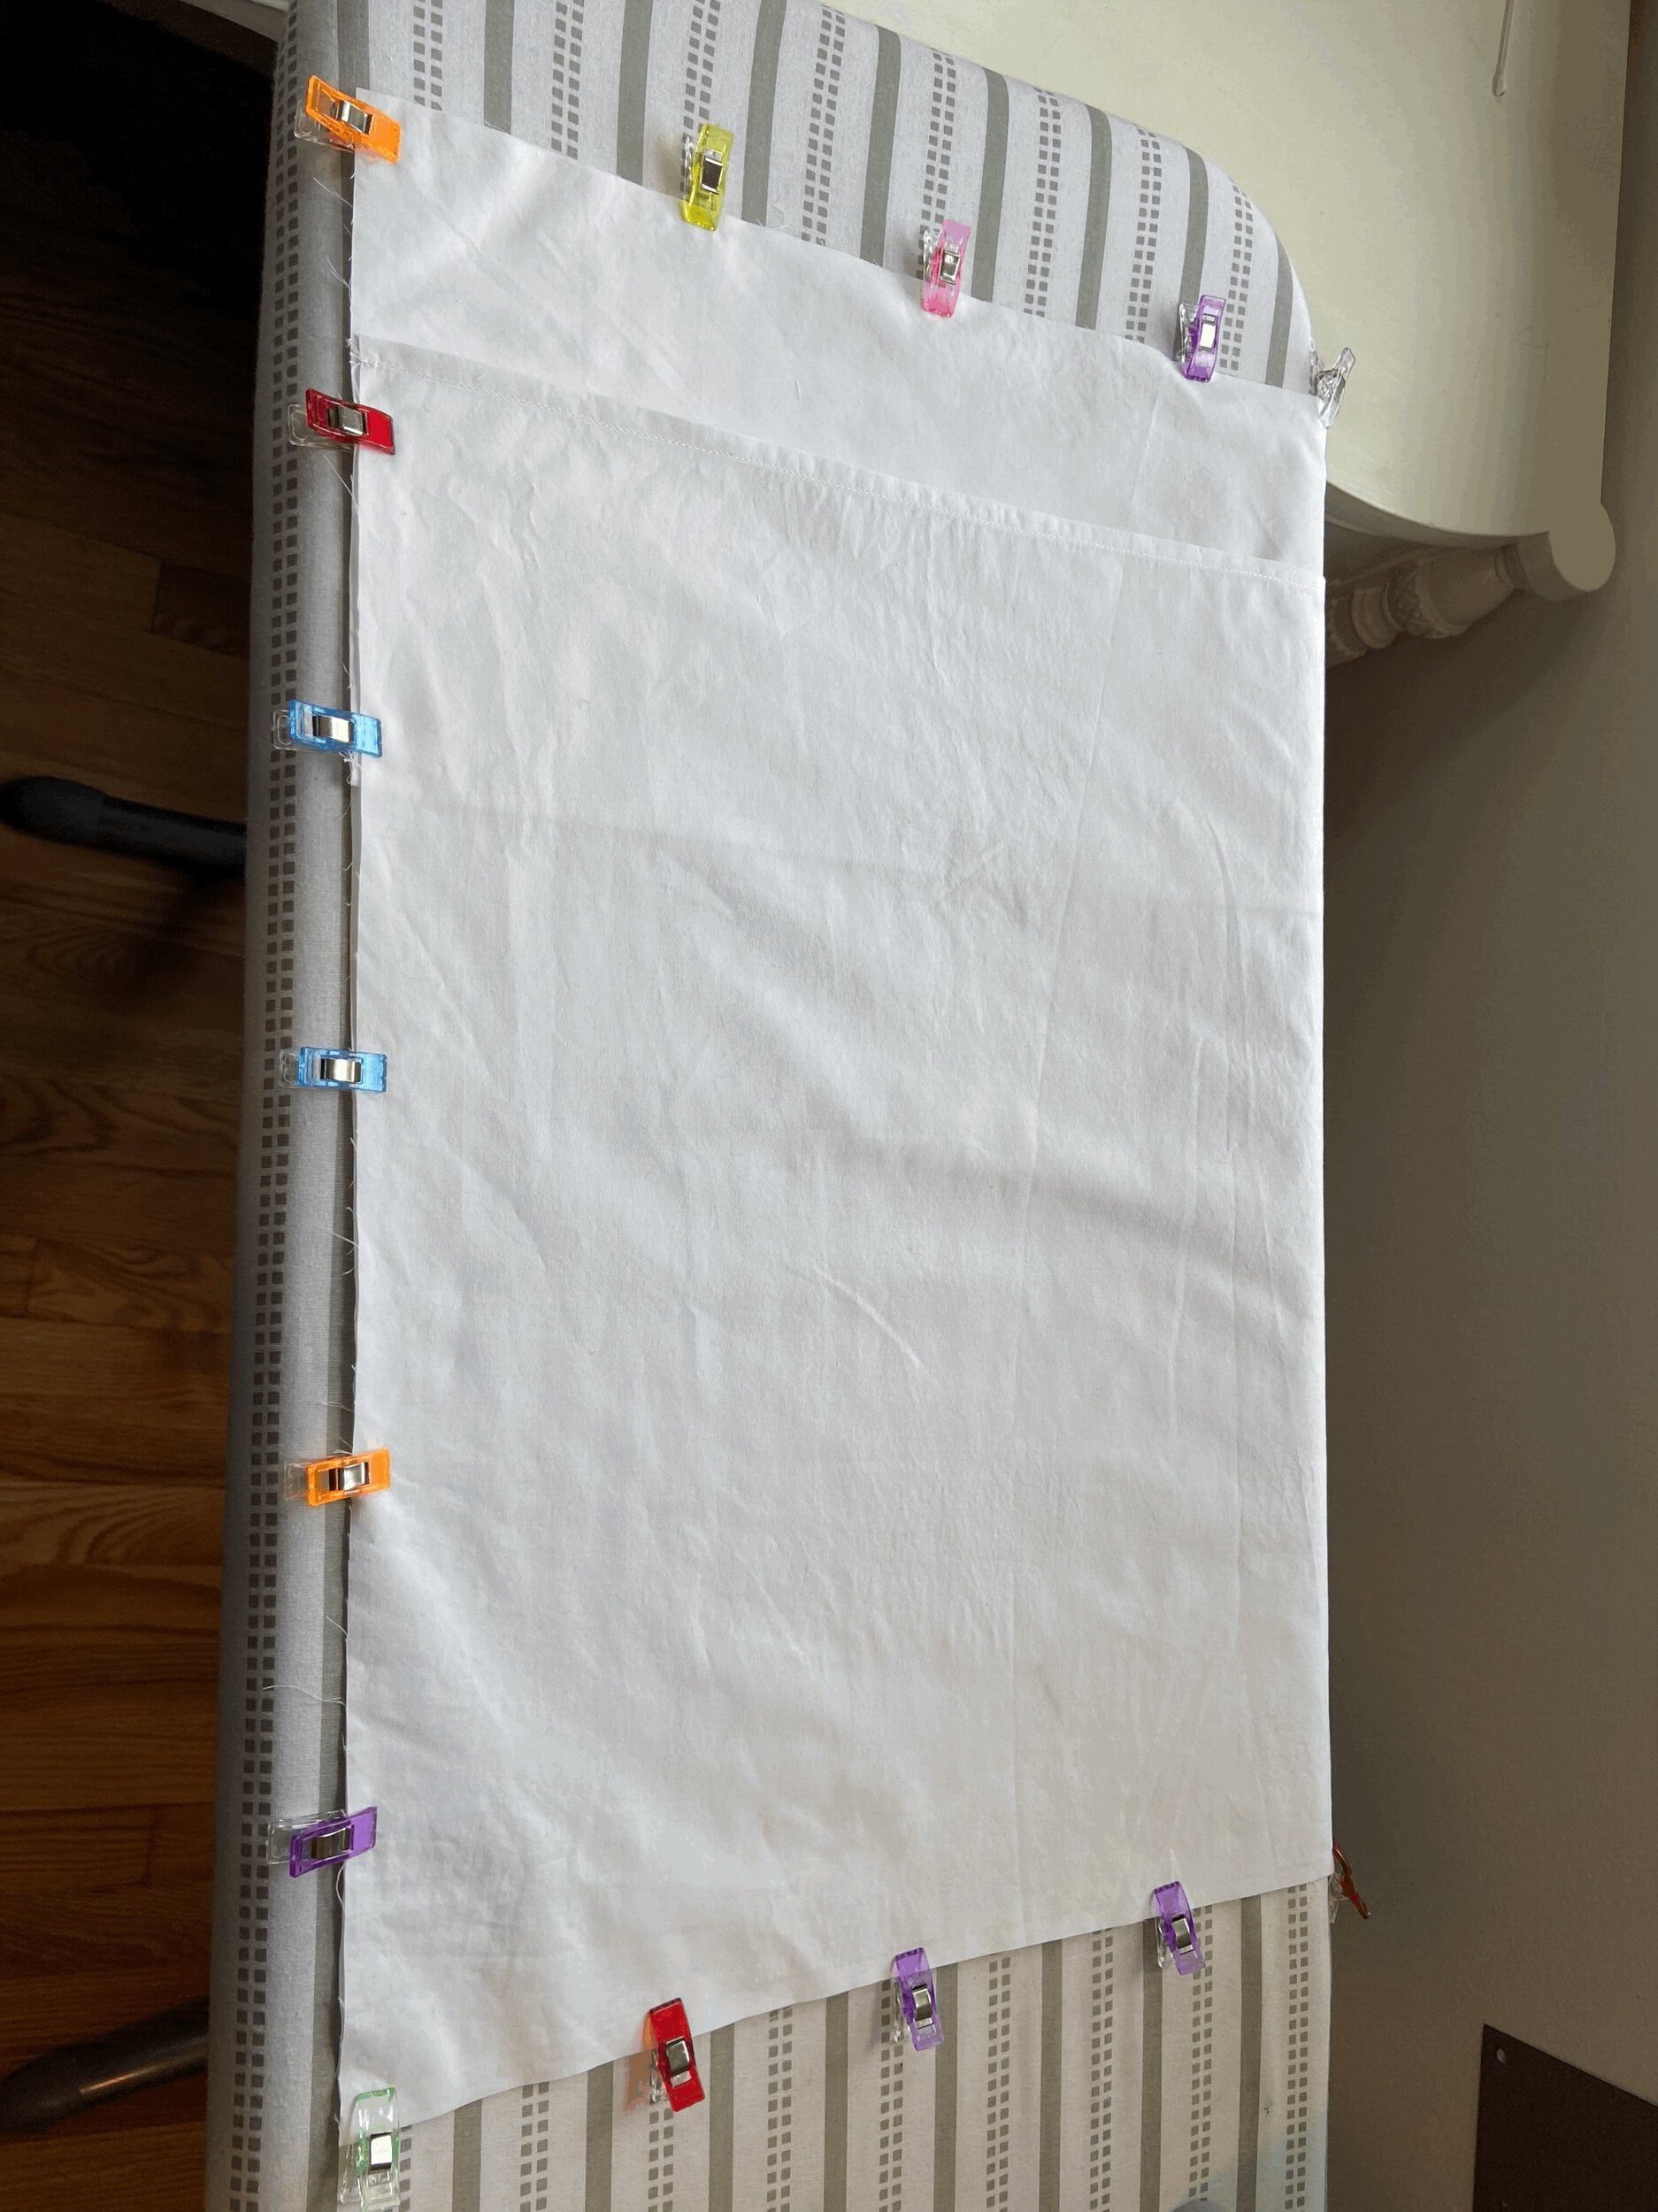
Laying the pieces out and clipping them together

Sewing a quarter inch from the edge, forward and backstitching to start and end the seam

Trimmed away the excess fabric, trimmed the corners on the diagonal, flipped the project inside out, and pressed. Ready to sew another seam one quarter inch from the edge.

Sewing another seam one quarter inch from the edge
The original pillowcase had a special seam that I talked about earlier. In order to make this, I marked two points 2 inches from each side and two inches from the short end and drew a line between them. This was the position of the seam on the original pillowcase. I then chose a decorative leaf stitch from my machine and sewed down the line.

Measuring the seam placement on the original pillowcase

Marking a point 2 inches in from the top and side of the pillowcase (on the side with the smaller piece). I mirrored this point on the other side and drew a line between the two points. Because I used a decorative stitch, I made sure to check where I needed to align my presser foot so as to keep the stitch on the line I marked.

Make sure to check your tension before you start as both sides of this seam will be seen in the final product.
Then each pillowcase was done! One thing that was helpful in making this project was keeping a scrap piece of fabric to check the tension of my stitches. The decorative stitch needed a different tension than my straight stitch. Also, the decorative stitch sews down the middle of my foot rather than the side of my foot like the straight stitch, so practicing that on a scrap piece of fabric was helpful. The decorative stitch also pulled the fabric forward and back as it went, so it was helpful to practice how I held the fabric for that motion as well.

All 5 pillowcases

The finished pillowcase does not have the exact same details as the original, but it will serve the purpose!

The back of the pillowcase
I used clips for most of my pinning in this project. I found them faster for this application, and easier on my hands as the layers in the seams add up quickly. There were times when I didn’t pin when I felt that the fabric was laying nicely and was almost stuck together by the iron. I was also frustrated at how much time this project was taking and wanted to save time.
Overall, this project gave me a lot of satisfaction to complete. I was able to get 5 pillowcases out of this fitted sheet. I probably could have gotten 1 more out of it if I had planned out my cuts more efficiently. The pillowcases are a unique size and are difficult to find in stores. I also liked the decorative stitch I added, and I would add it to more projects. Maybe as a decorative element when quilting something?